God of War: Ragnarok – Sigrun’s Curse guide
Are you enjoying God of War: Ragnarok since the game went out Let’s get moving into the Nine Realms and here’s how to accomplish Sigrun’s Curse Favor in God of War: Ragnarok!
A guide to Sigrun’s Curse Favor
To begin this Favor, it would be best if you’re in Lake of Nine, Midgard. You can find it in the region, so if you’re ready to do so, keep reading to know how to start and finish Sigrun’s Course in God of War: Ragnarok.
Where to find the Side Quest
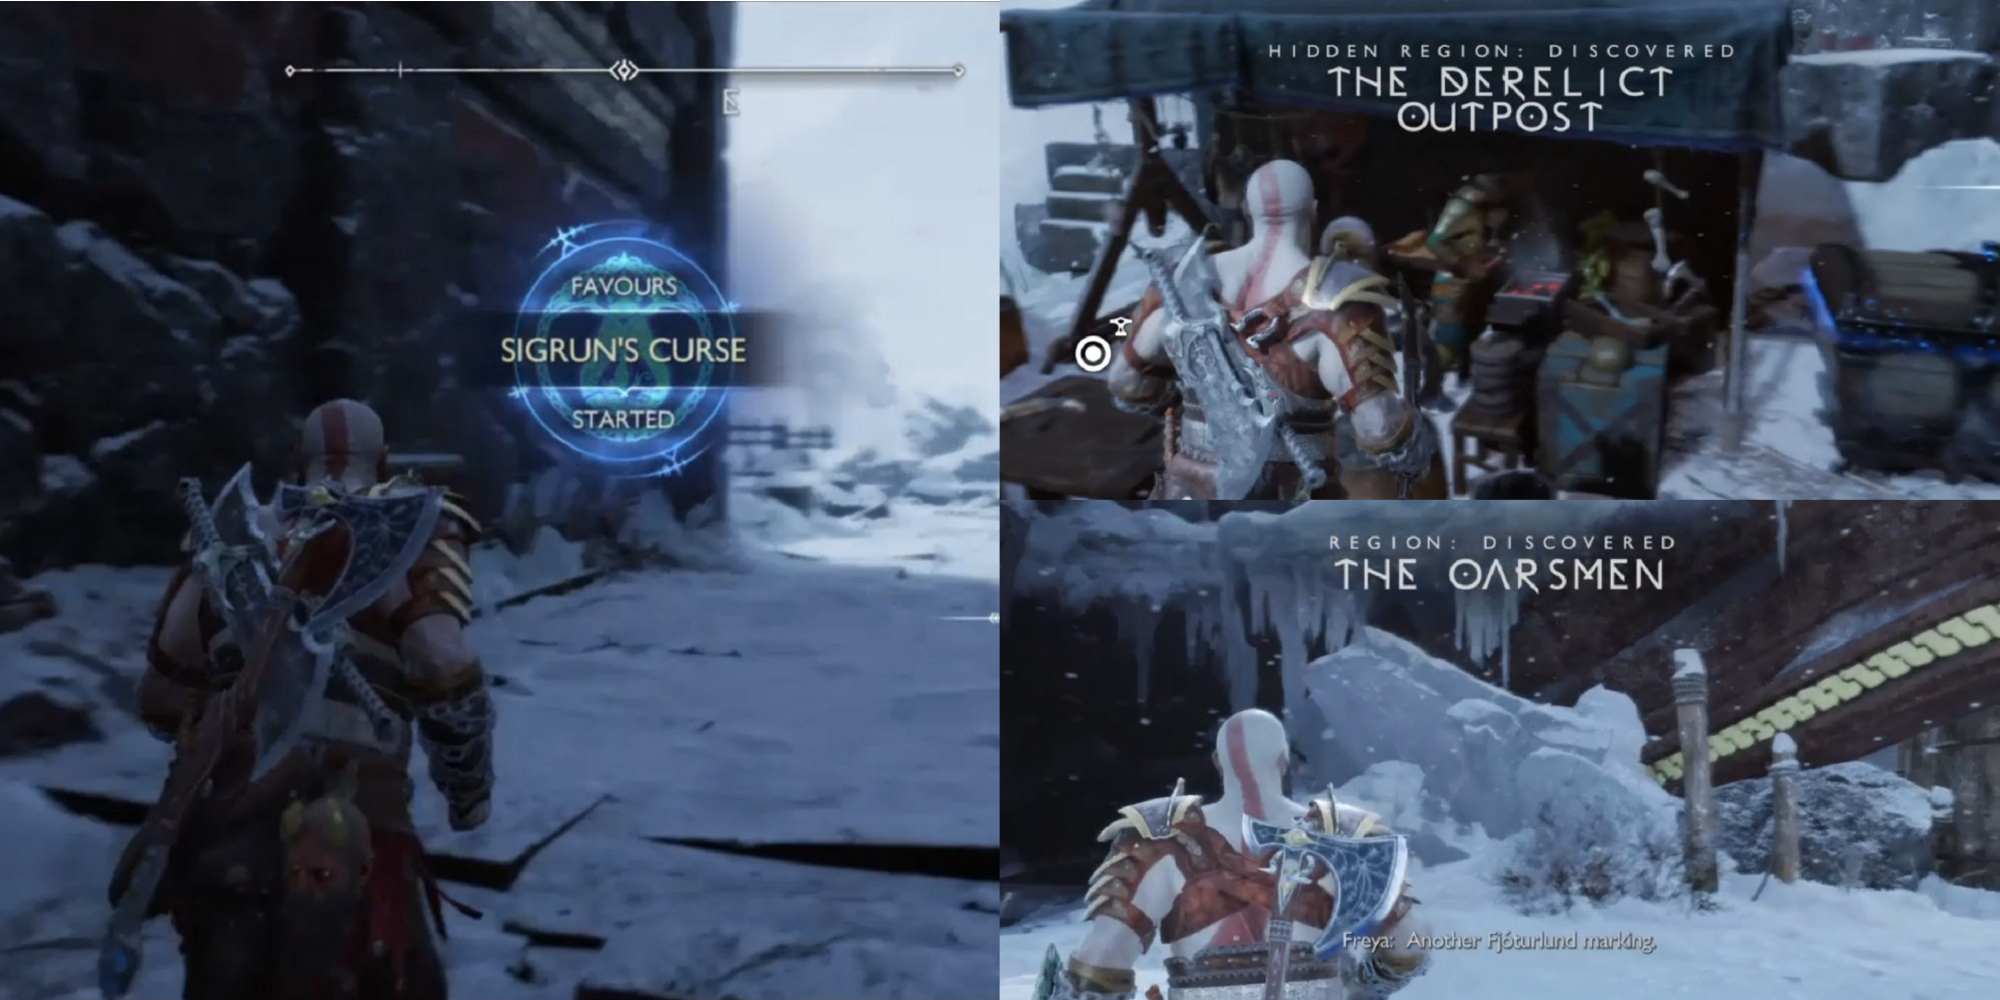
- There are two ways to find this side quest in God of War: Ragnarok. You can either make your way over to The Derelict Outpost or The Oarsmen region in the Lake of Nine, Midgard. Where you begin the quest won’t have an effect on how to complete it, so don’t worry!
How to trigger
- We head over to The Derelict Outpost to trigger this Side Quest. As we mentioned, you can trigger the Sigrun’s Curse Favor in The Oarsmen as well.
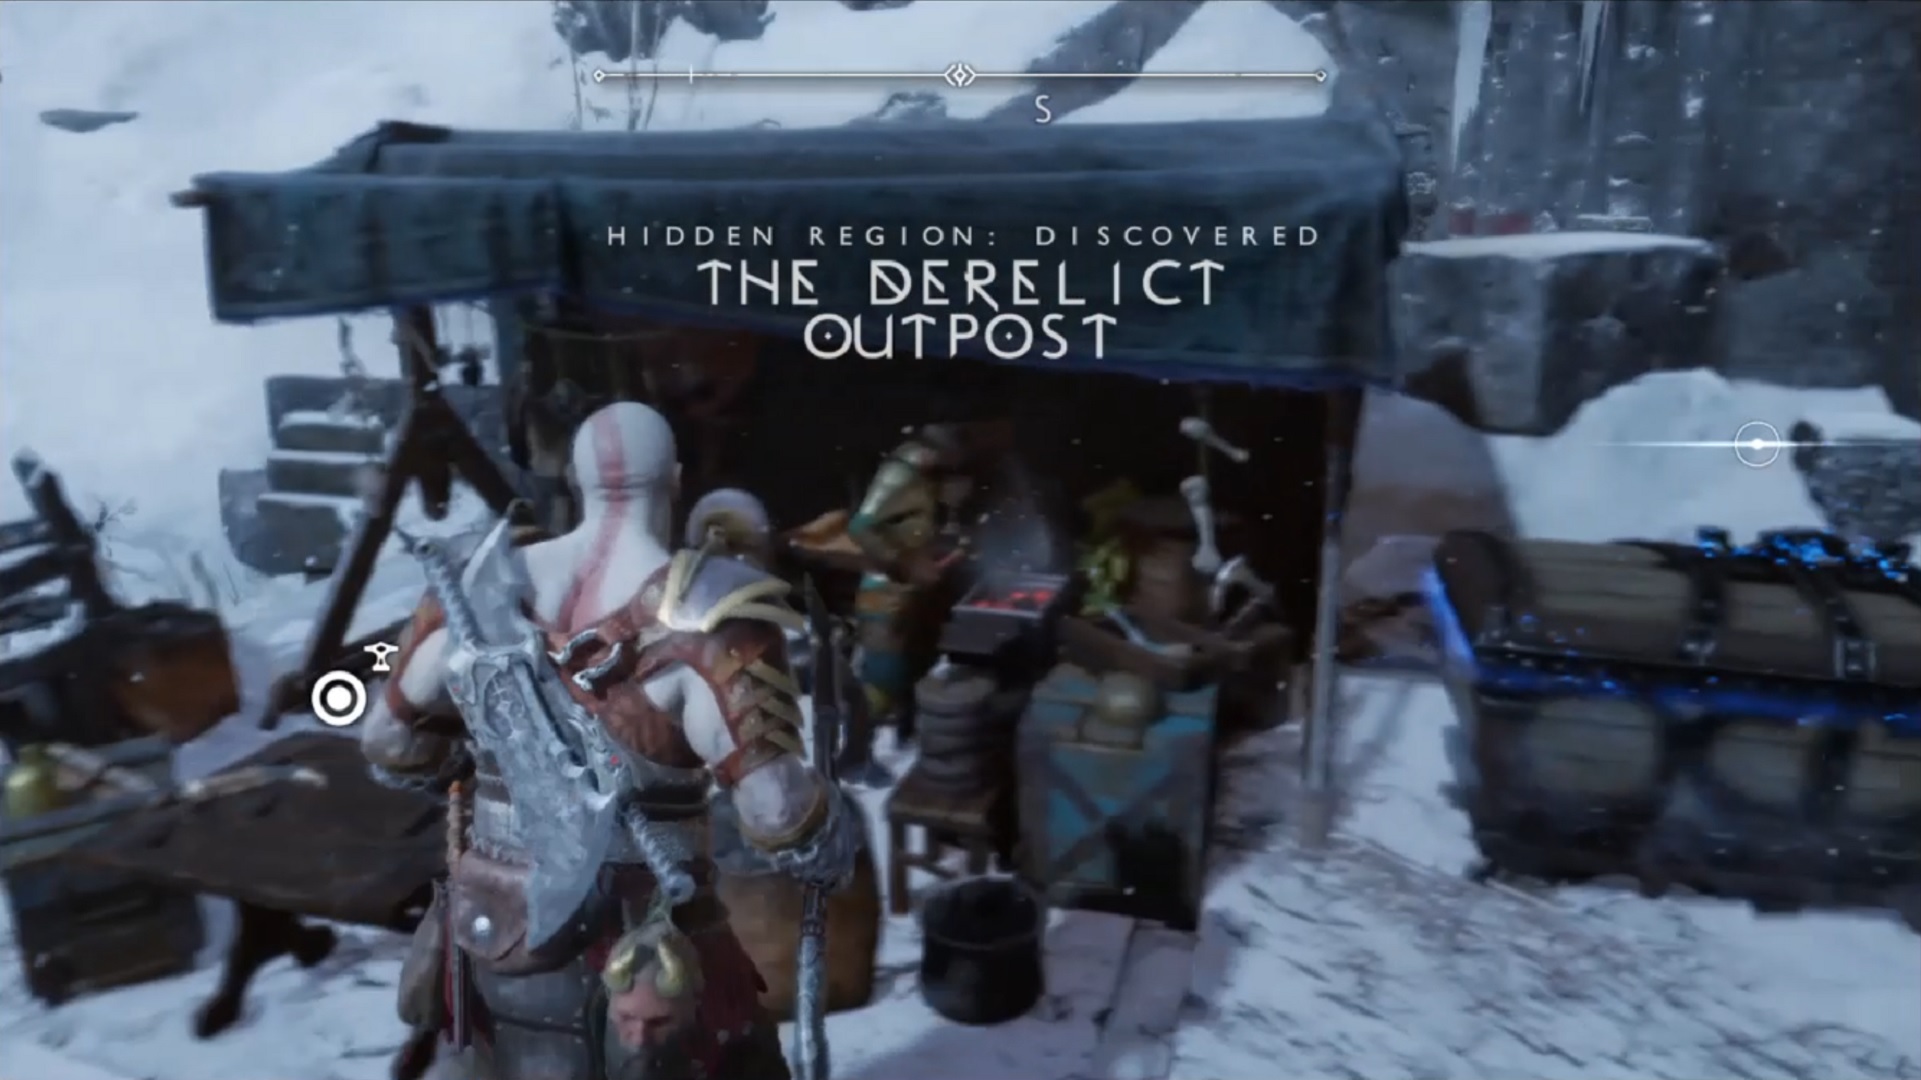
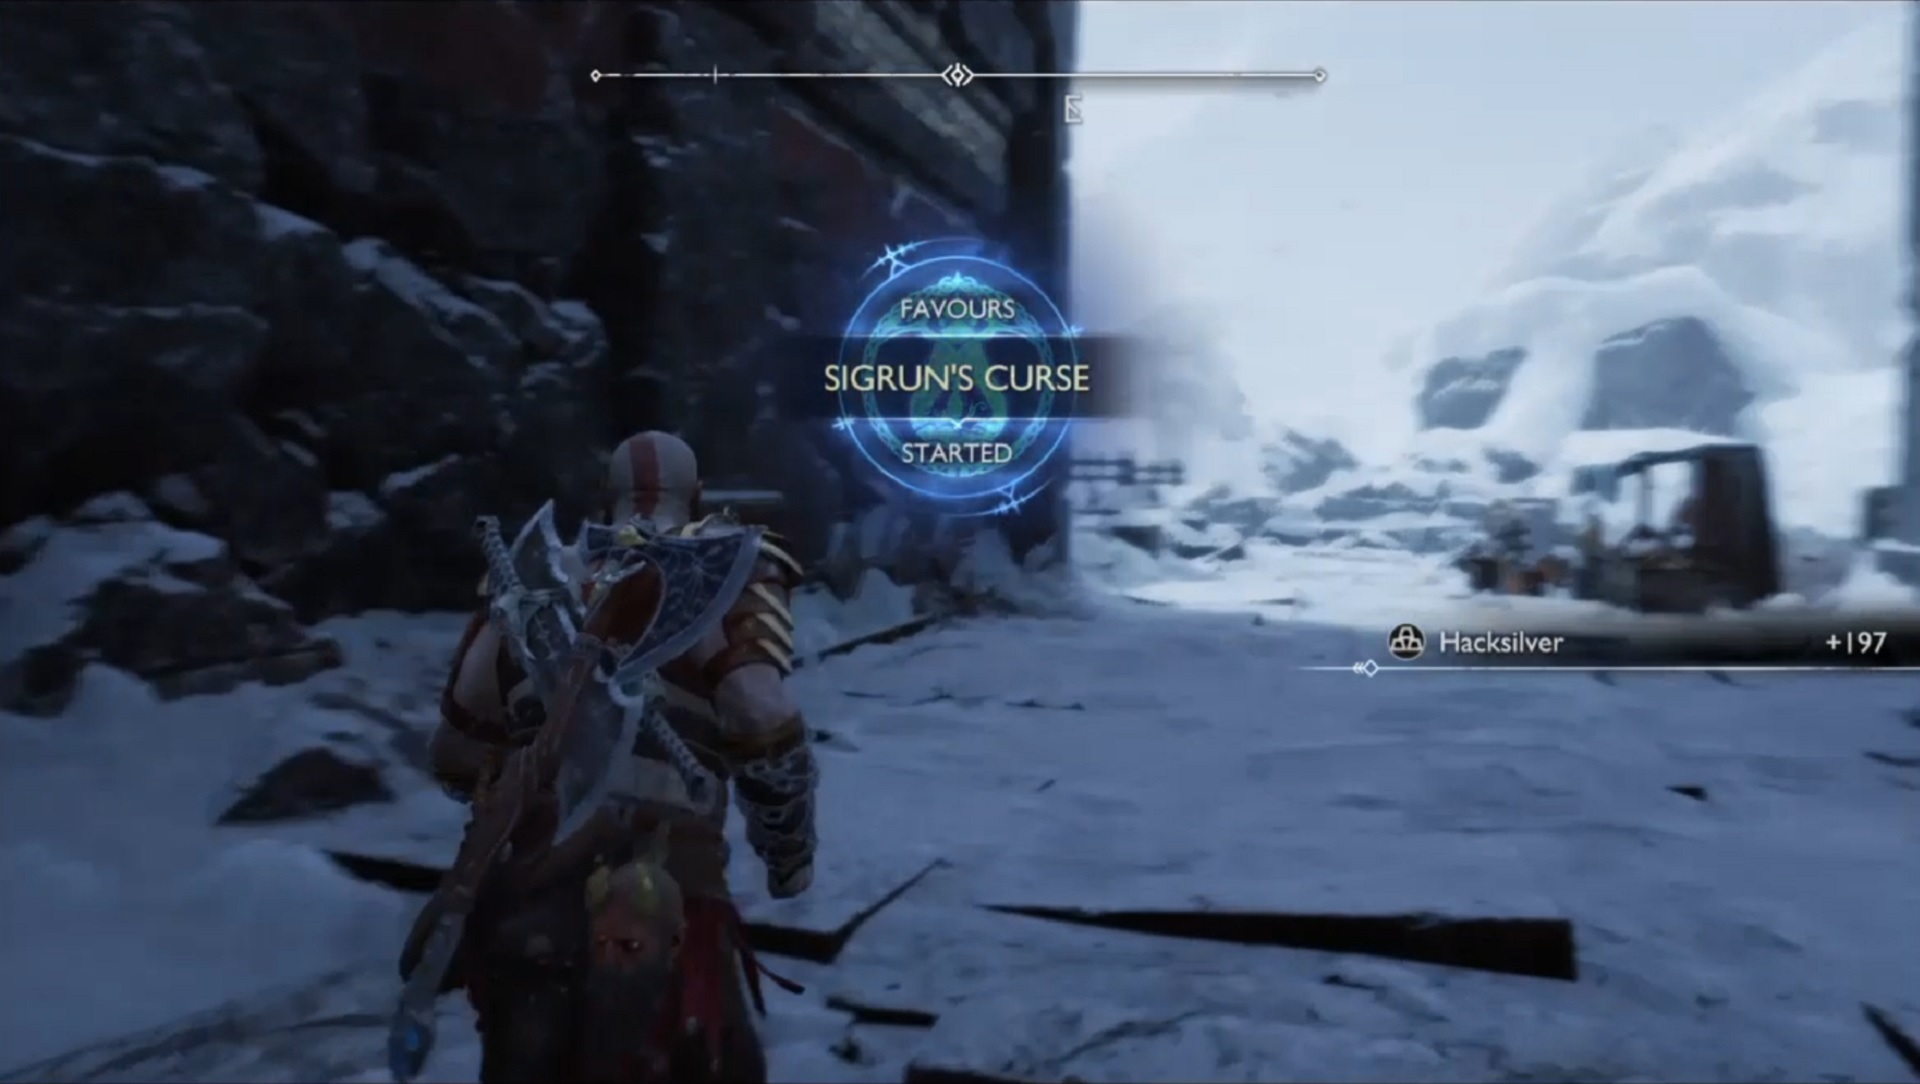
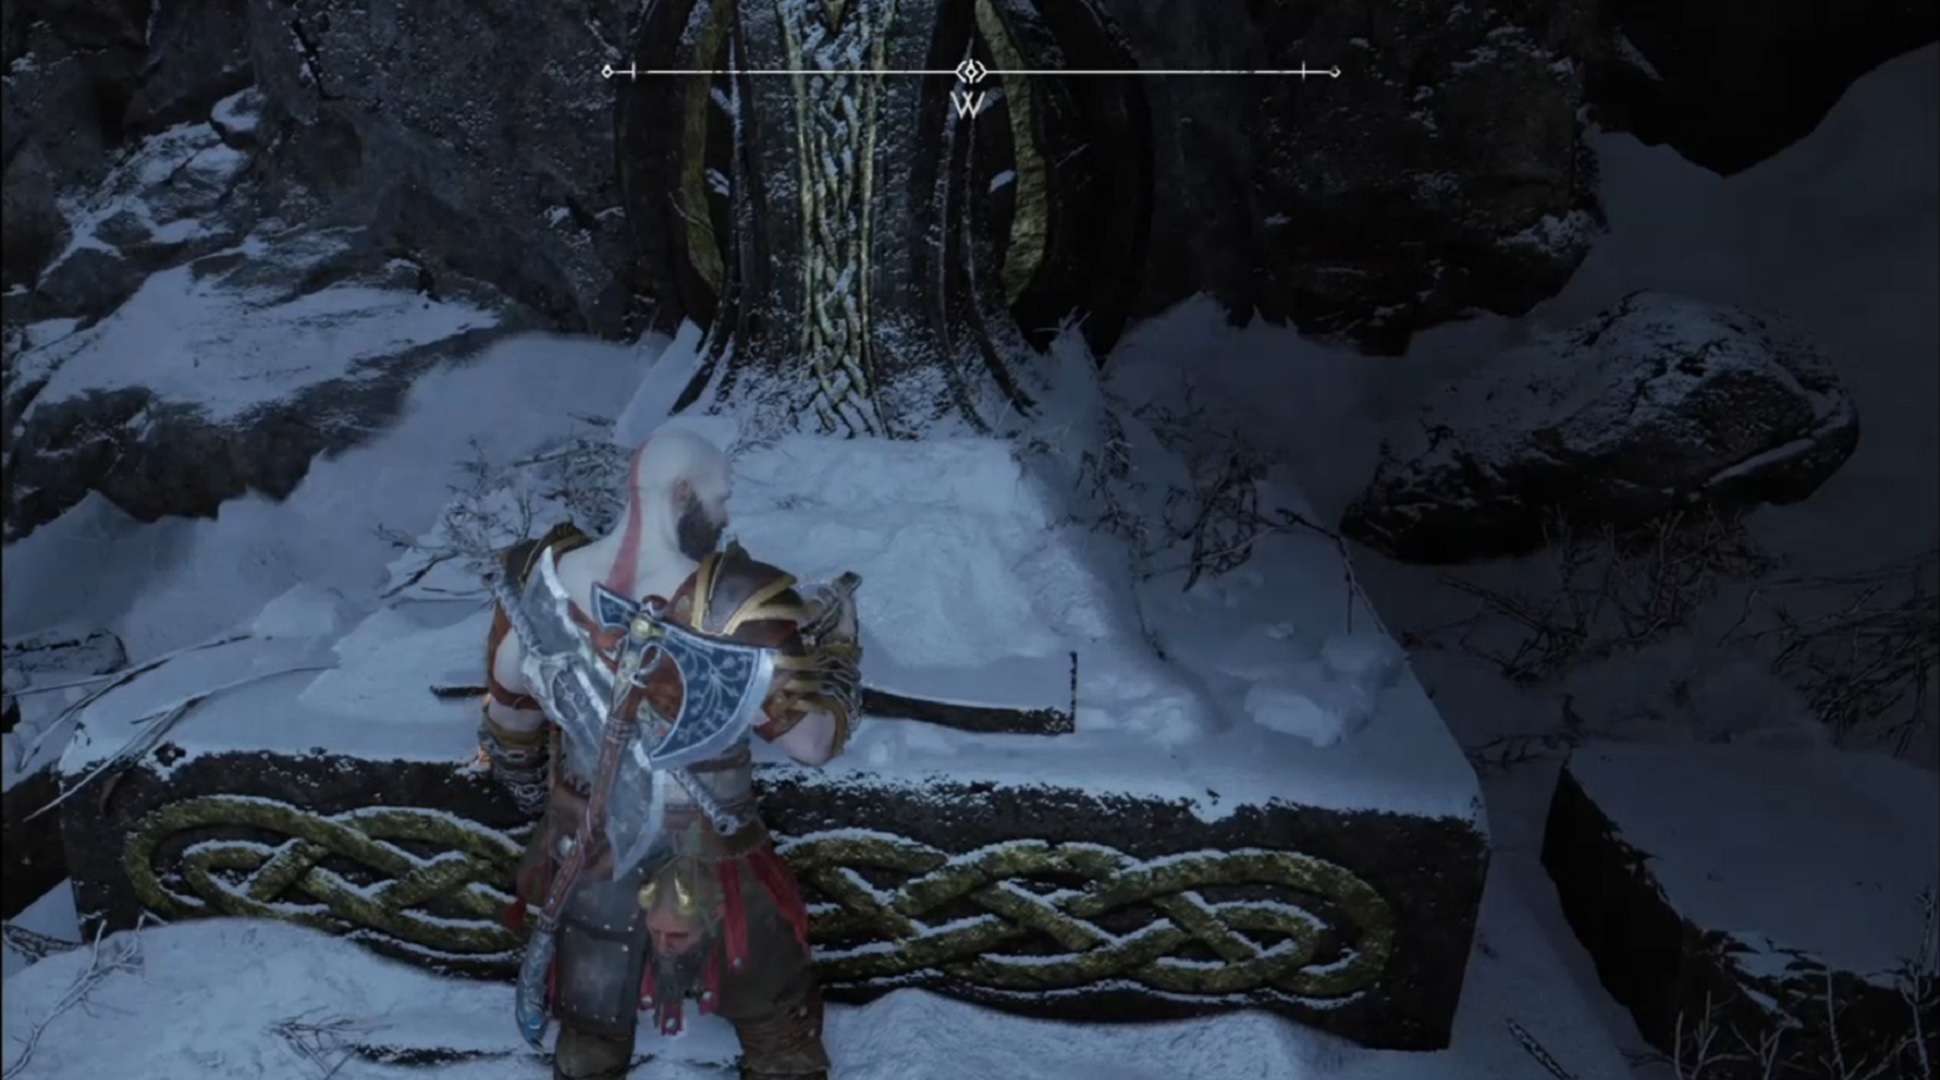
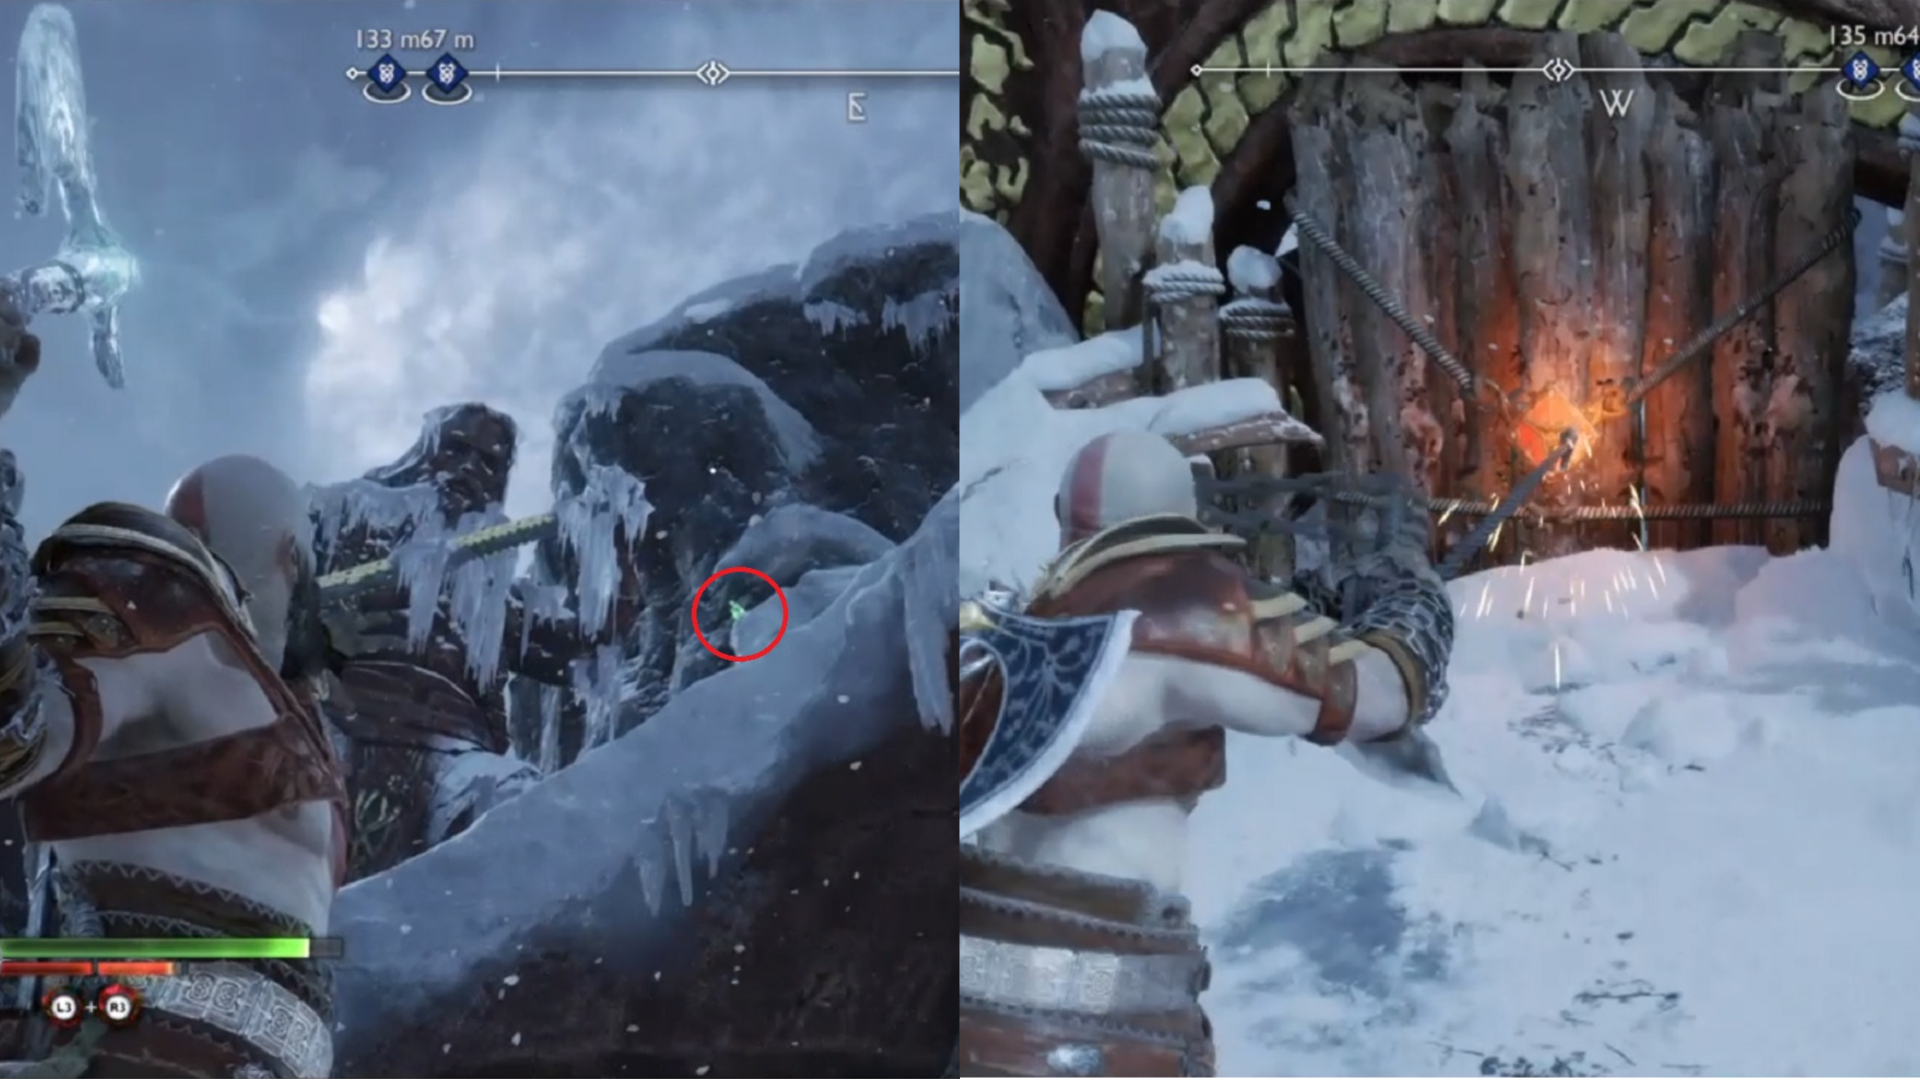
- If you plan to go to The Derelict Outpost, you have to grapple your way up, and you can find the hidden region there. Just head straight forward while Mimir and your Companion talk about Sigrun. Then, that’s when the Favor would be triggered.
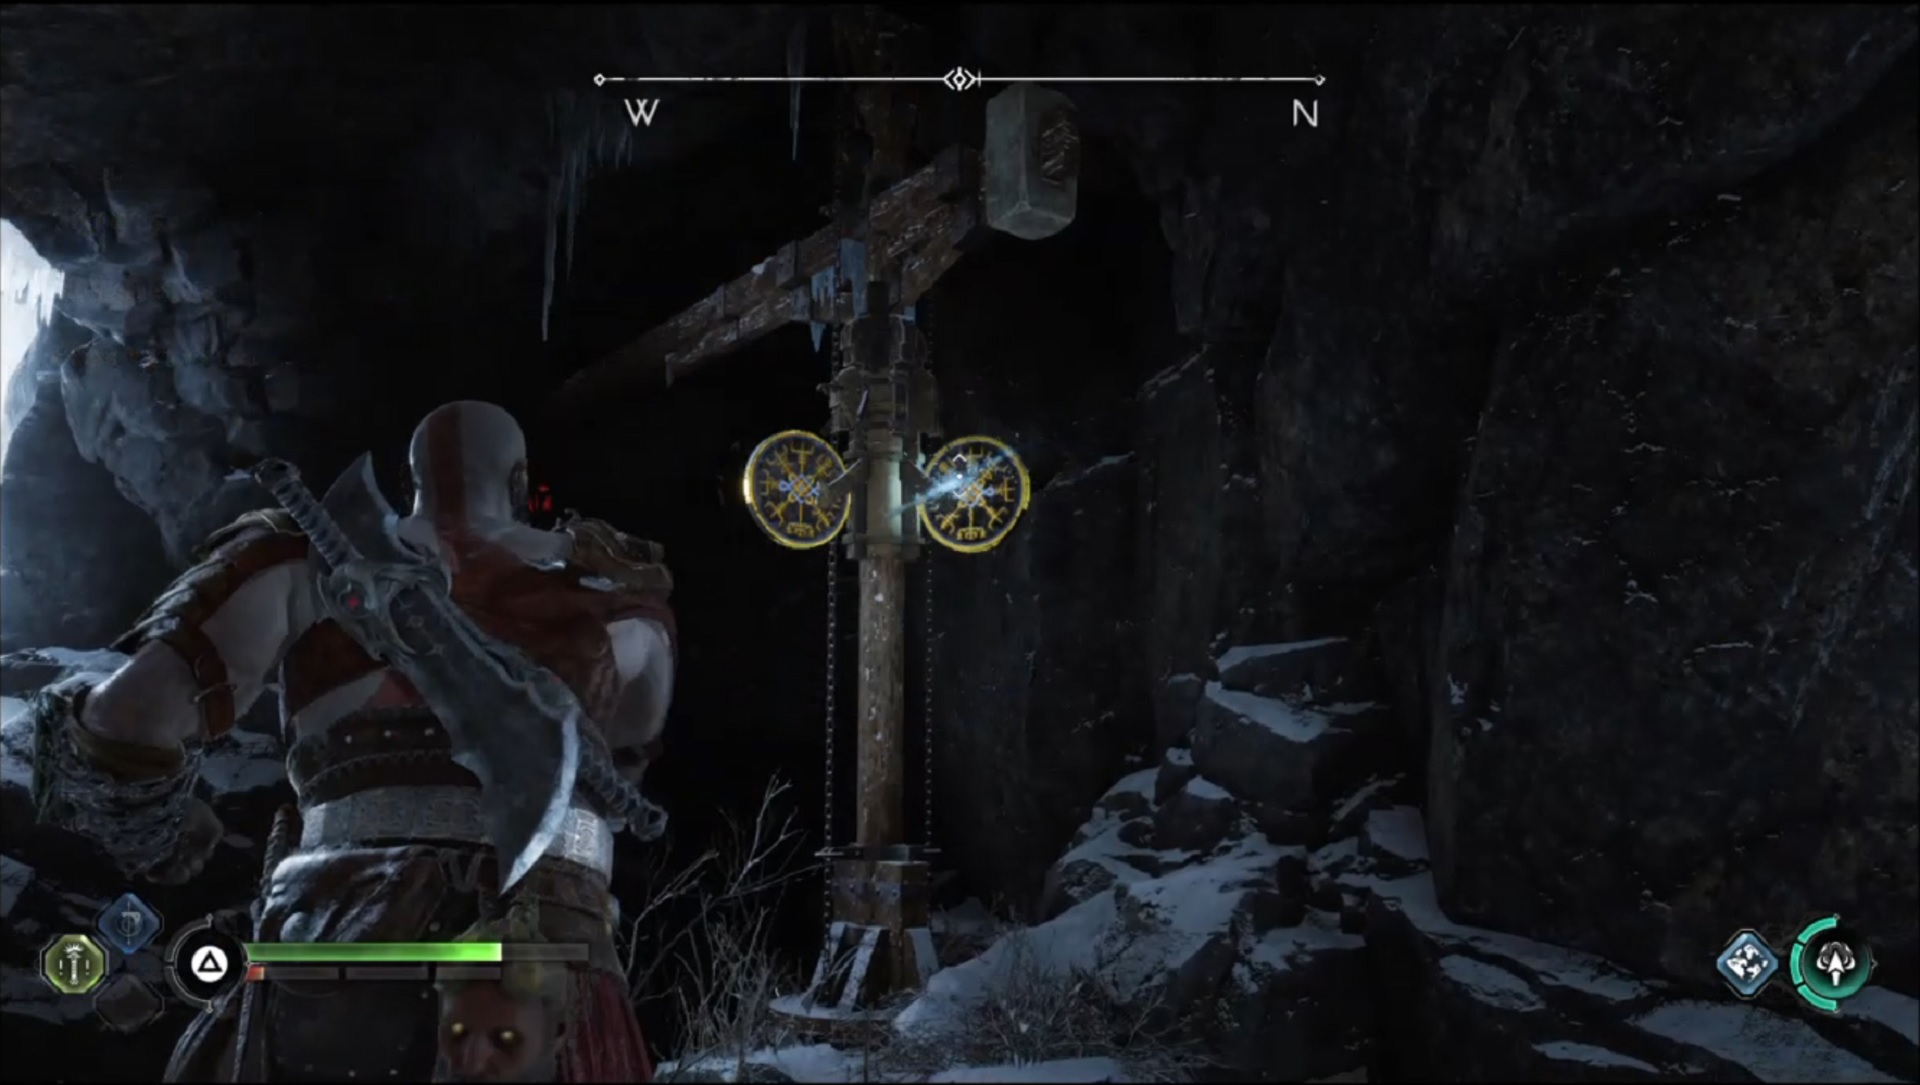
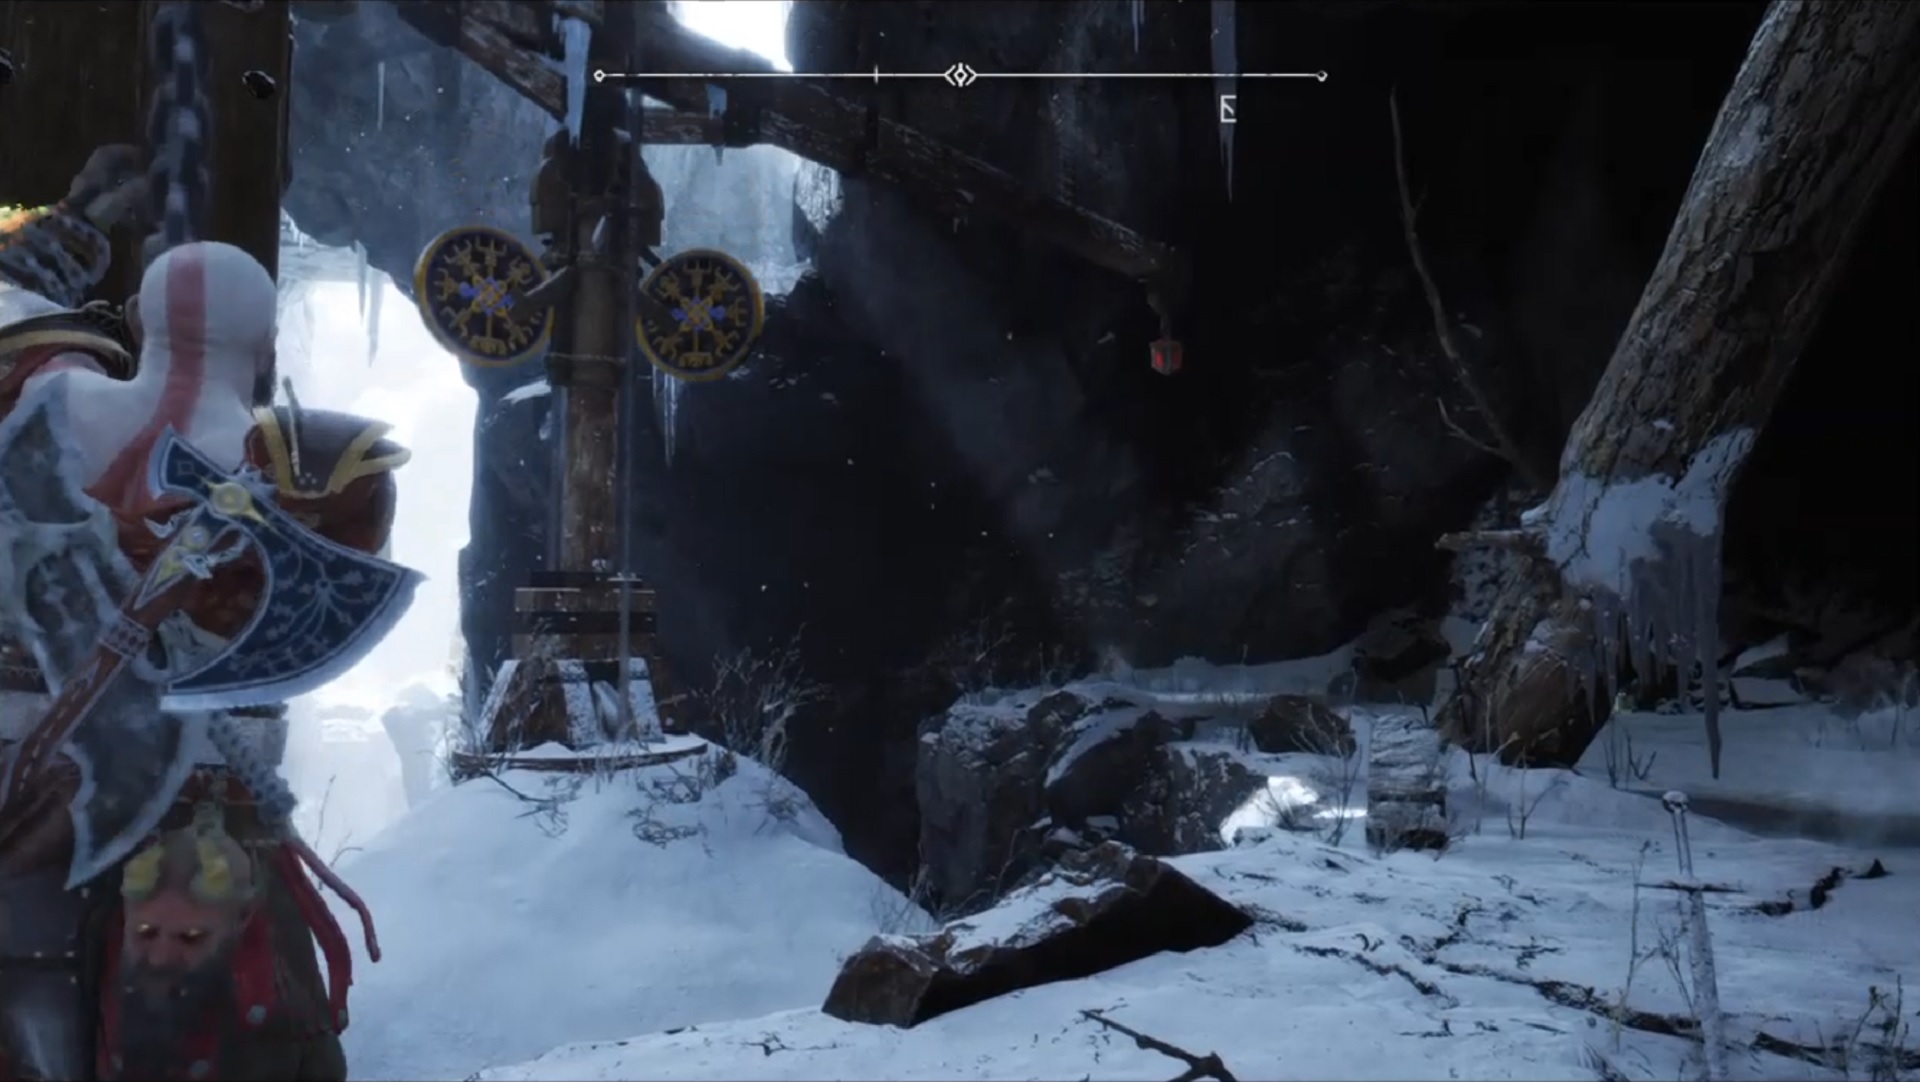
- You’ll notice a cave on your side so grapple your way to the other platform. On the right, Kratos finds a crane post that you have to hit to make it turn left. When it turns, you can use it to grapple your way to the next area. Prepare to fight off enemies once you land!
Defeat enemies and explore the area
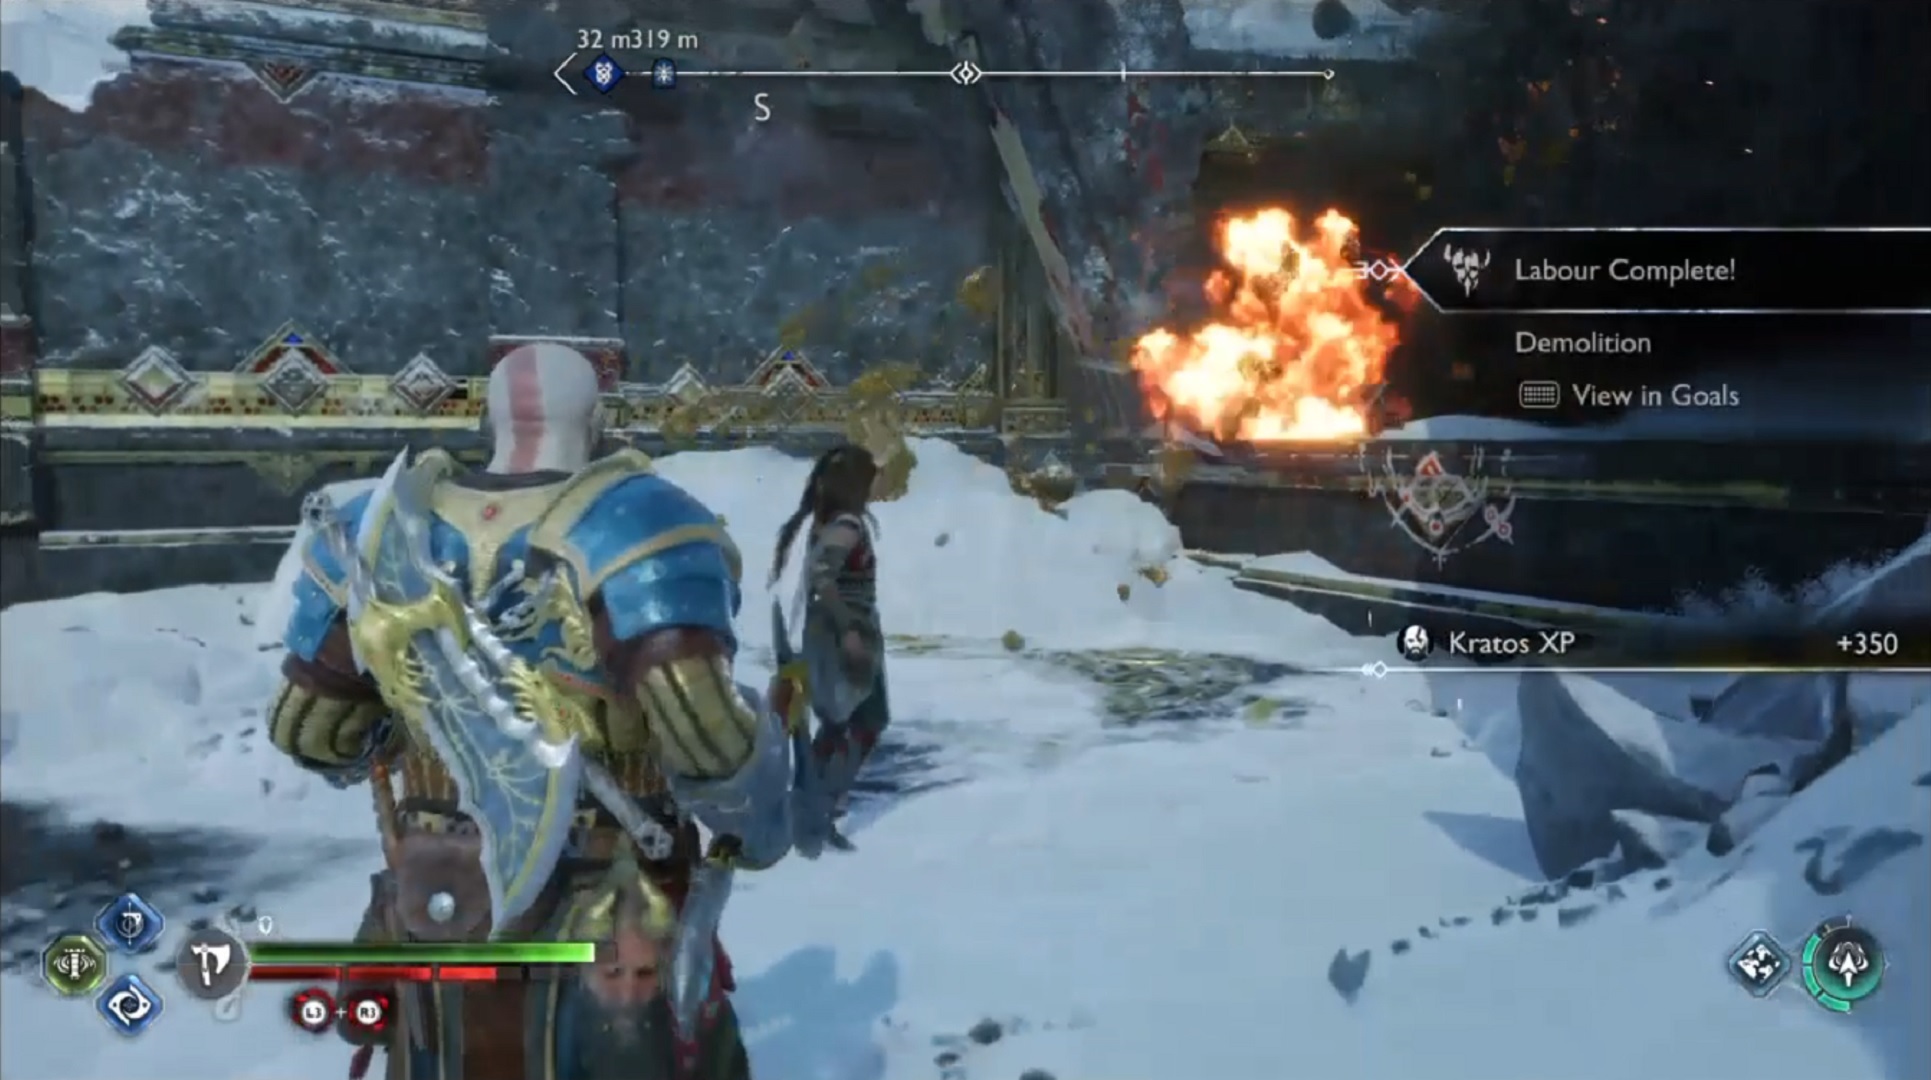
- When you move further into the area, you’ll find enemies up ahead. Defeat all enemies and clear the area out.
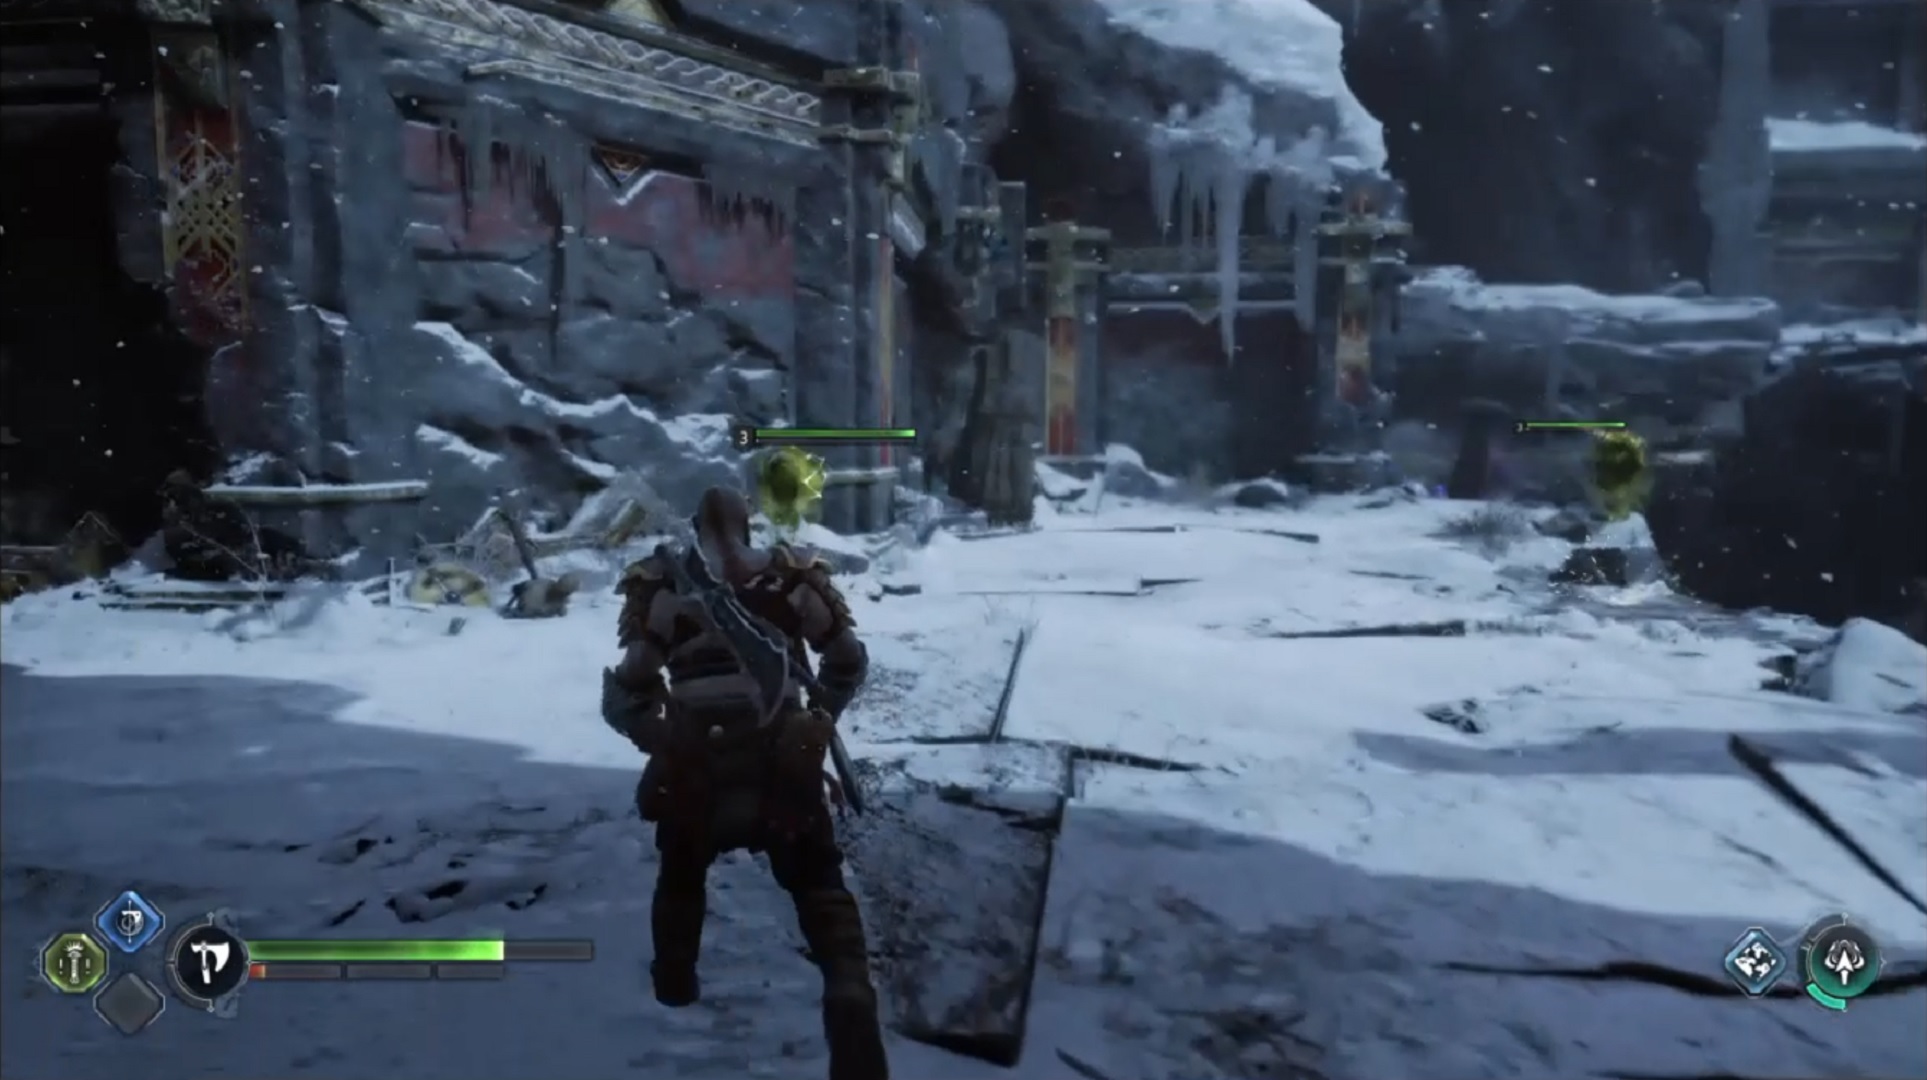
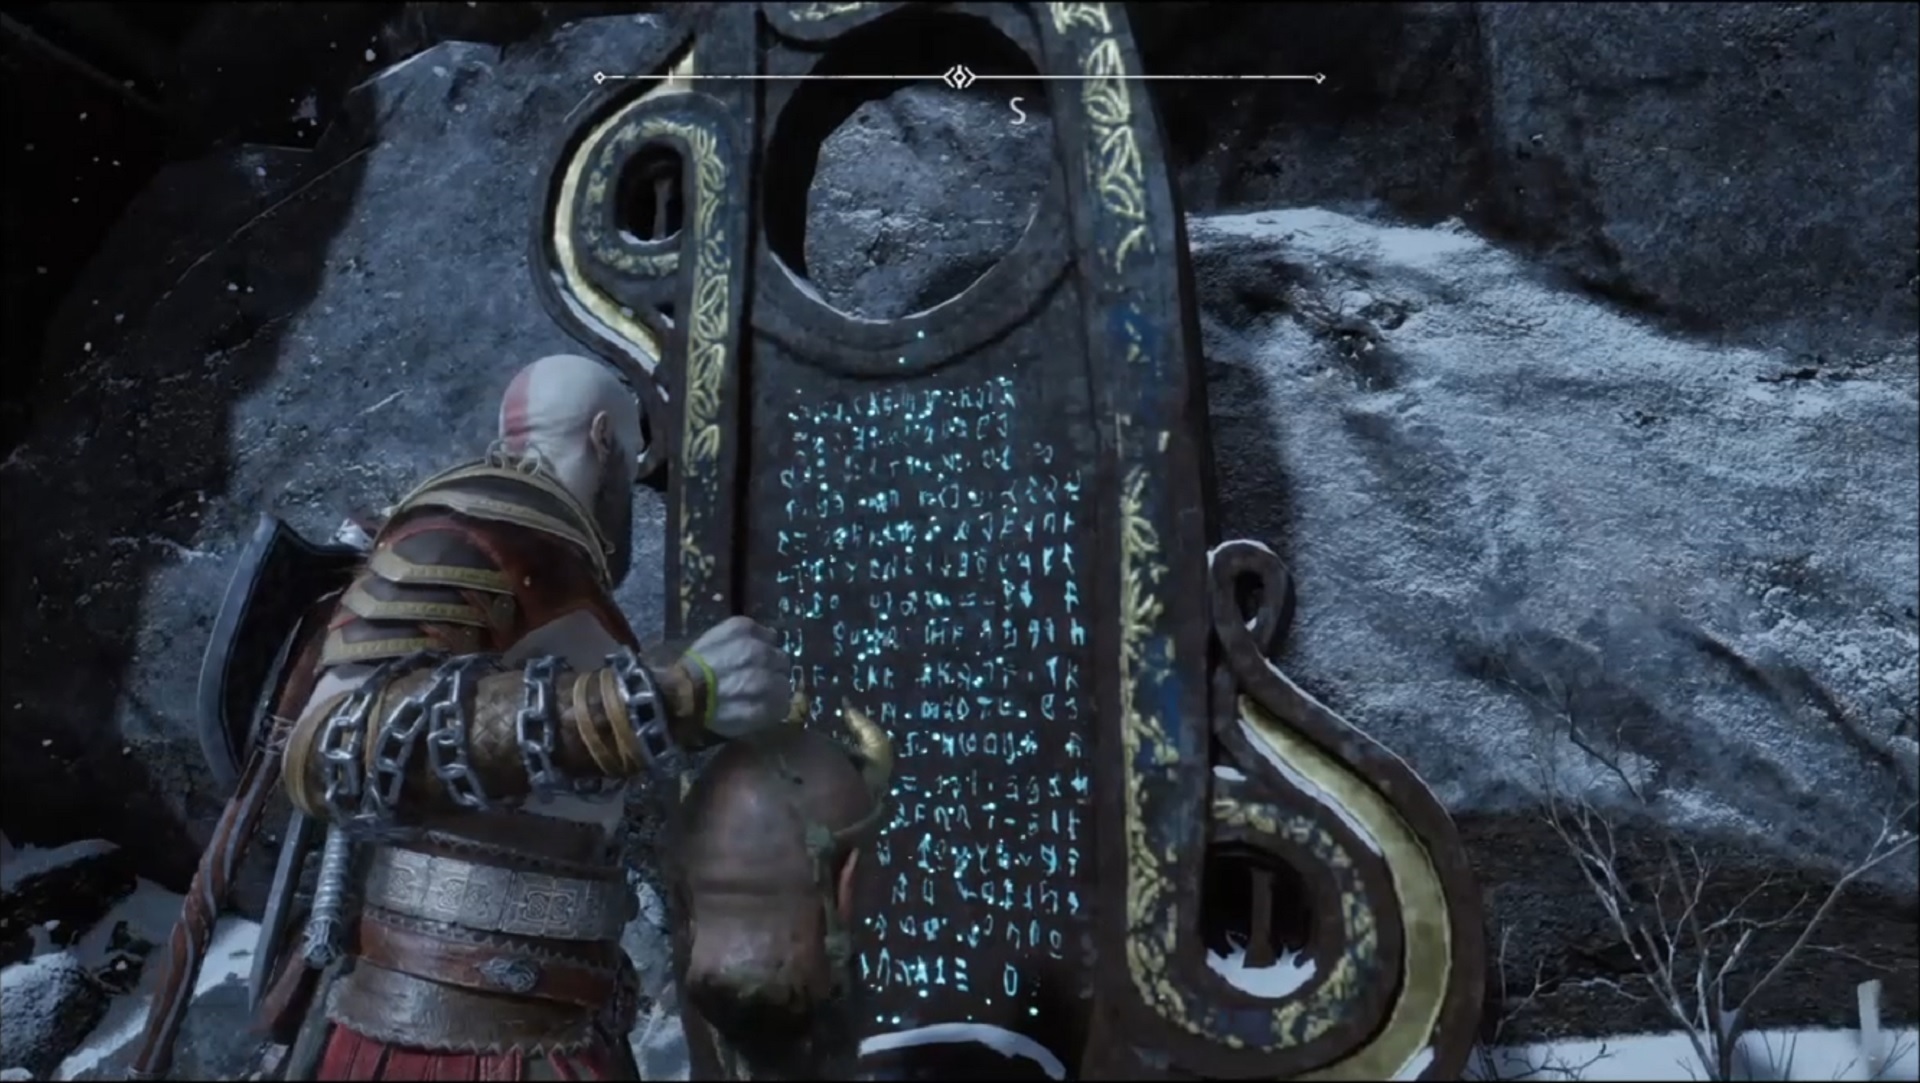
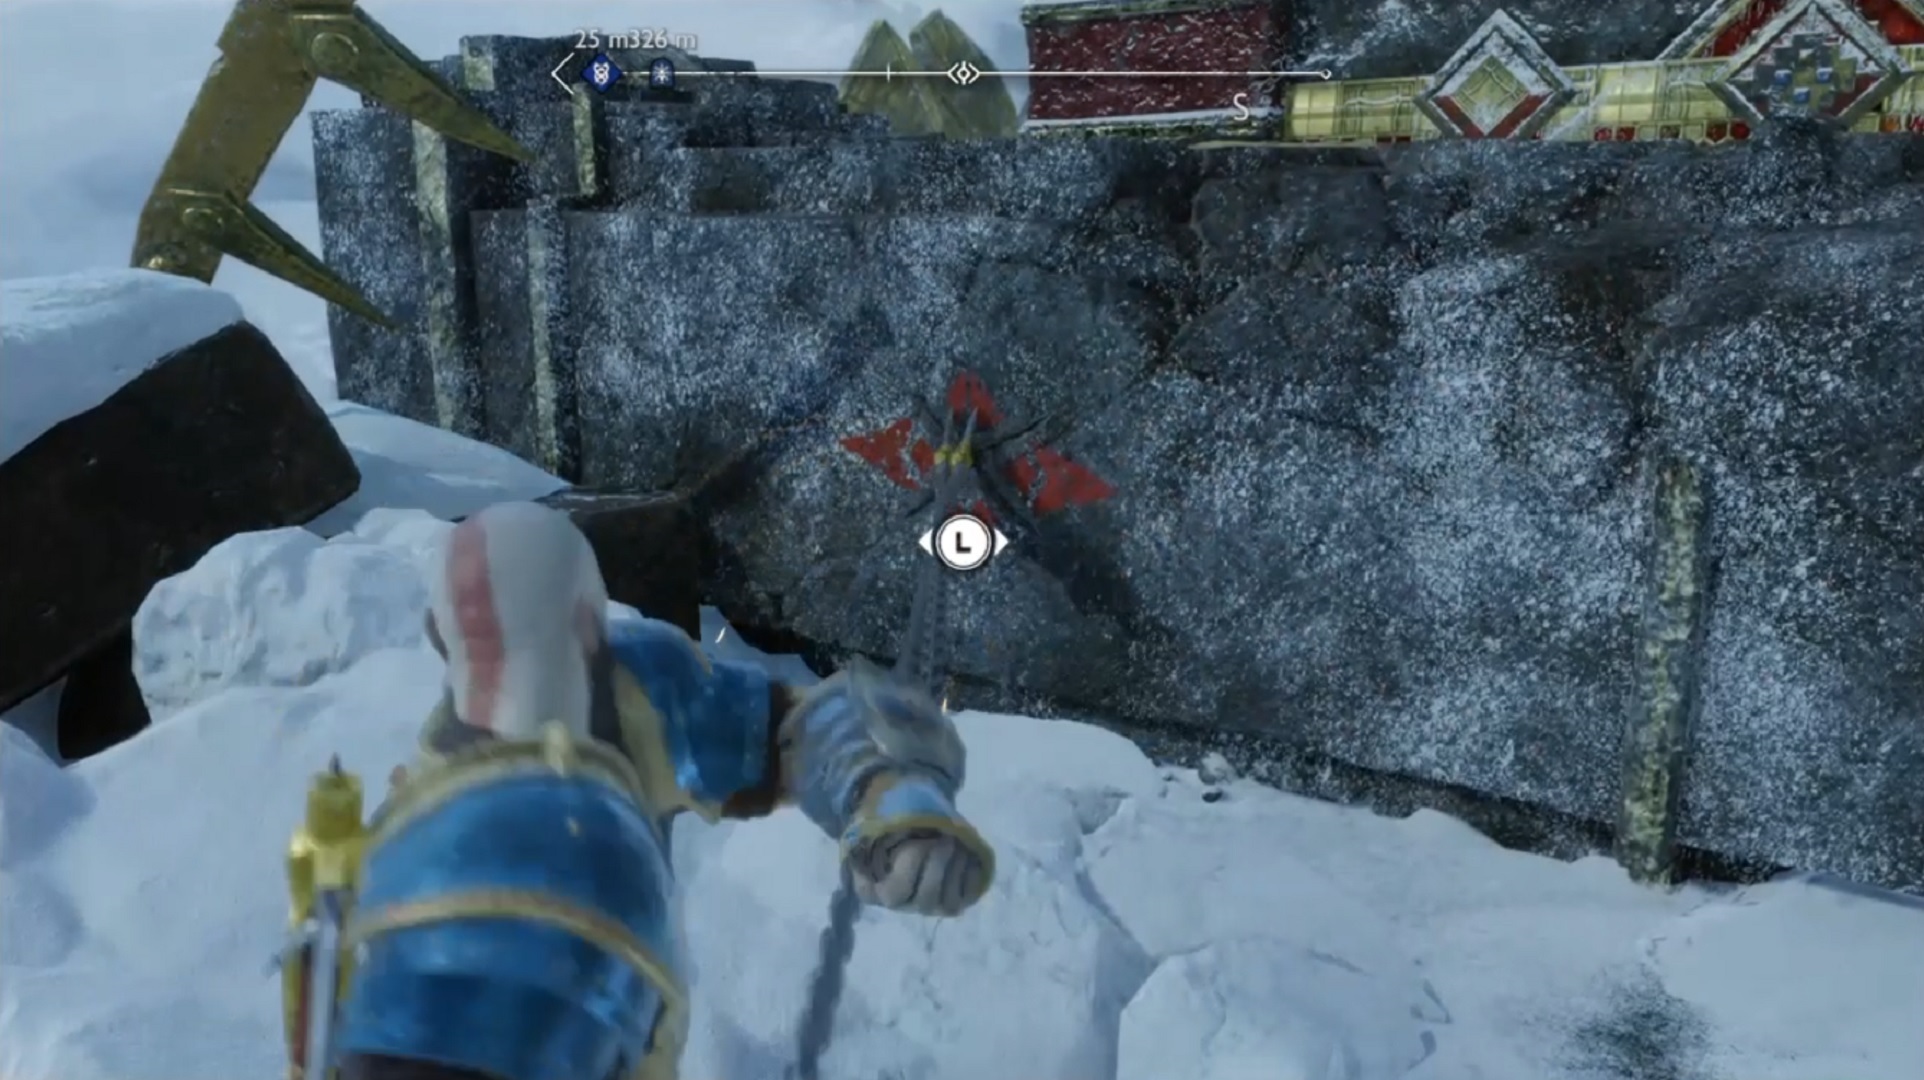
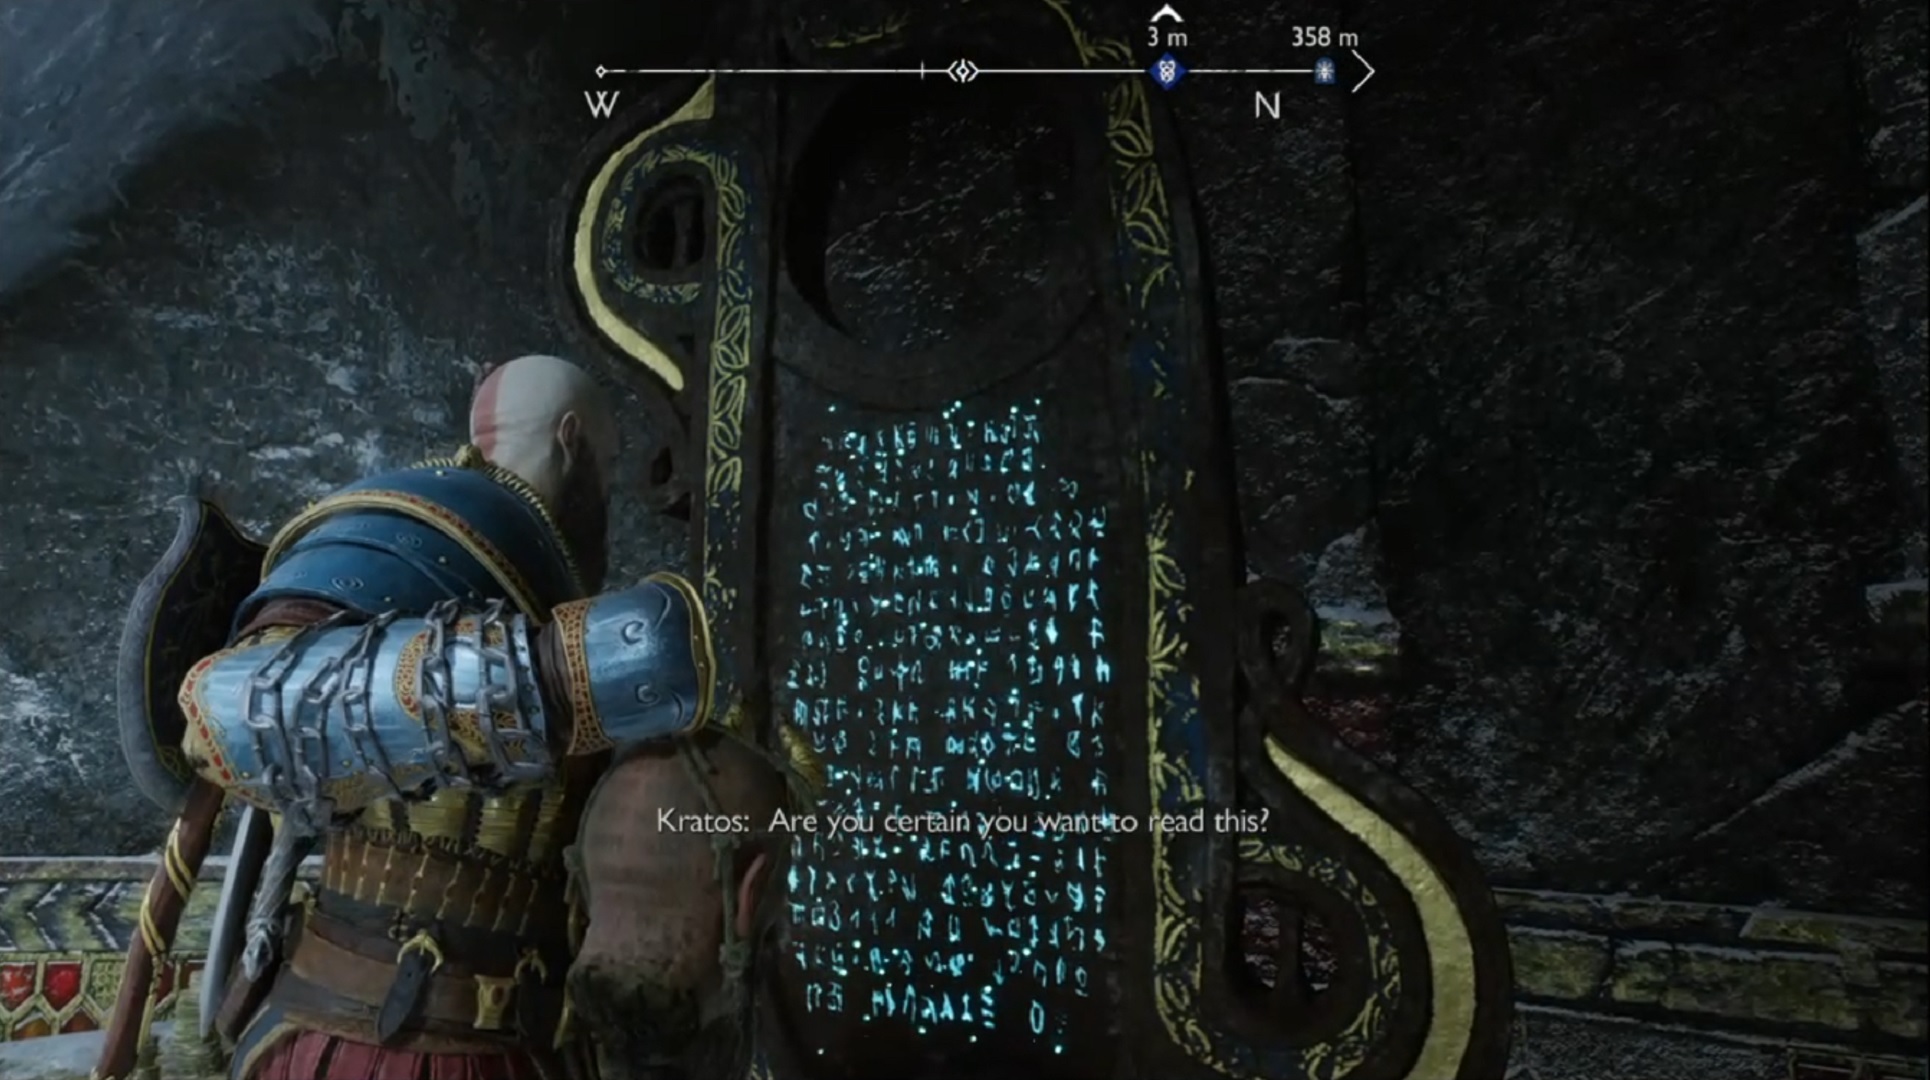
- Once Kratos and his Companion clear the enemies, run over to the end of the platform. The Lore Marker should be just behind the rock formation up front. This would be the first Lore Marker that you can come across for this Side Quest.
- Also, on your right, there would be one of Odin’s Ravens perched on a rock, so make sure to take it down. Use Kratos’ Leviathan Axe to end this glowing green bird.
Grapple to the other side
- Find another crane post on the right when you first enter the area. You should rotate it once again for you to jump on the other side.
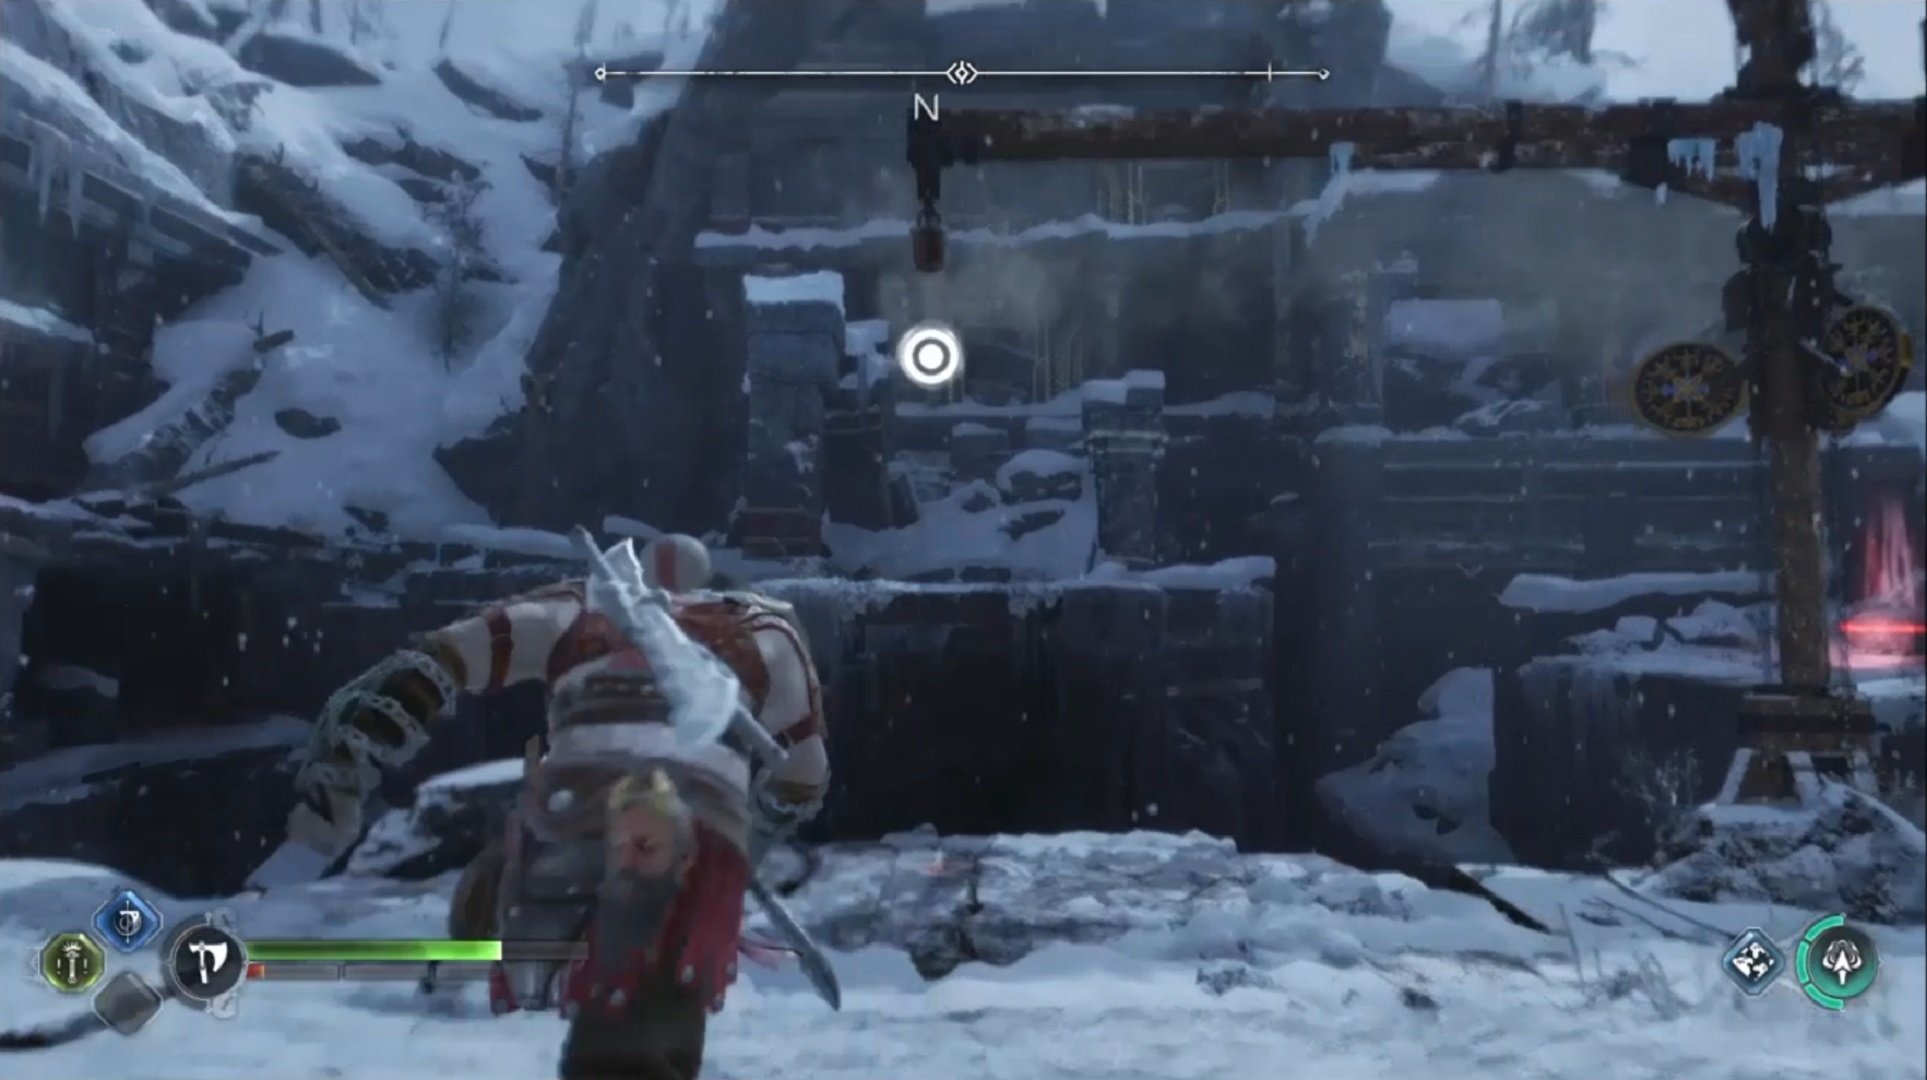
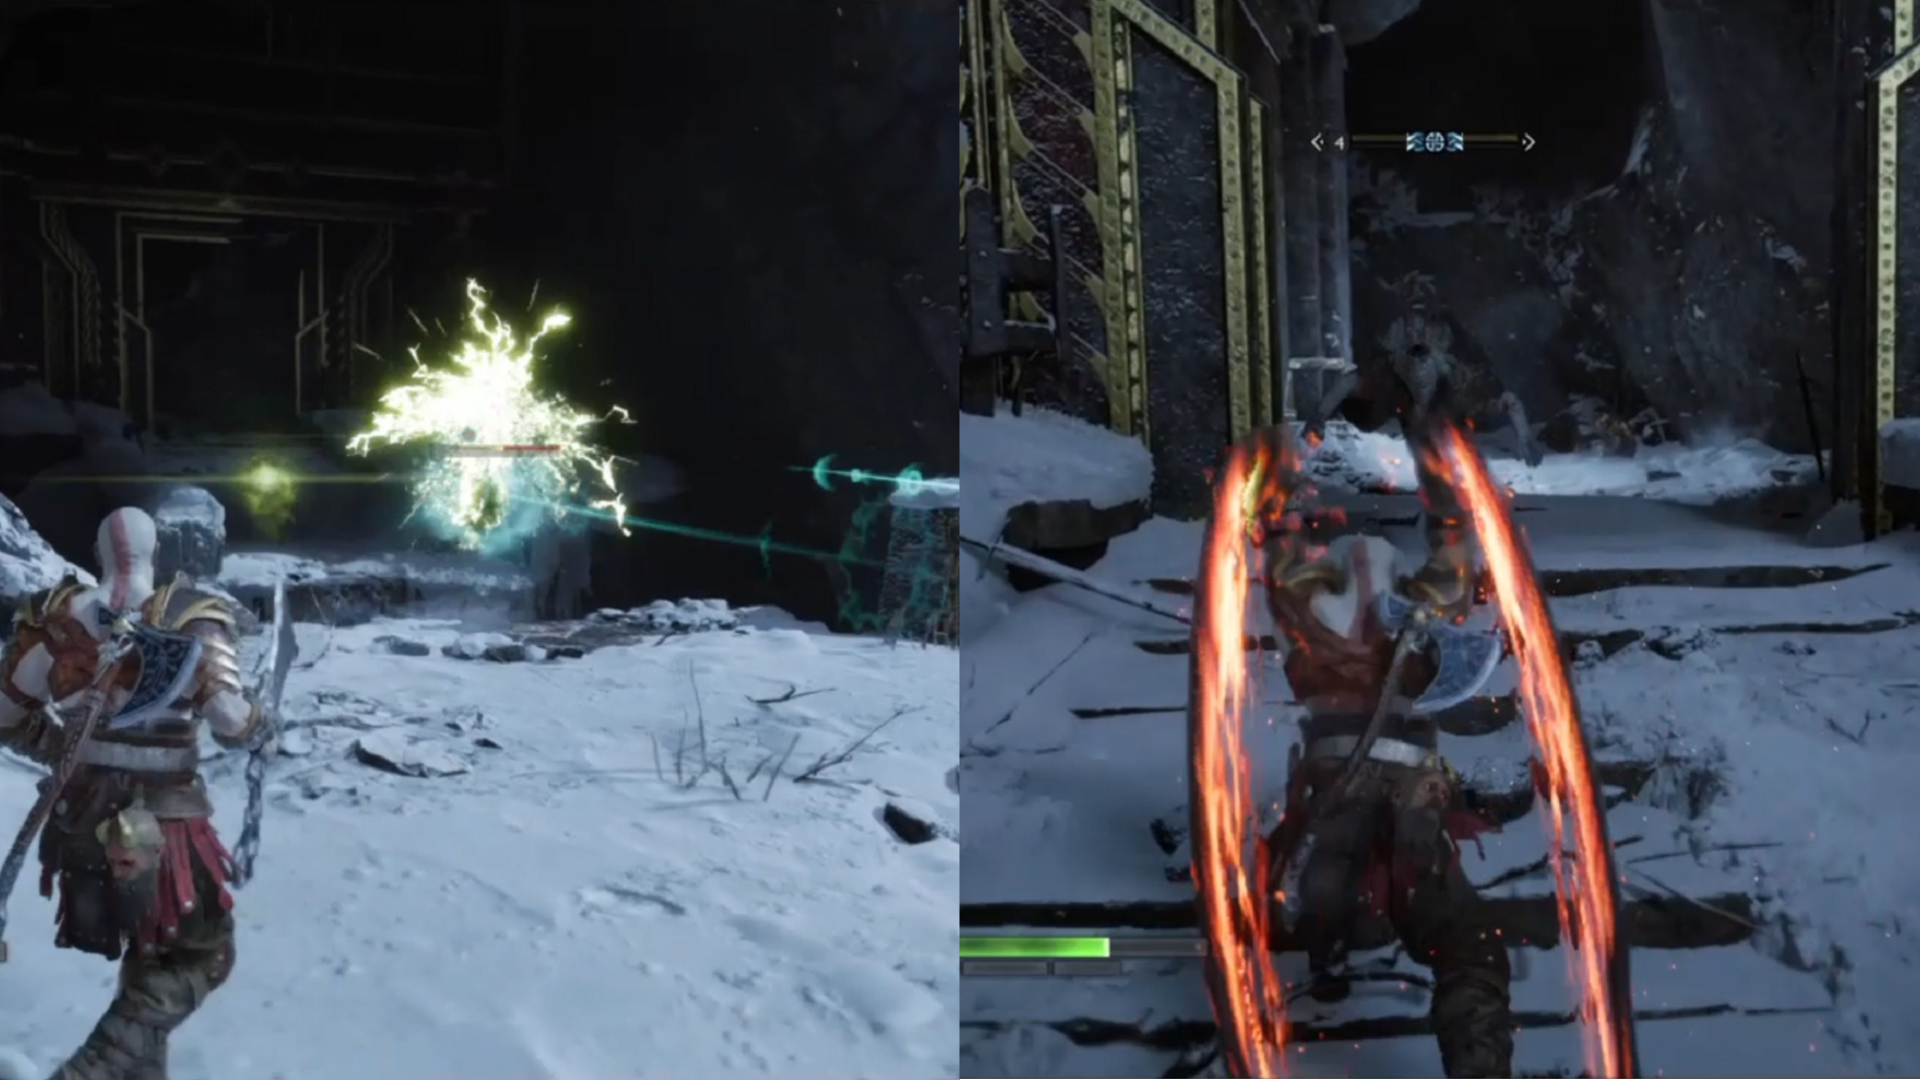
- Once you reach the other side, move to the left and find a chain. You have to pull the chain until the post reaches the highest. When you grapple to the other side, prepare for enemies up ahead! Use the Blades of Chaos to fight them off since they will be covered in Frost.

Climb up a ledge
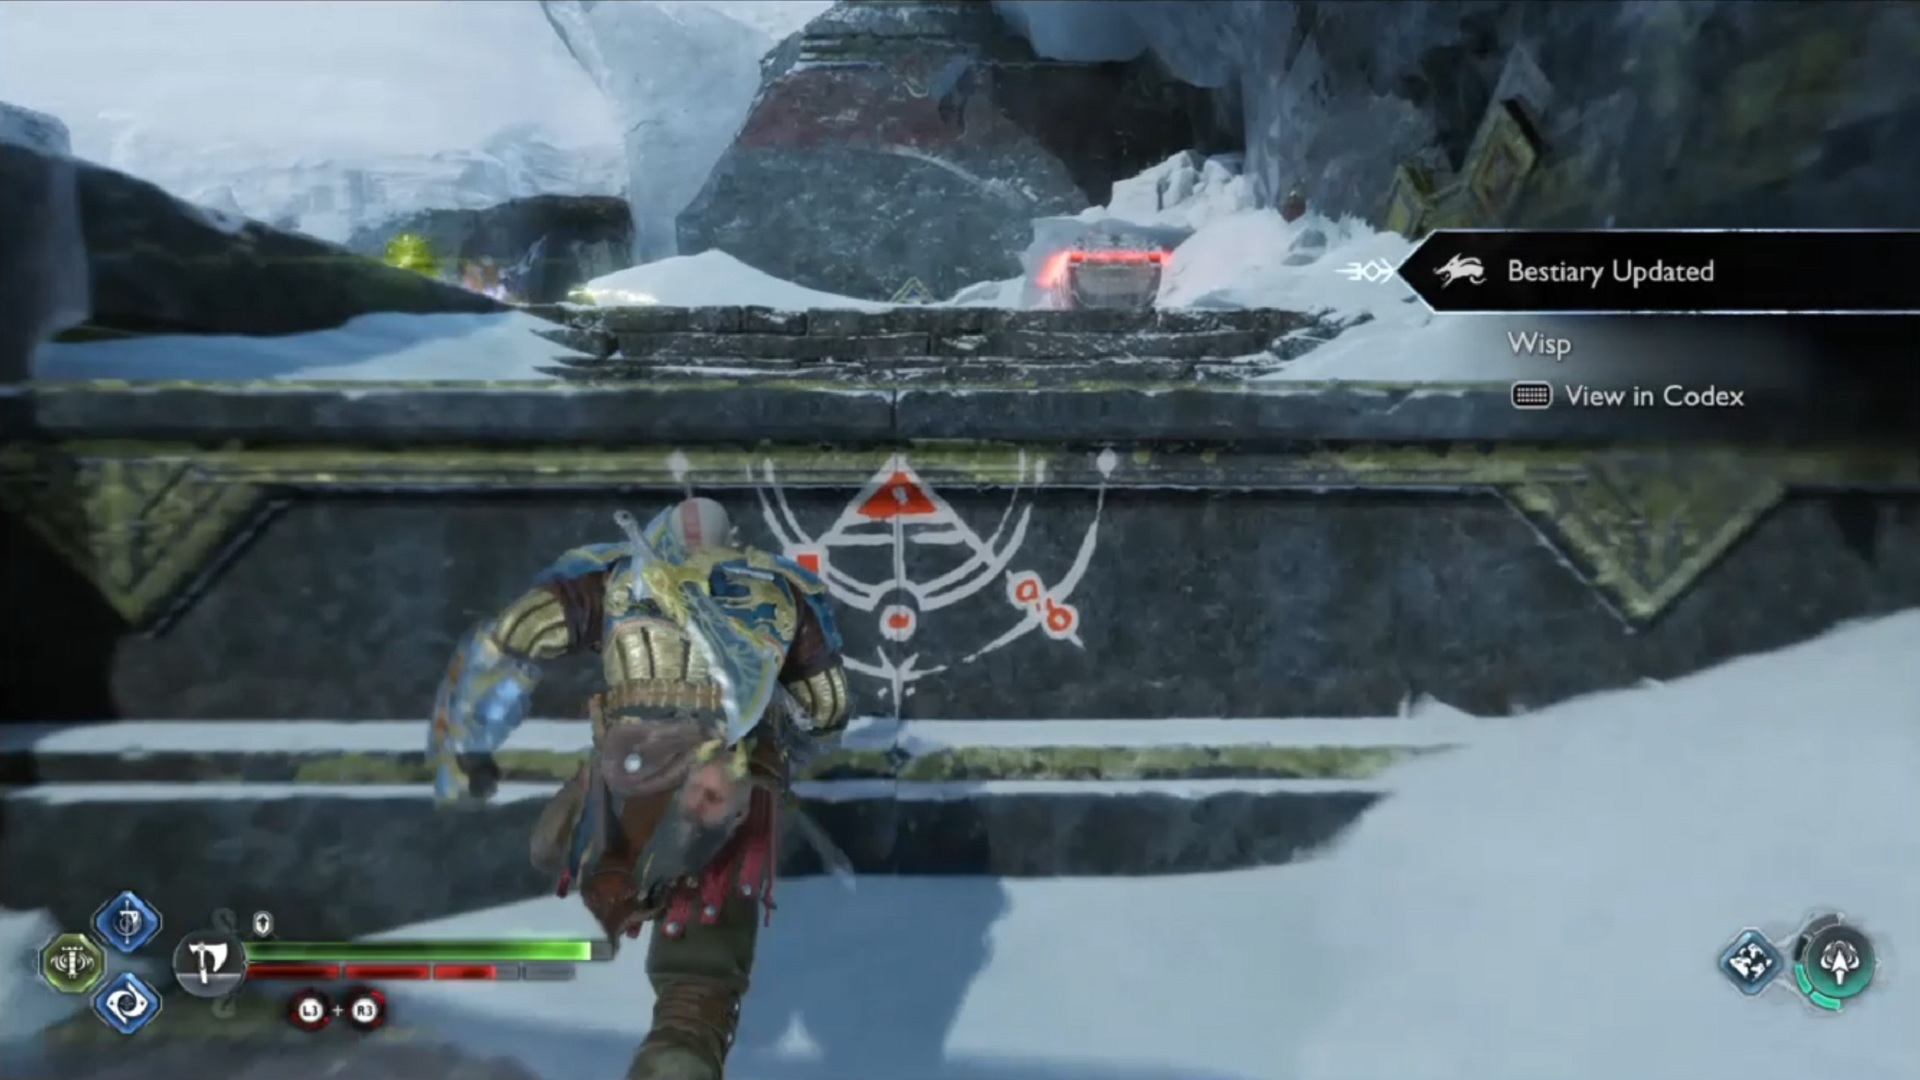
- Clear the area out, and move to your left side. Climb up the ledge but be ready to face more enemies! Your Companion may take care of the Wisps with their Arrows, while Kratos faces the Hel-Raiders.
Encounter a stuck crane post
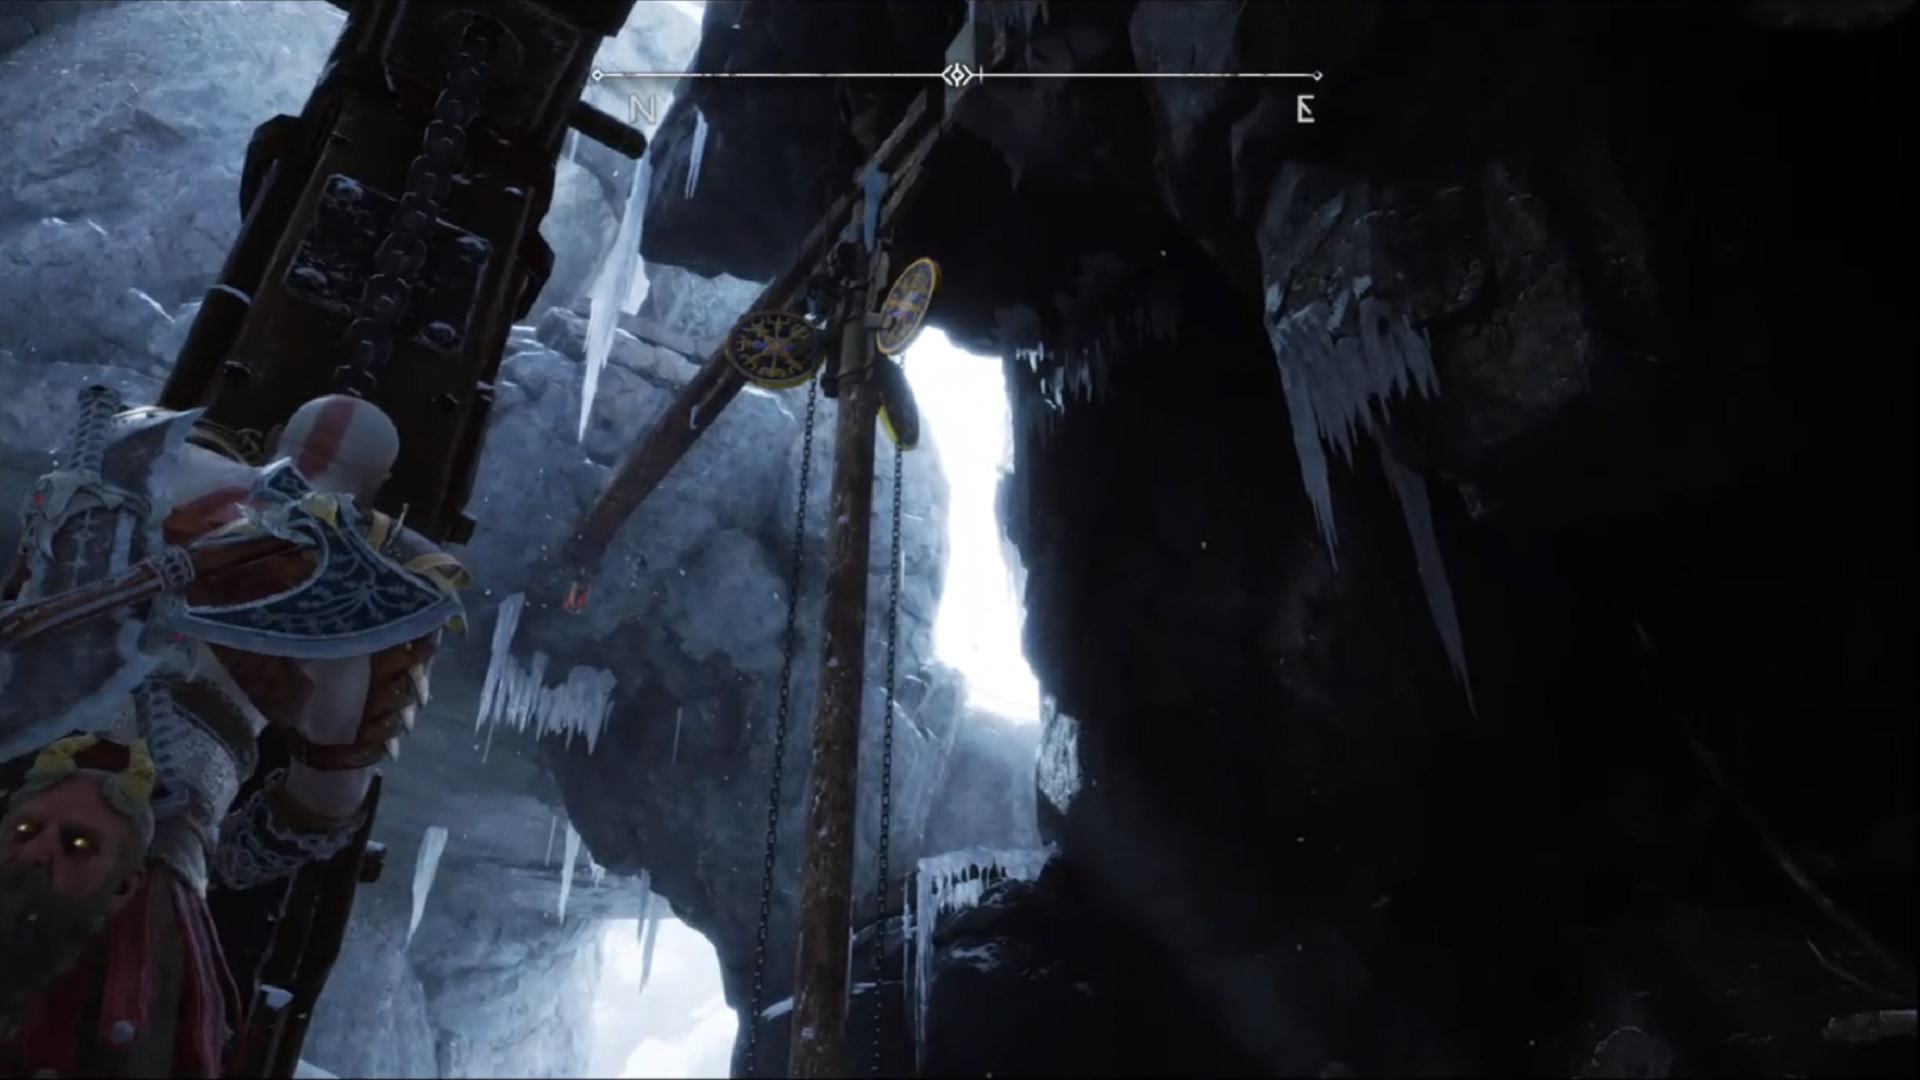
- When you move forward after defeating all enemies, you’ll face a stuck crane post. With any throw of the Leviathan Axe, it wouldn’t turn, so better to get down the ledge. There should be a chain where you can lower the post. From here, adjust the height of the post.
- At its lowest height, you have to make the post turn to its left. Afterward, you can raise the post once again, and grapple your way to the other side.
Lore Marker and Legendary Chest
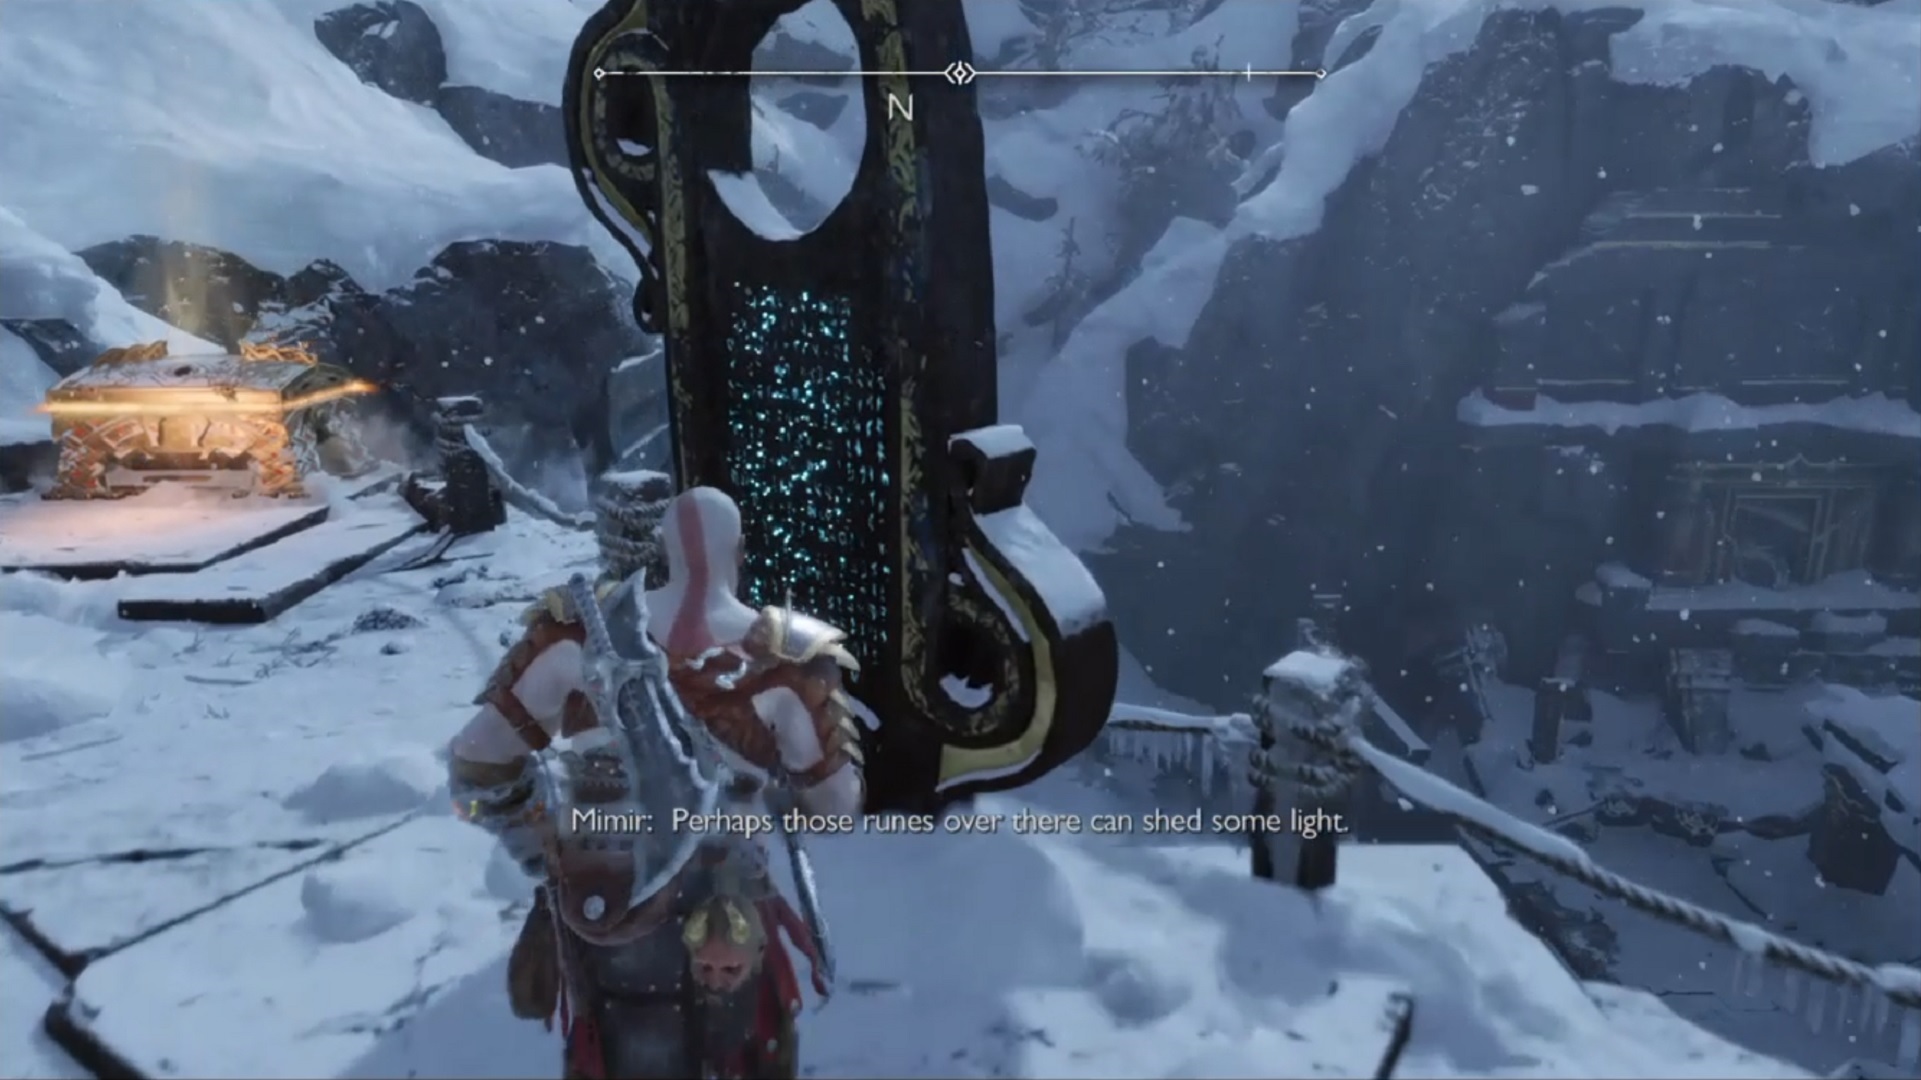
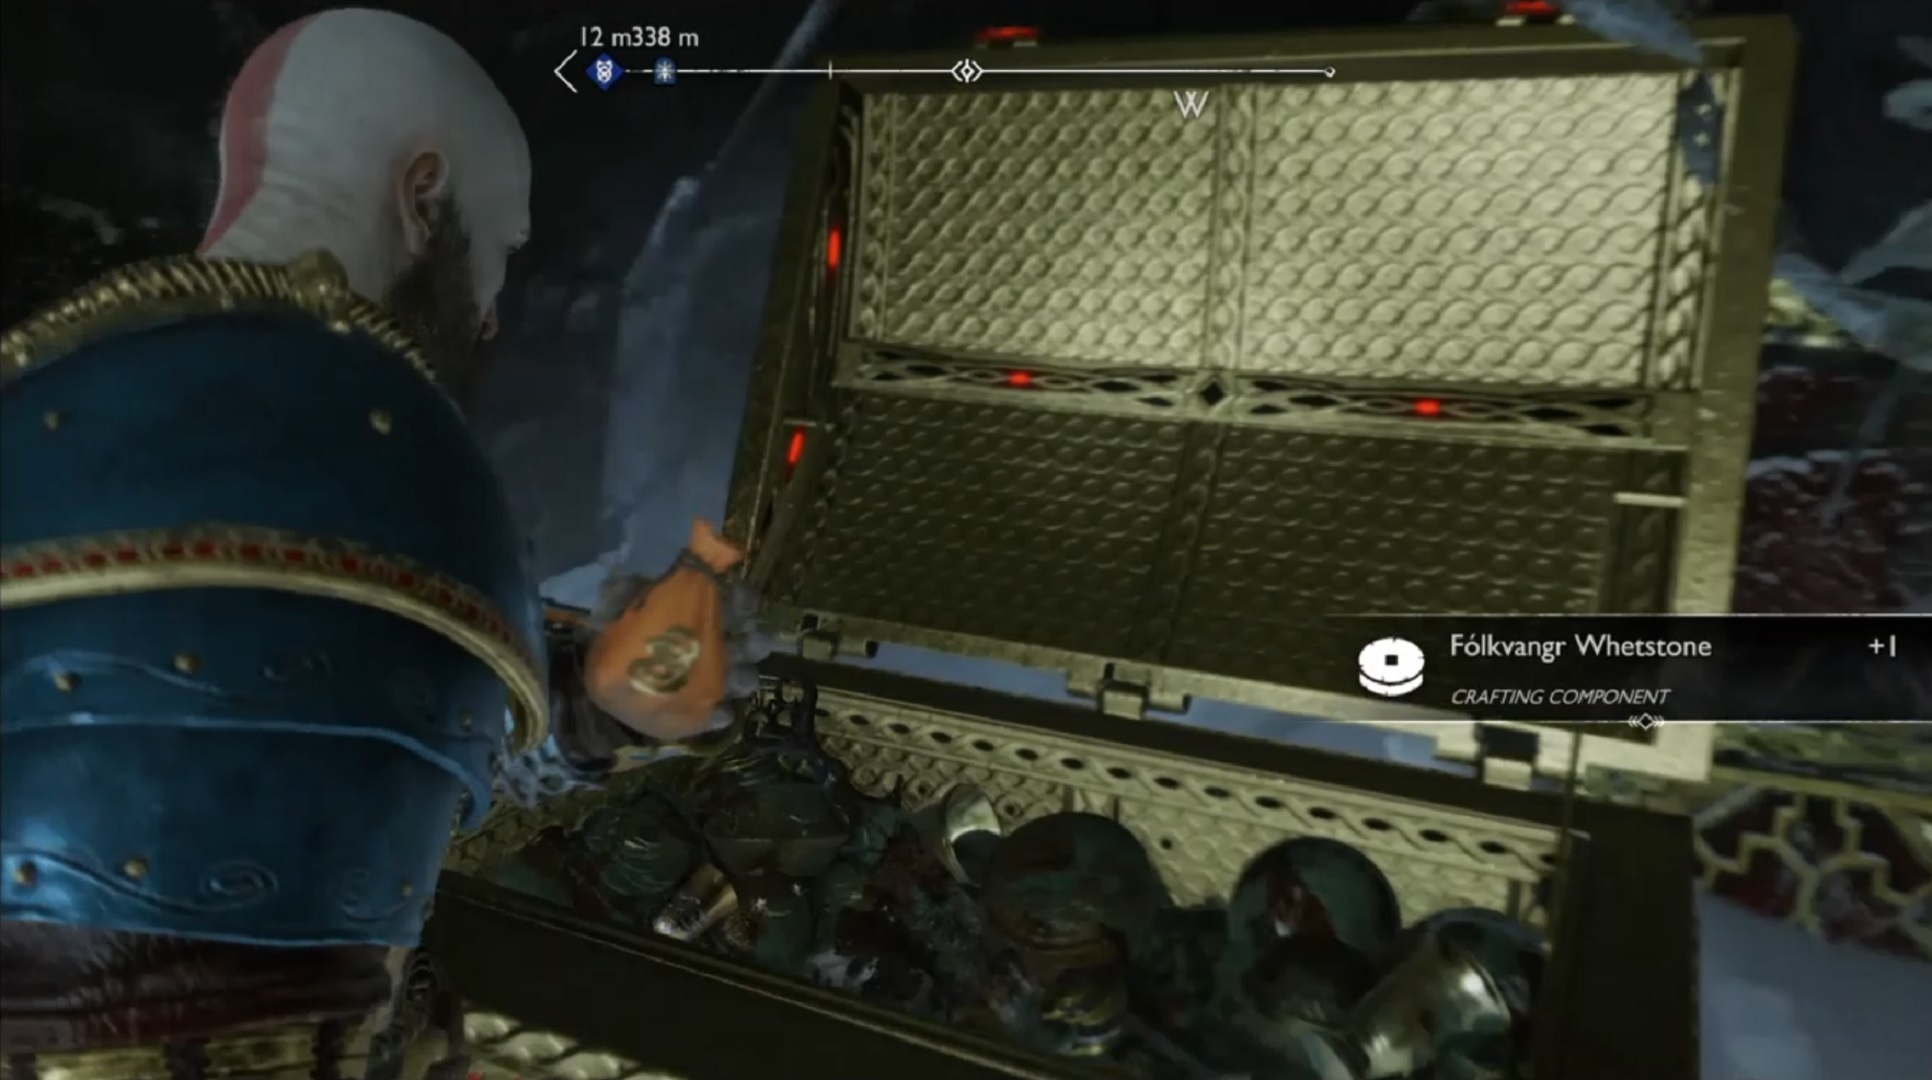
- Reach the other side, and you have to climb up to another ledge. Peek at the Lore Marker and a Legendary Chest on your left. Make sure to unlock the Chest and read the Marker before moving forward!
The first half of the key
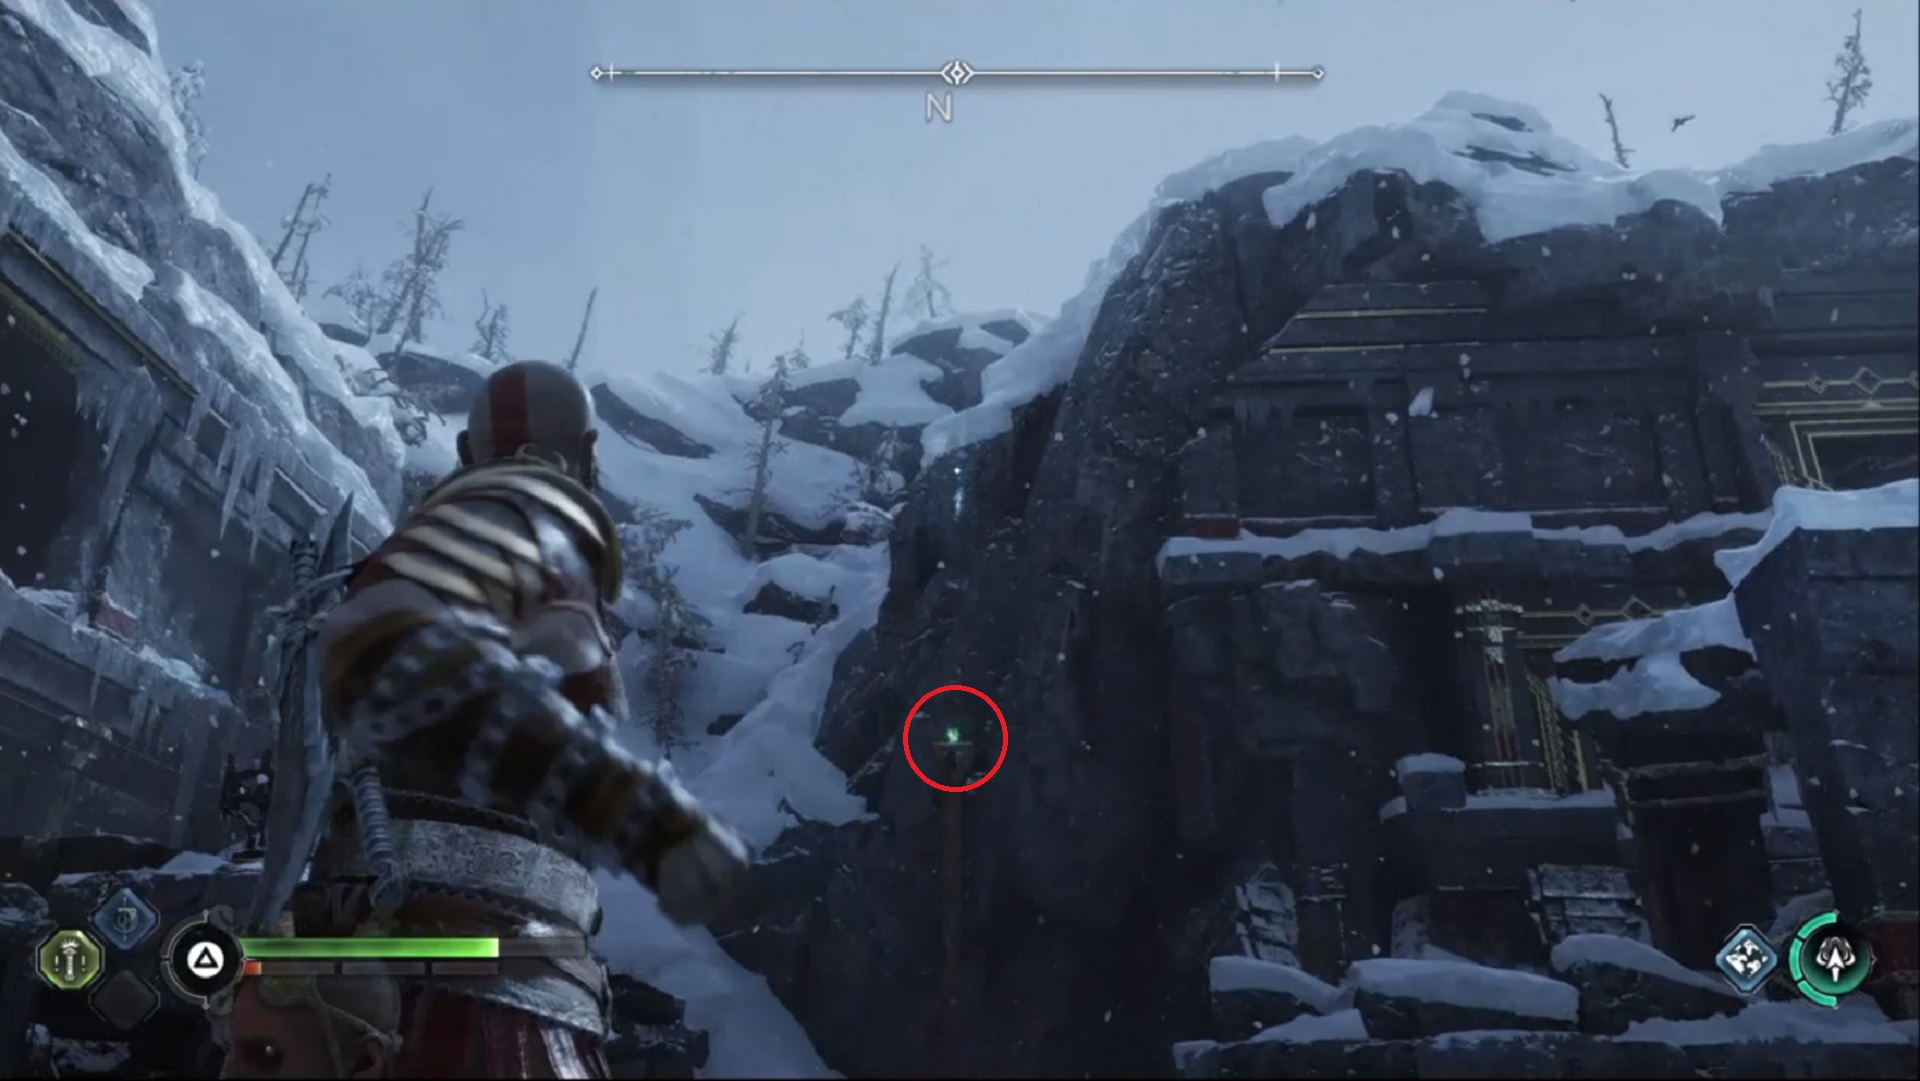
- Turn around and find the area where you can grapple your way up. There would be a spot where you notice a glowing item inside. Retrieve the first half of the key and continue to search for the other half.
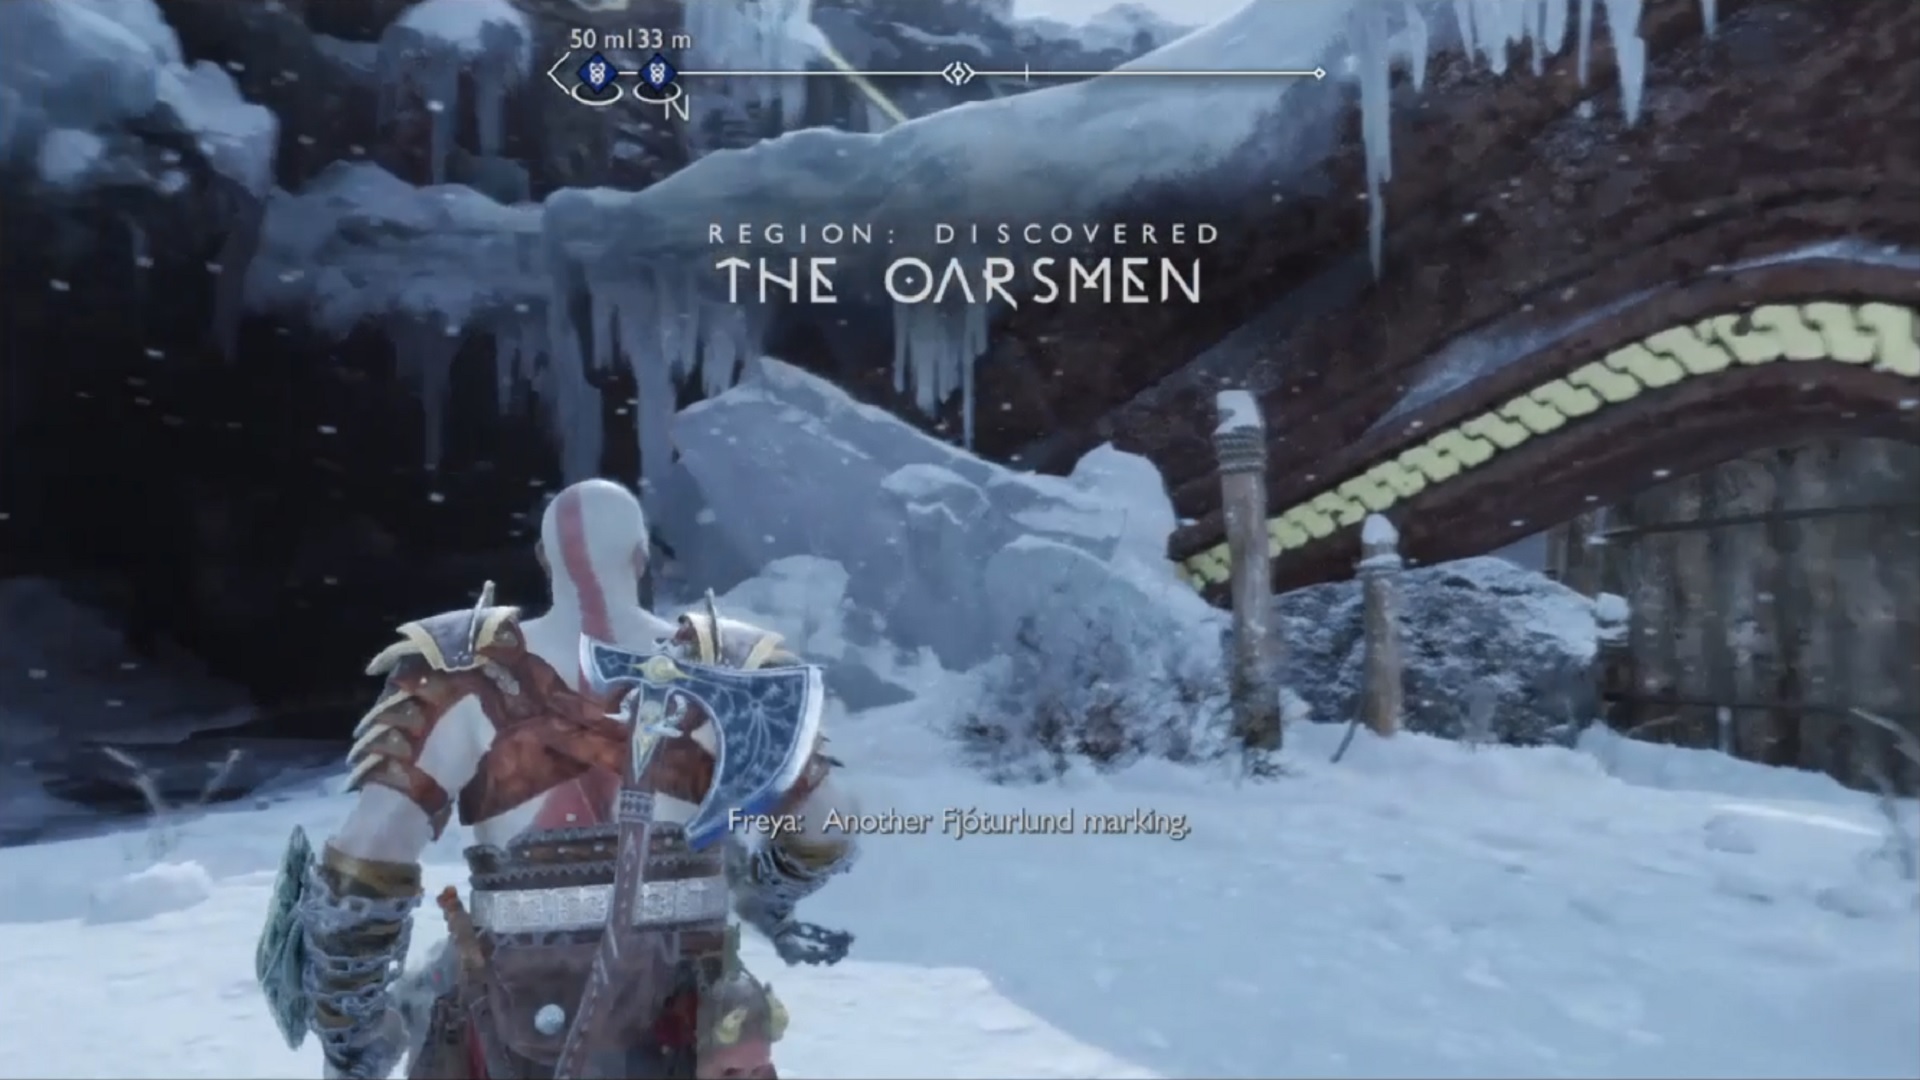
The Oarsmen region
- Look familiar, God of War: Ragnarok players? This is where Atreus and Sindri went on their way to talk to Jormungandr and Freya. Head over to The Oarsmen region in Lake of Nine. You’ll encounter vines blocking the way, so use Kratos’ Blades of Chaos to burn it up. Then jump over the gap to reach the region.
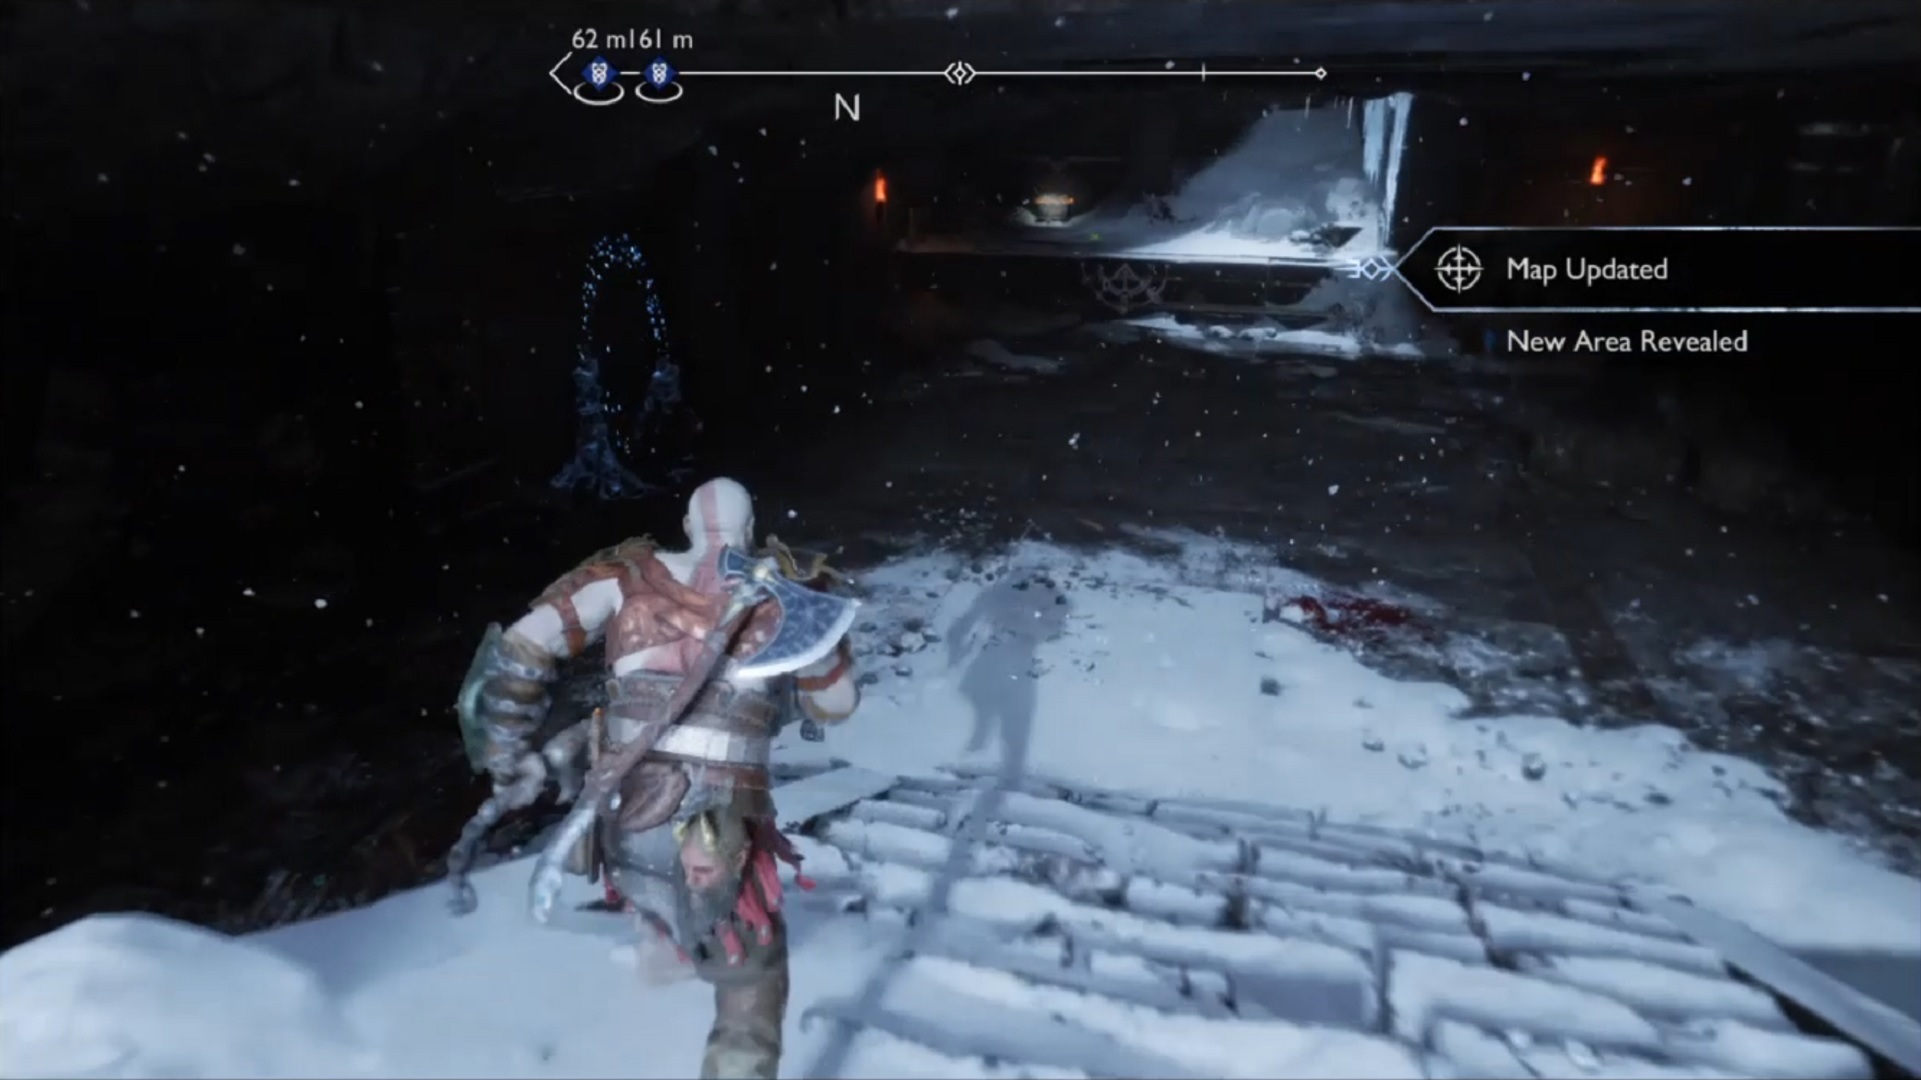
- Go down the stairs and be ready for battle. Defeat all the enemies to progress into the Sigrun’s Curse Favor. Once the area’s cleared out, climb up the wall to make your way around and find the other staircase.
Defeat Stalker
- Once you climb up the wall, a half-human and half-horse called Stalker would welcome you. You can easily take down the enemy if you aim your Axe at its horns when it is glowing. Defeat the Stalker and take all the rewards in the area including the Chest!
Find the other staircase
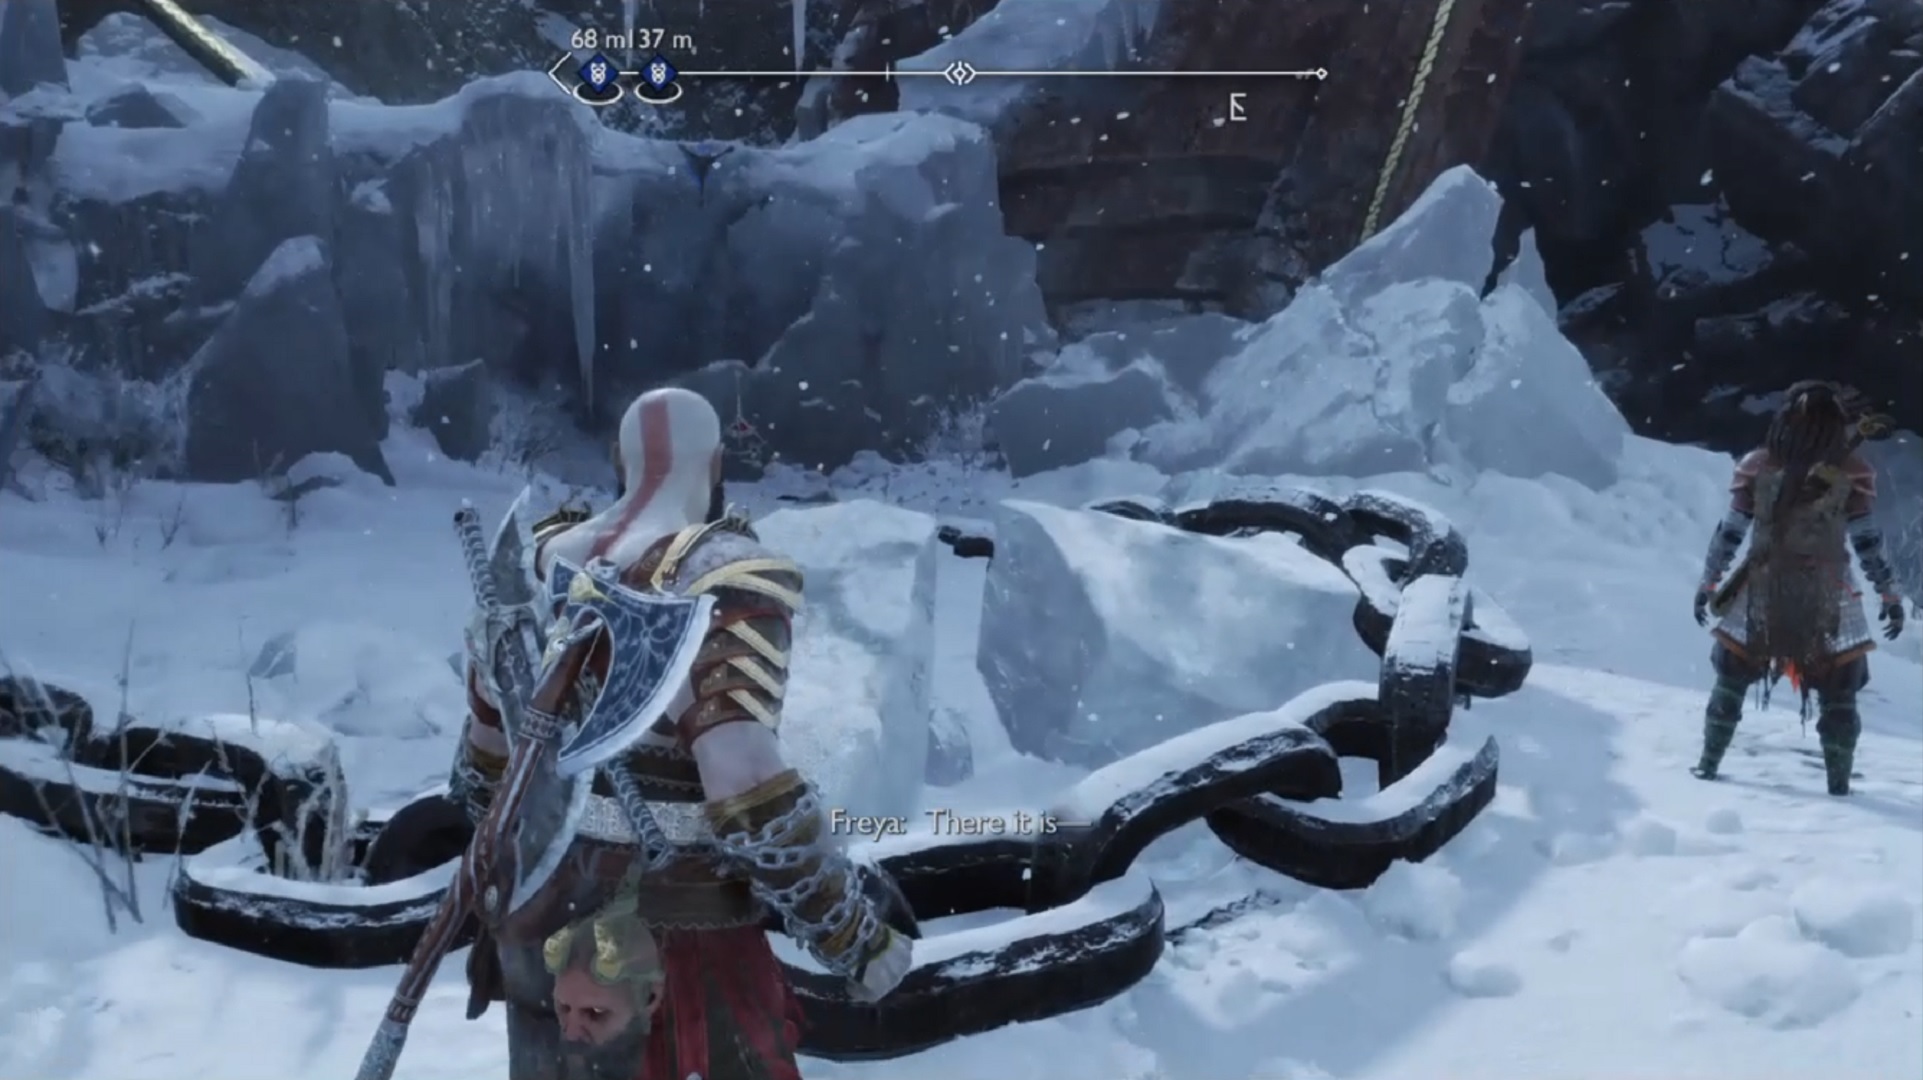
- Once again, there should be a chain where you can climb a ledge to. Move forward and you’ll notice another of Odin’s Ravens nearby. Let the Leviathan Axe do the work, aim it at the Raven, and hit it. Also, interact with a pile of wood nearby, use your Blades to destroy it, and another passage opens (you’ll need that for later!)
- From there, go over to the huge chains in the snow and have Kratos pull on it. This would reveal the other staircase the characters have been searching for.
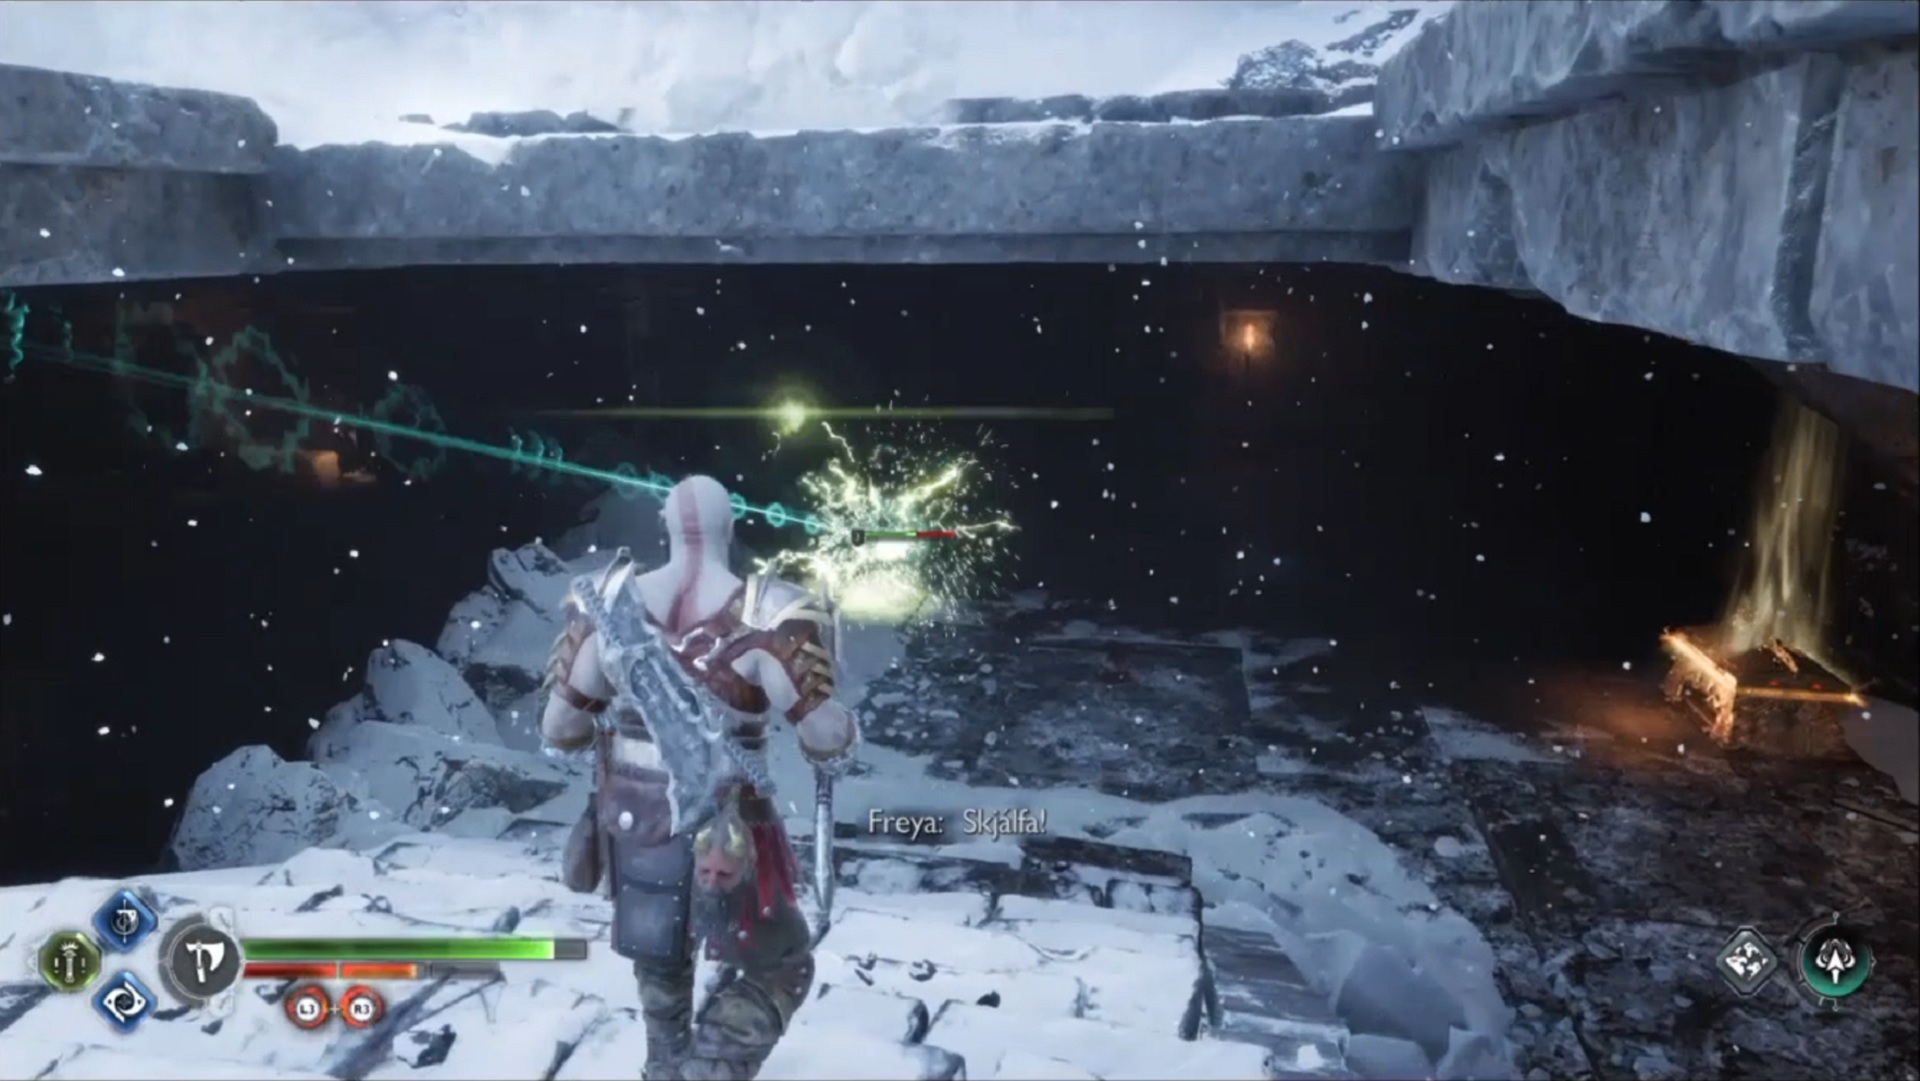
- Head down the staircase but be reminded that a few Wisps await you below. Also, a Legendary Chest welcomes you once you go down. Clear the enemies first before looting the Chest with the Jewel of Yggdrasil.
Lore Marker and the second half of the key
- Beside the Legendary Chest, a new Lore Marker appears, so be sure to read the rune! Moreover, explore the area to find a gate before unlocking it, you’ll come across the second half of the key. Once retrieved, open the gate and you’re back to the area once you first arrived.
Reach The Lost Treasury
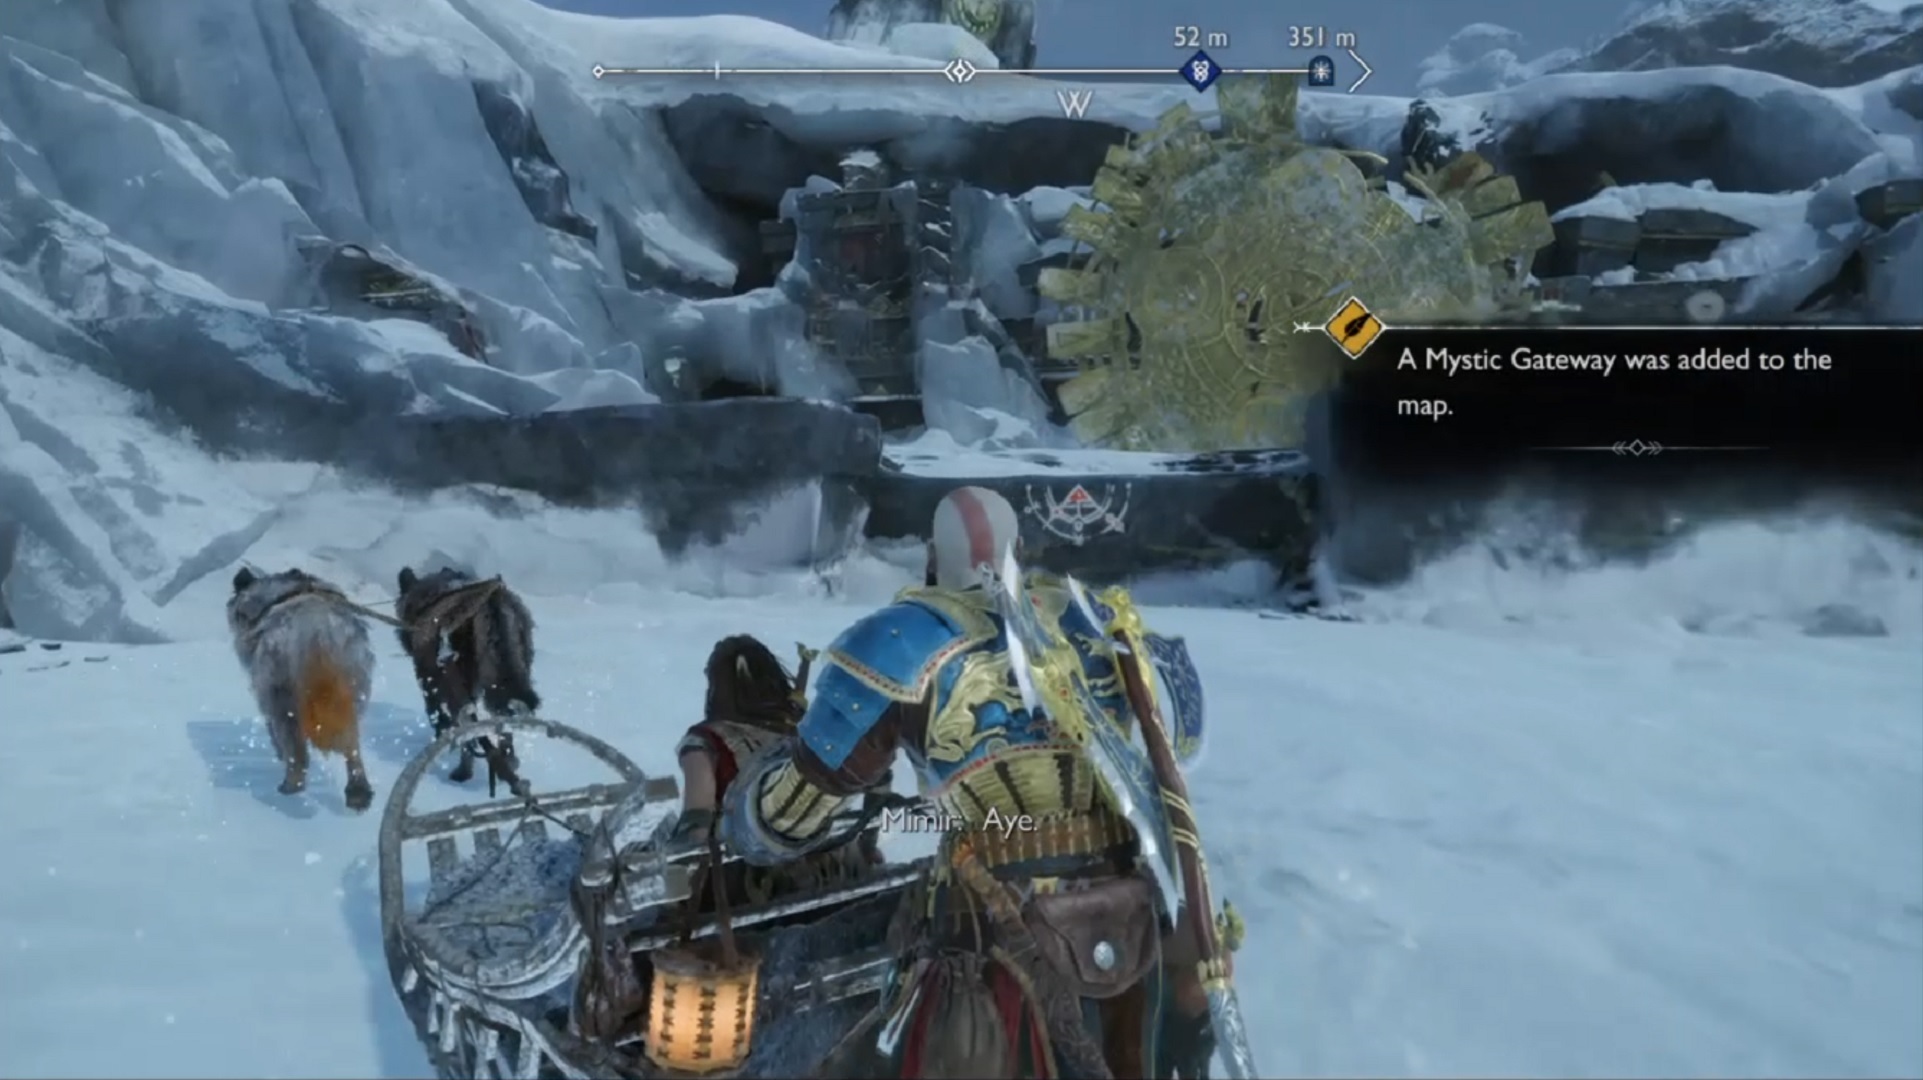
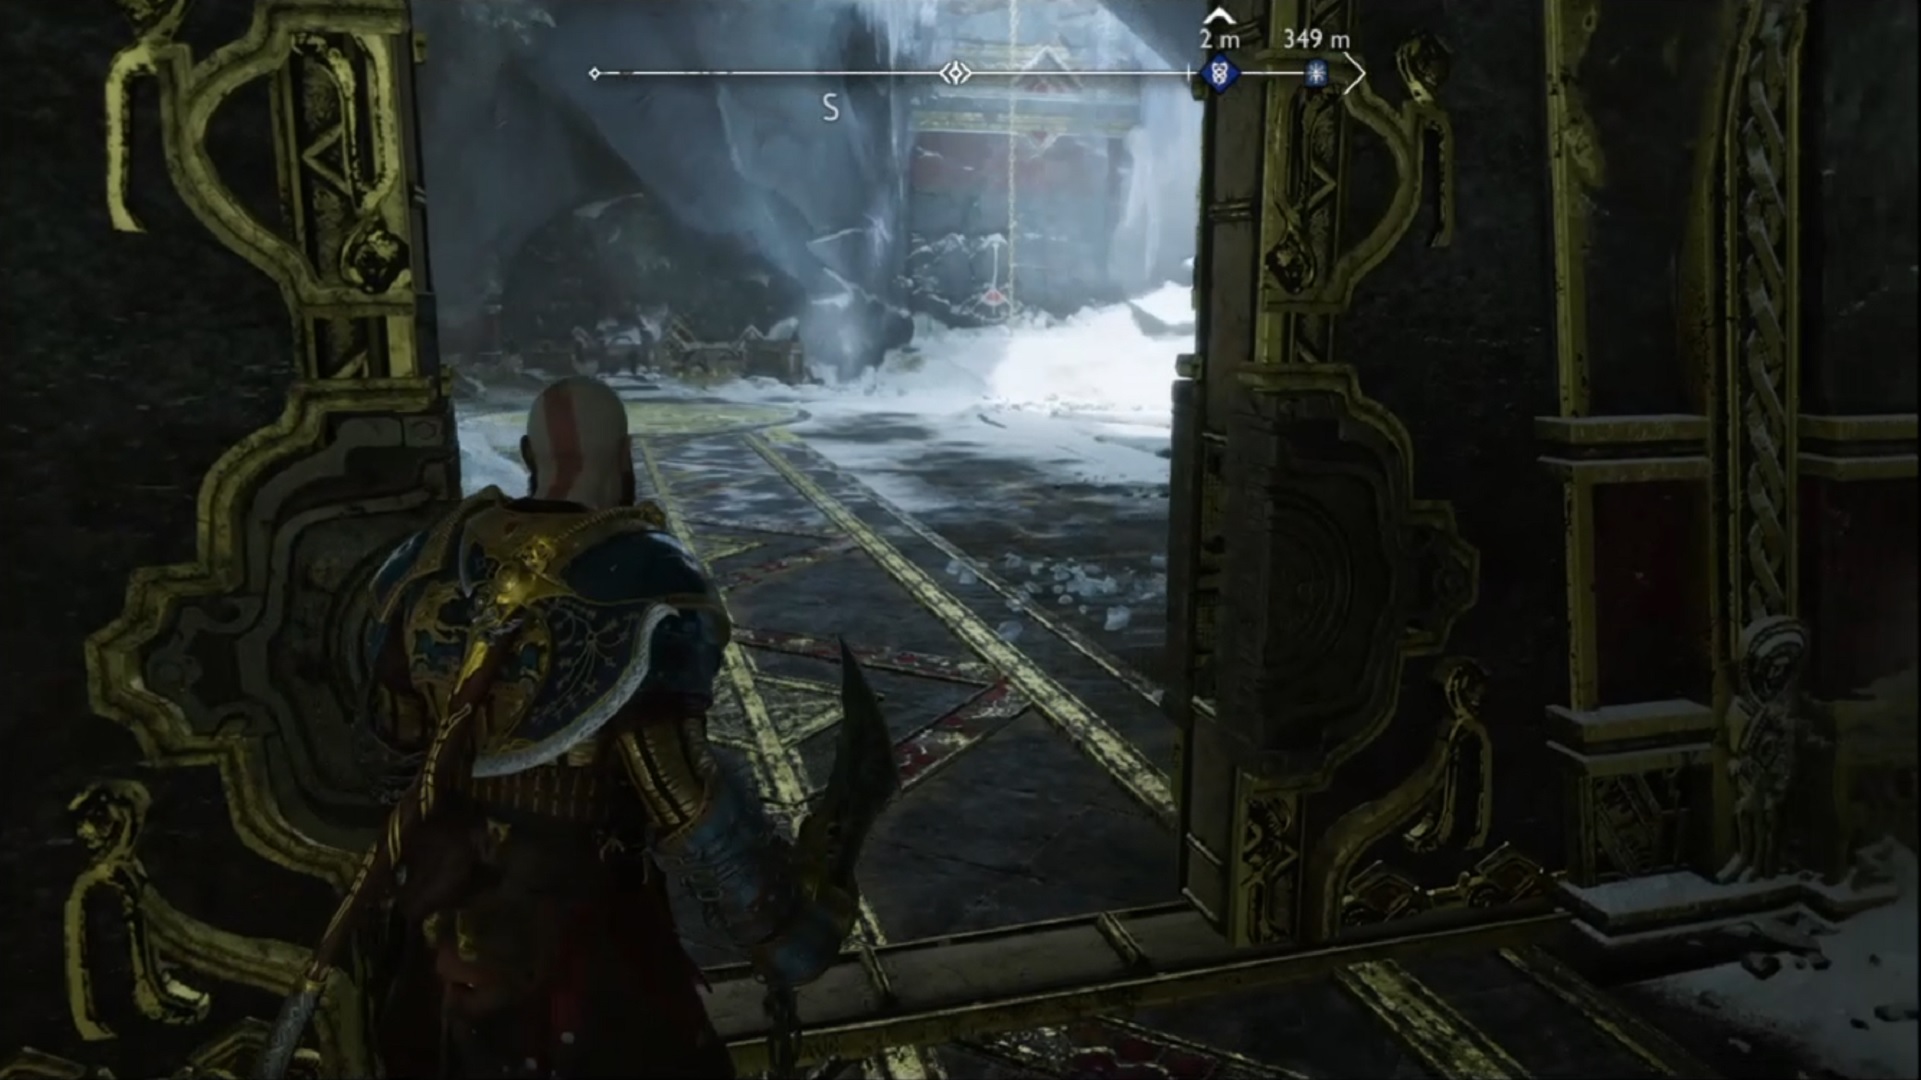
- Now that you have both halves of the key, find your way to reach The Lost Treasury. You can find the area near The Derelict Outpost, so head over there. Another Mystic Gateway unlocks when you first reach this area.
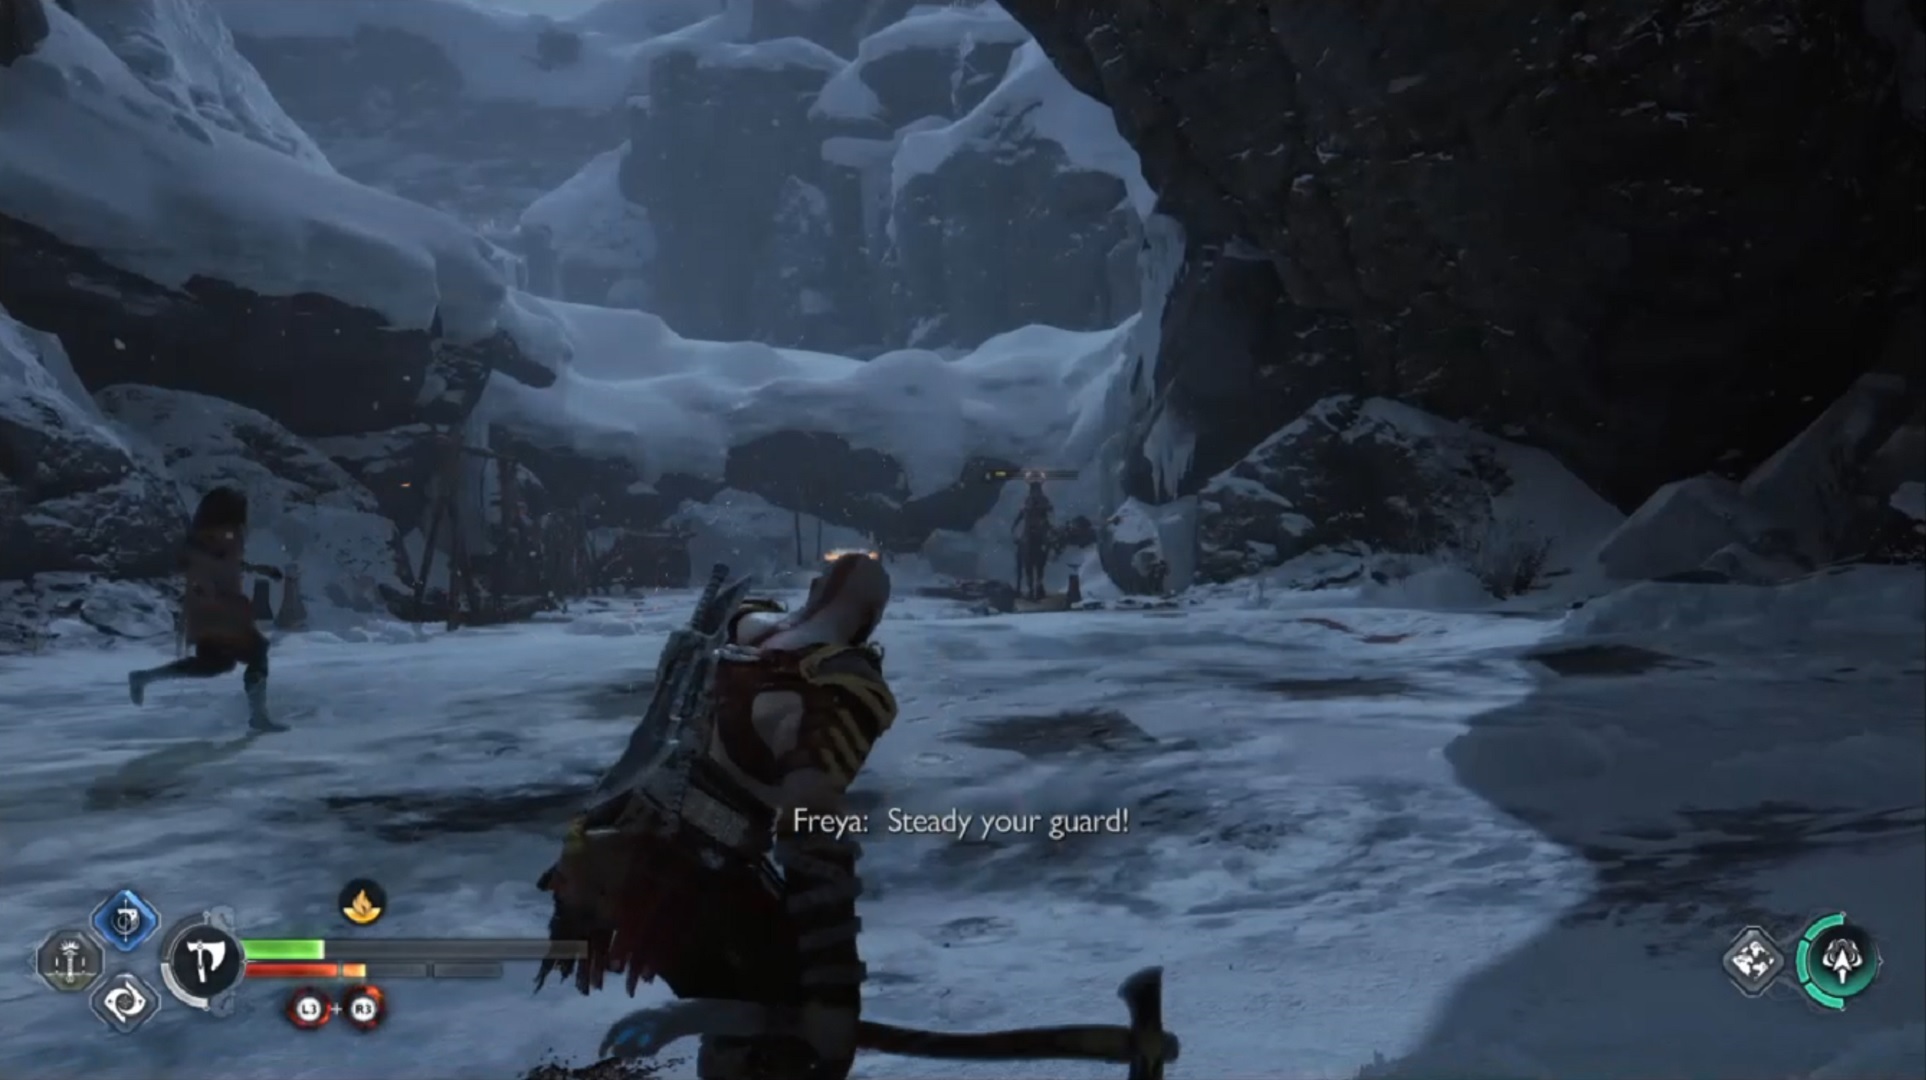
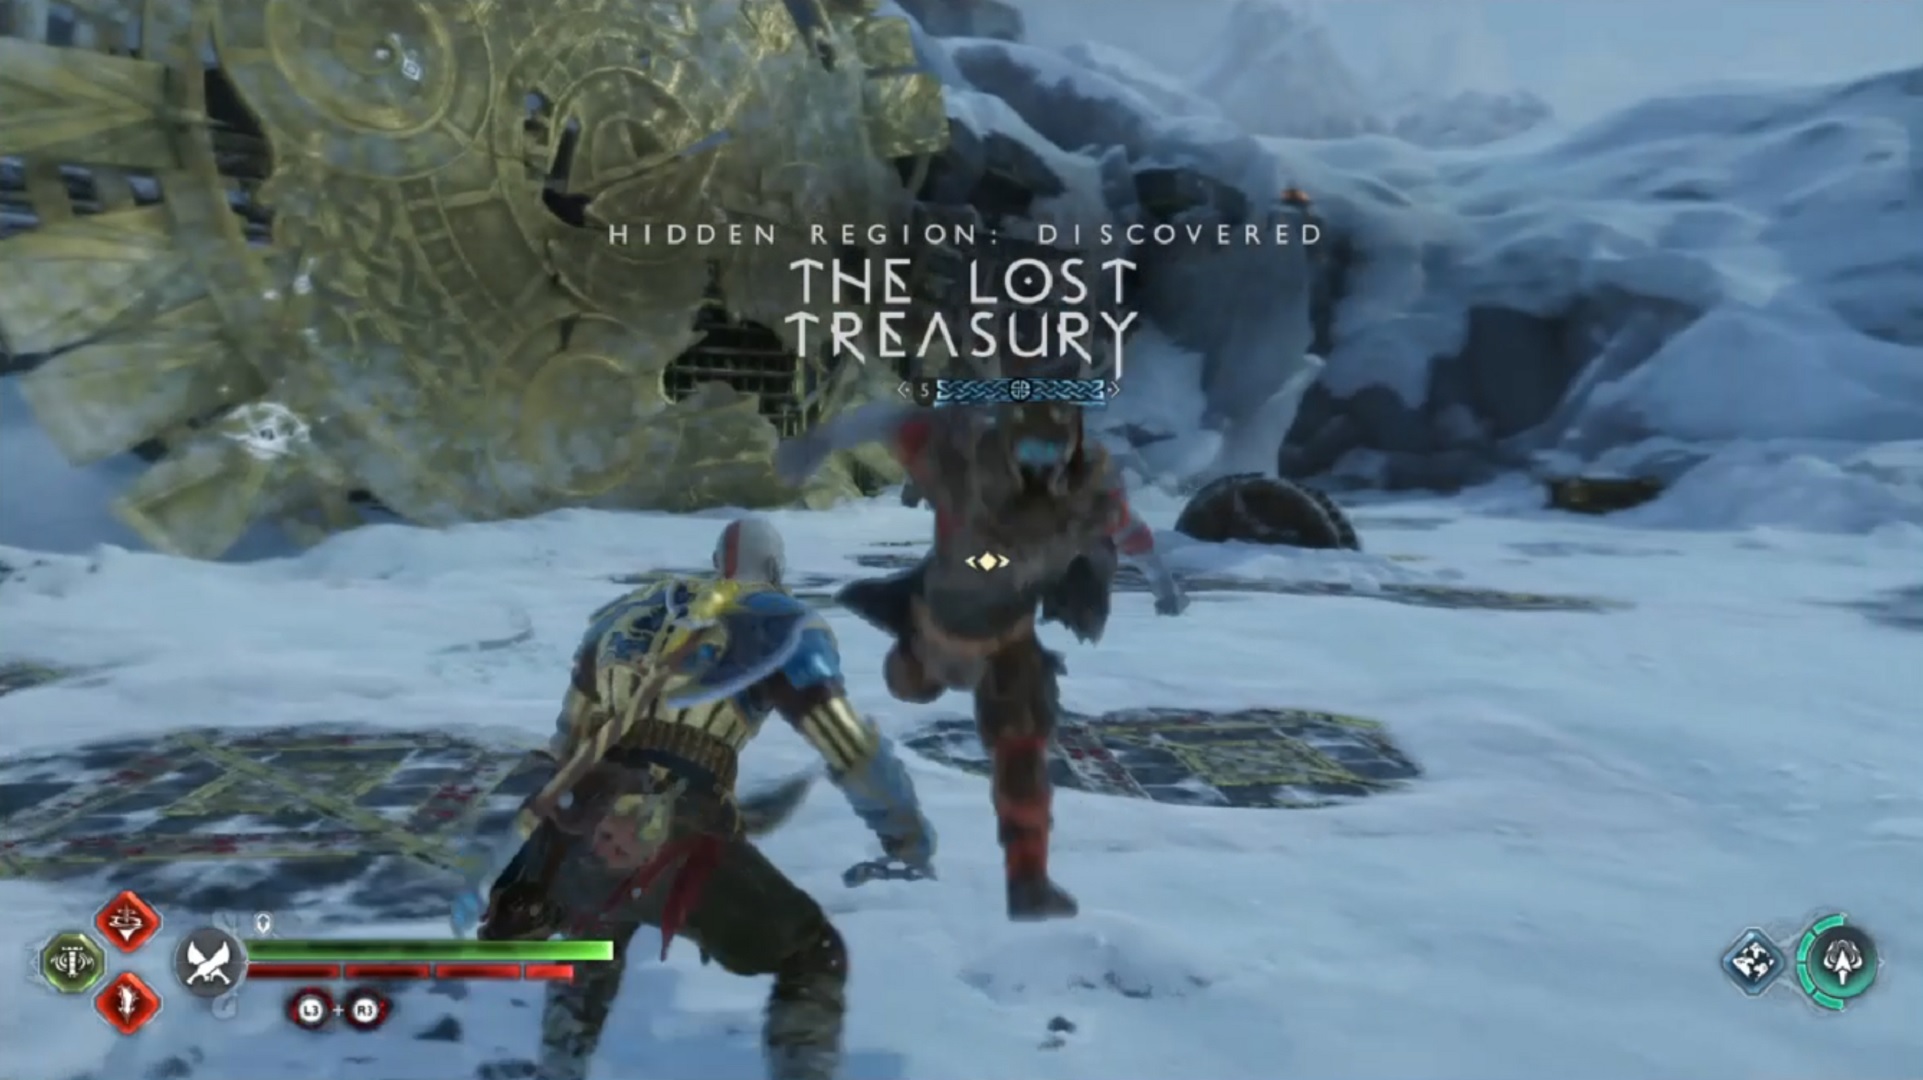
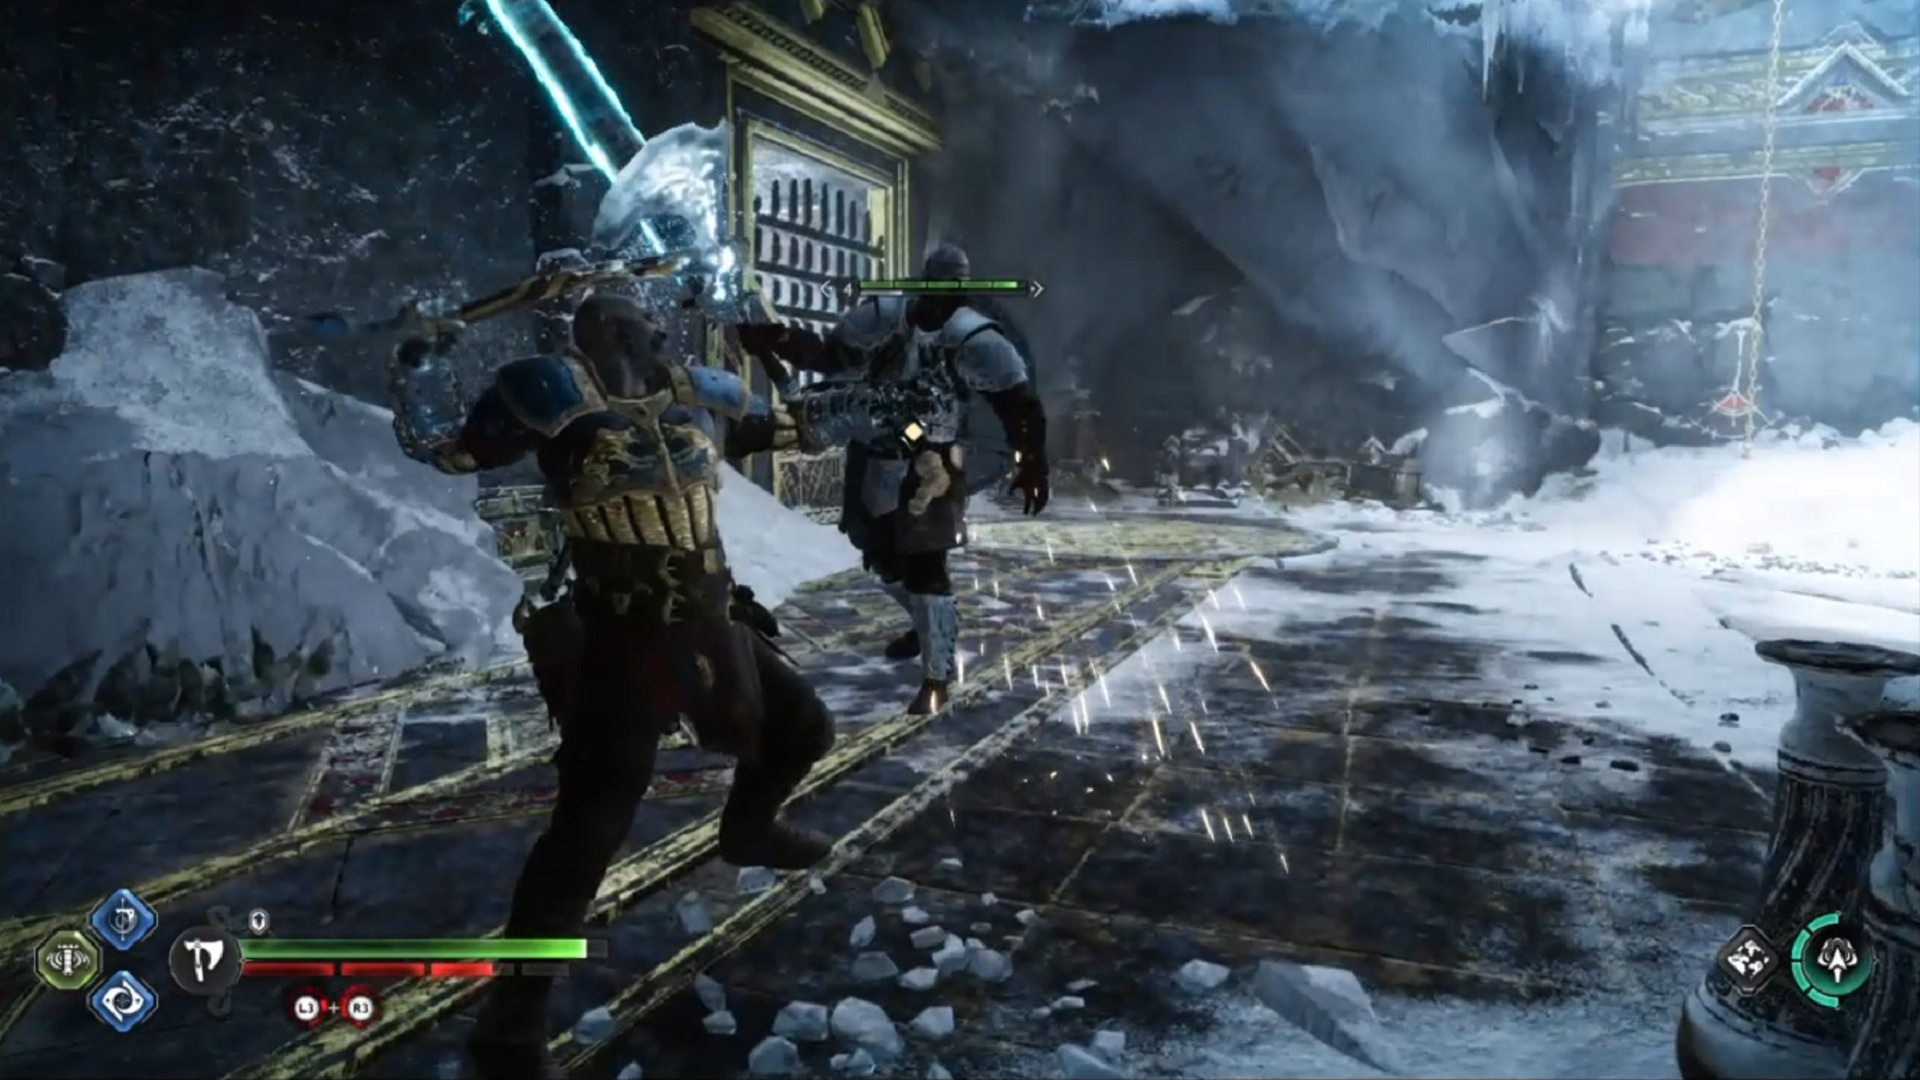
- Climb up the ledge and Kratos and his Companion arrives at The Lost Treasury. However, enemies covered in Frost would welcome you once you step foot in the area, so be sure to take them all out! The Blades of Chaos would be the most effective weapon to use to defeat these enemies, just a quick tip for you, warriors.
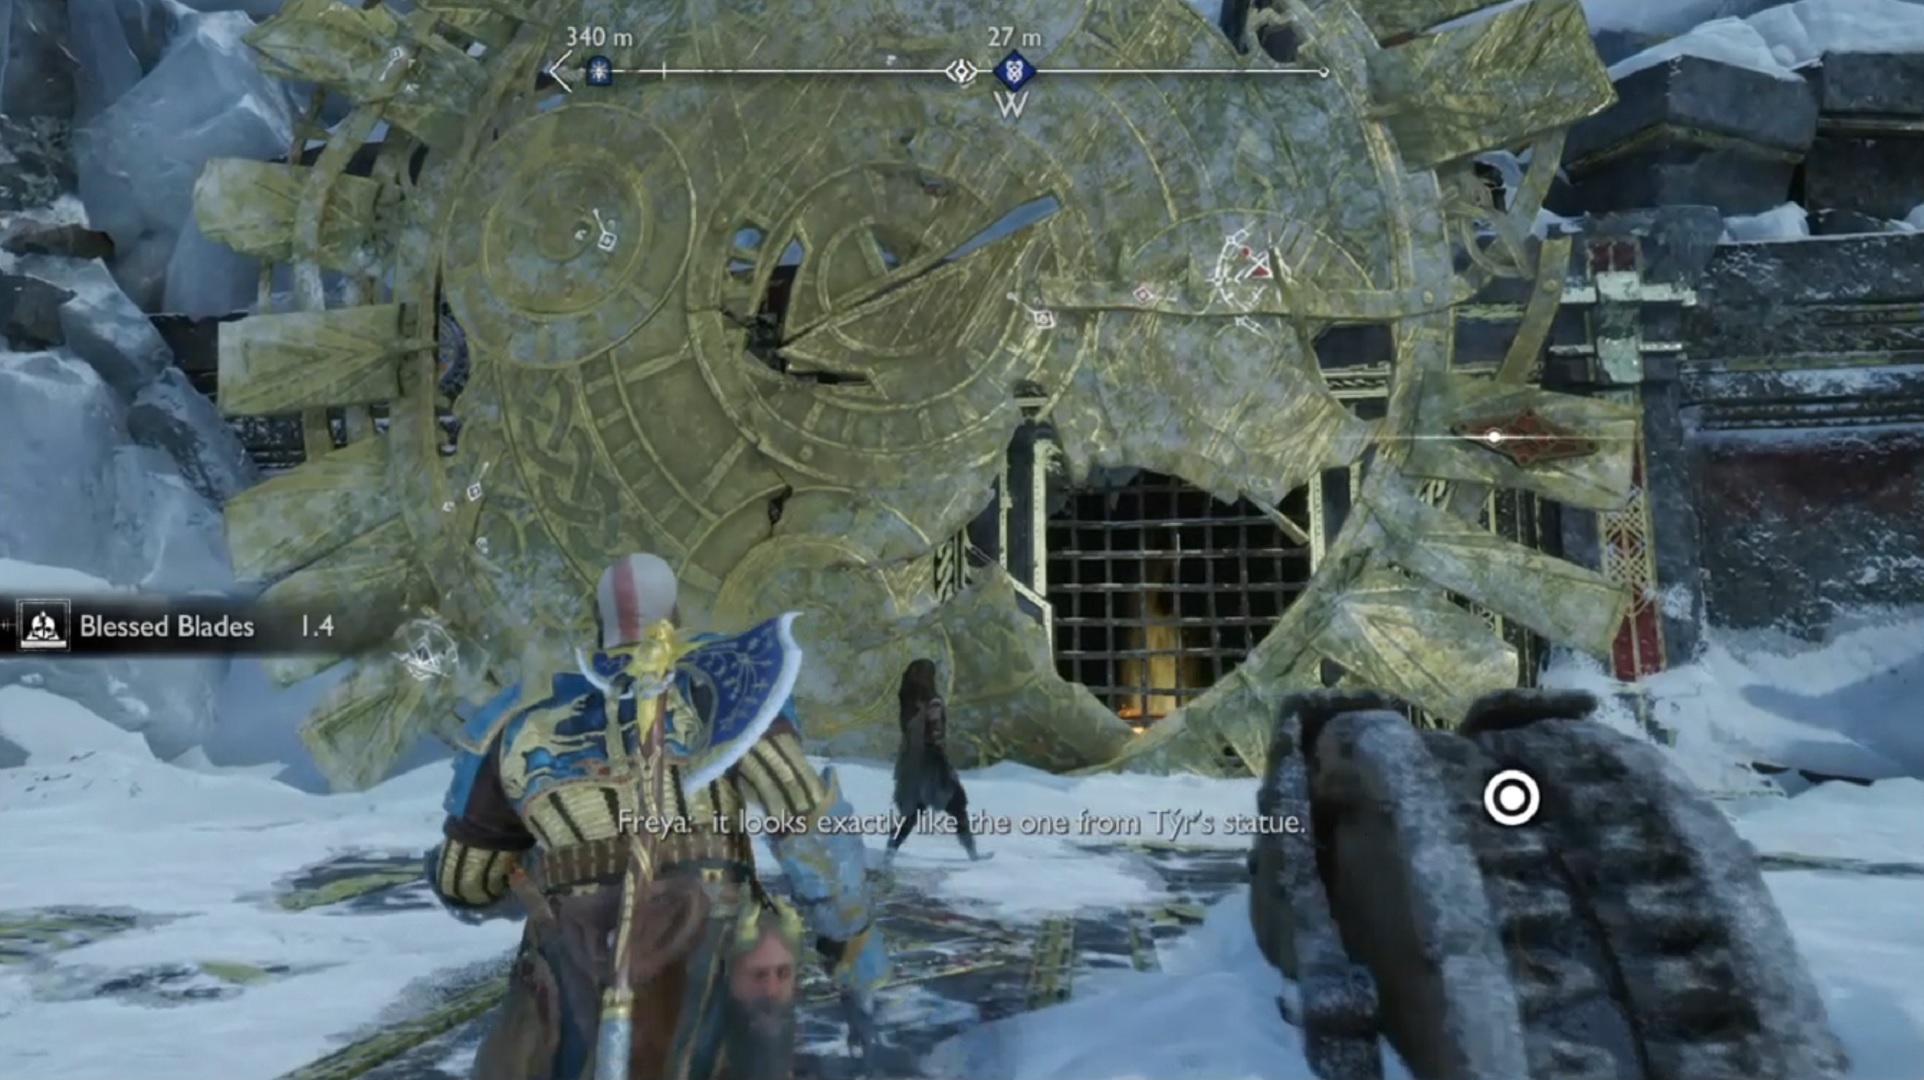
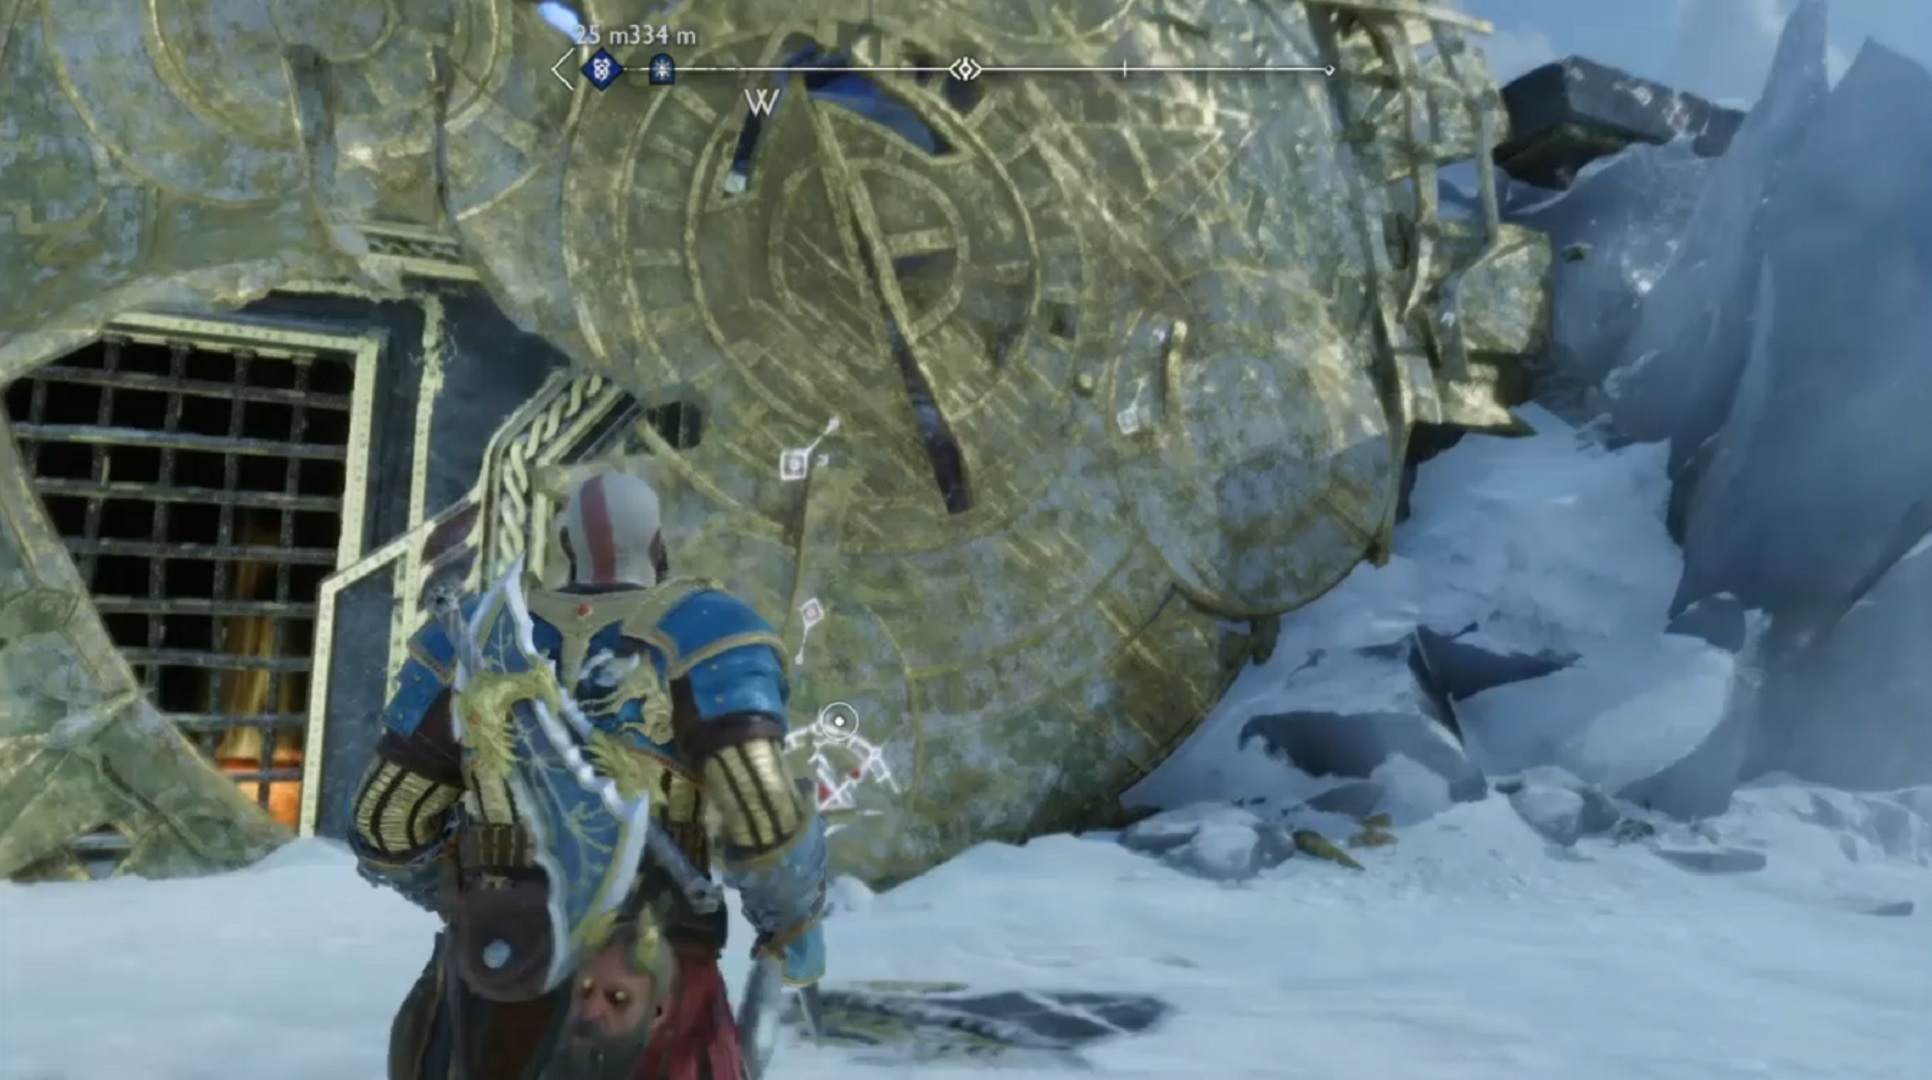
- Once cleared out, you may have noticed earlier that the entrance is blocked. Apparently, this is Tyr’s statue’s shield. You have to find a way to move it aside and get inside The Lost Treasury.
Climb up the right side
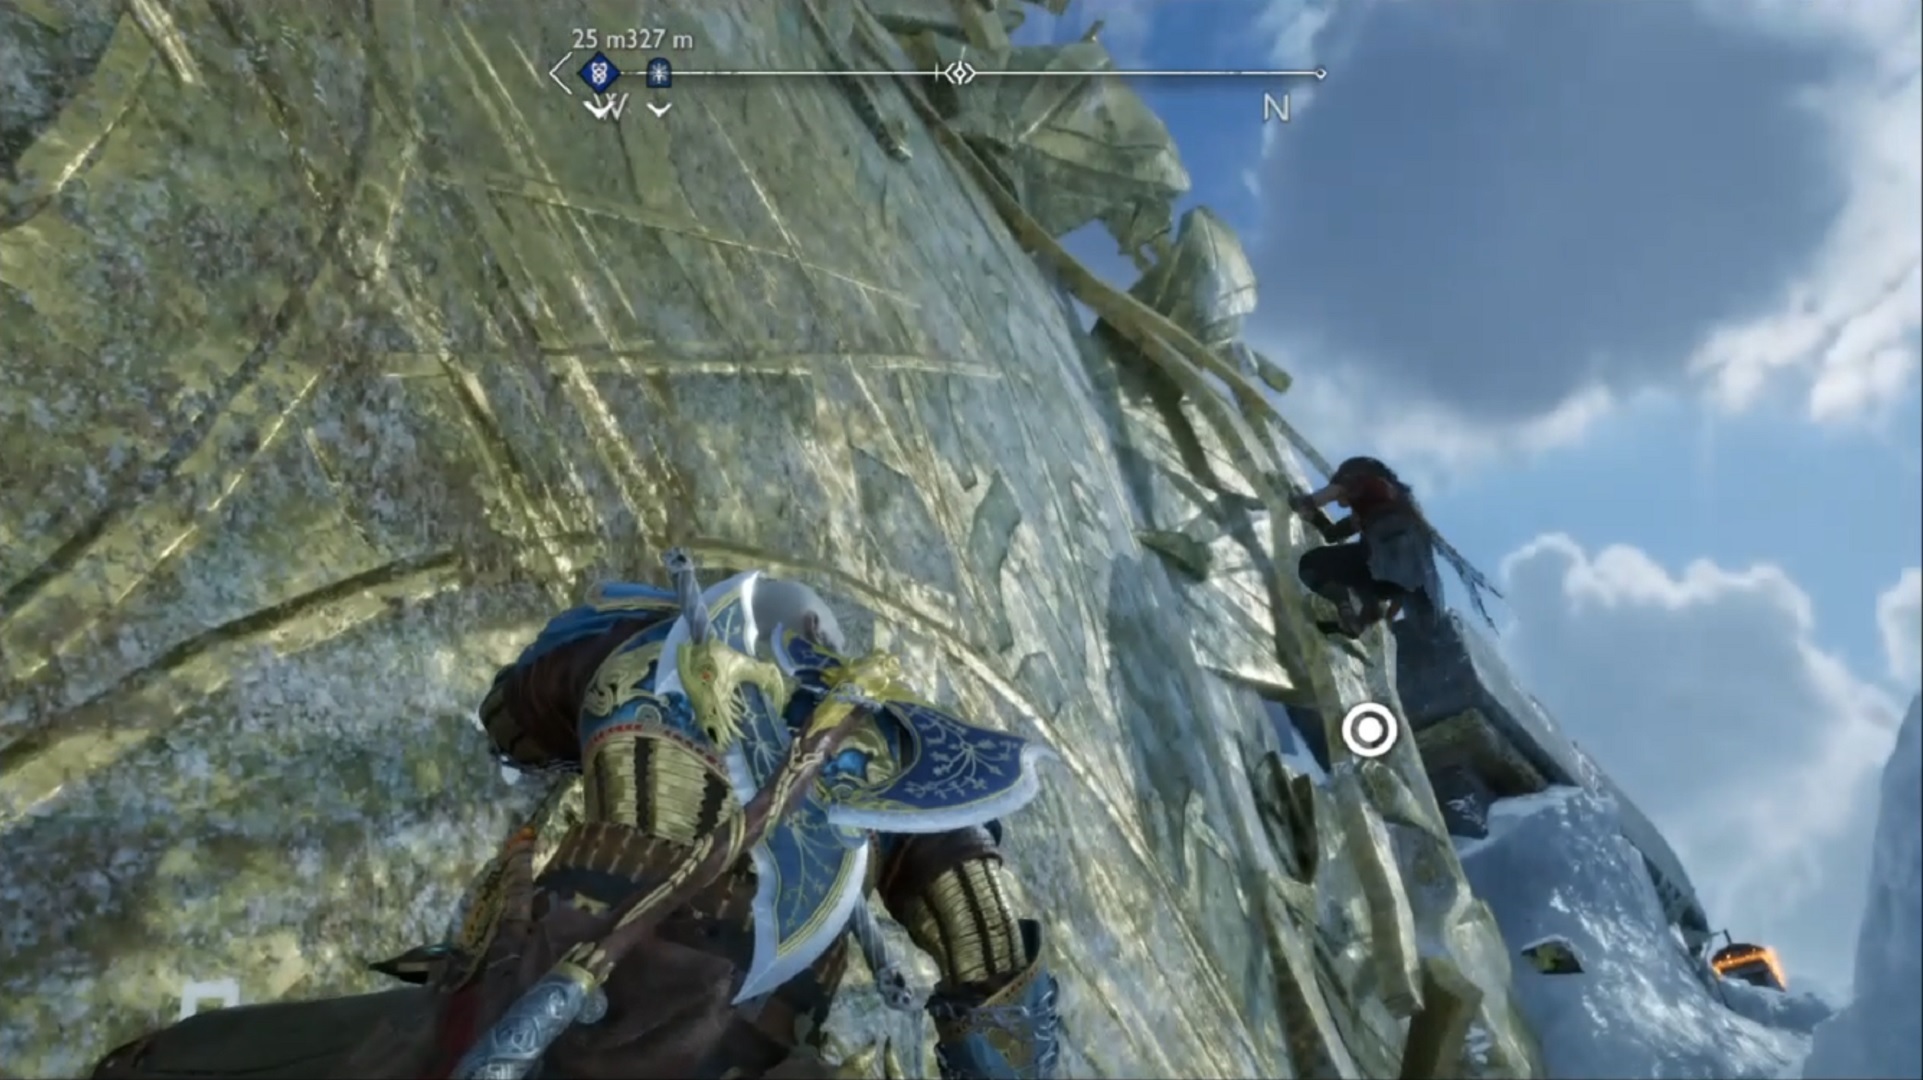
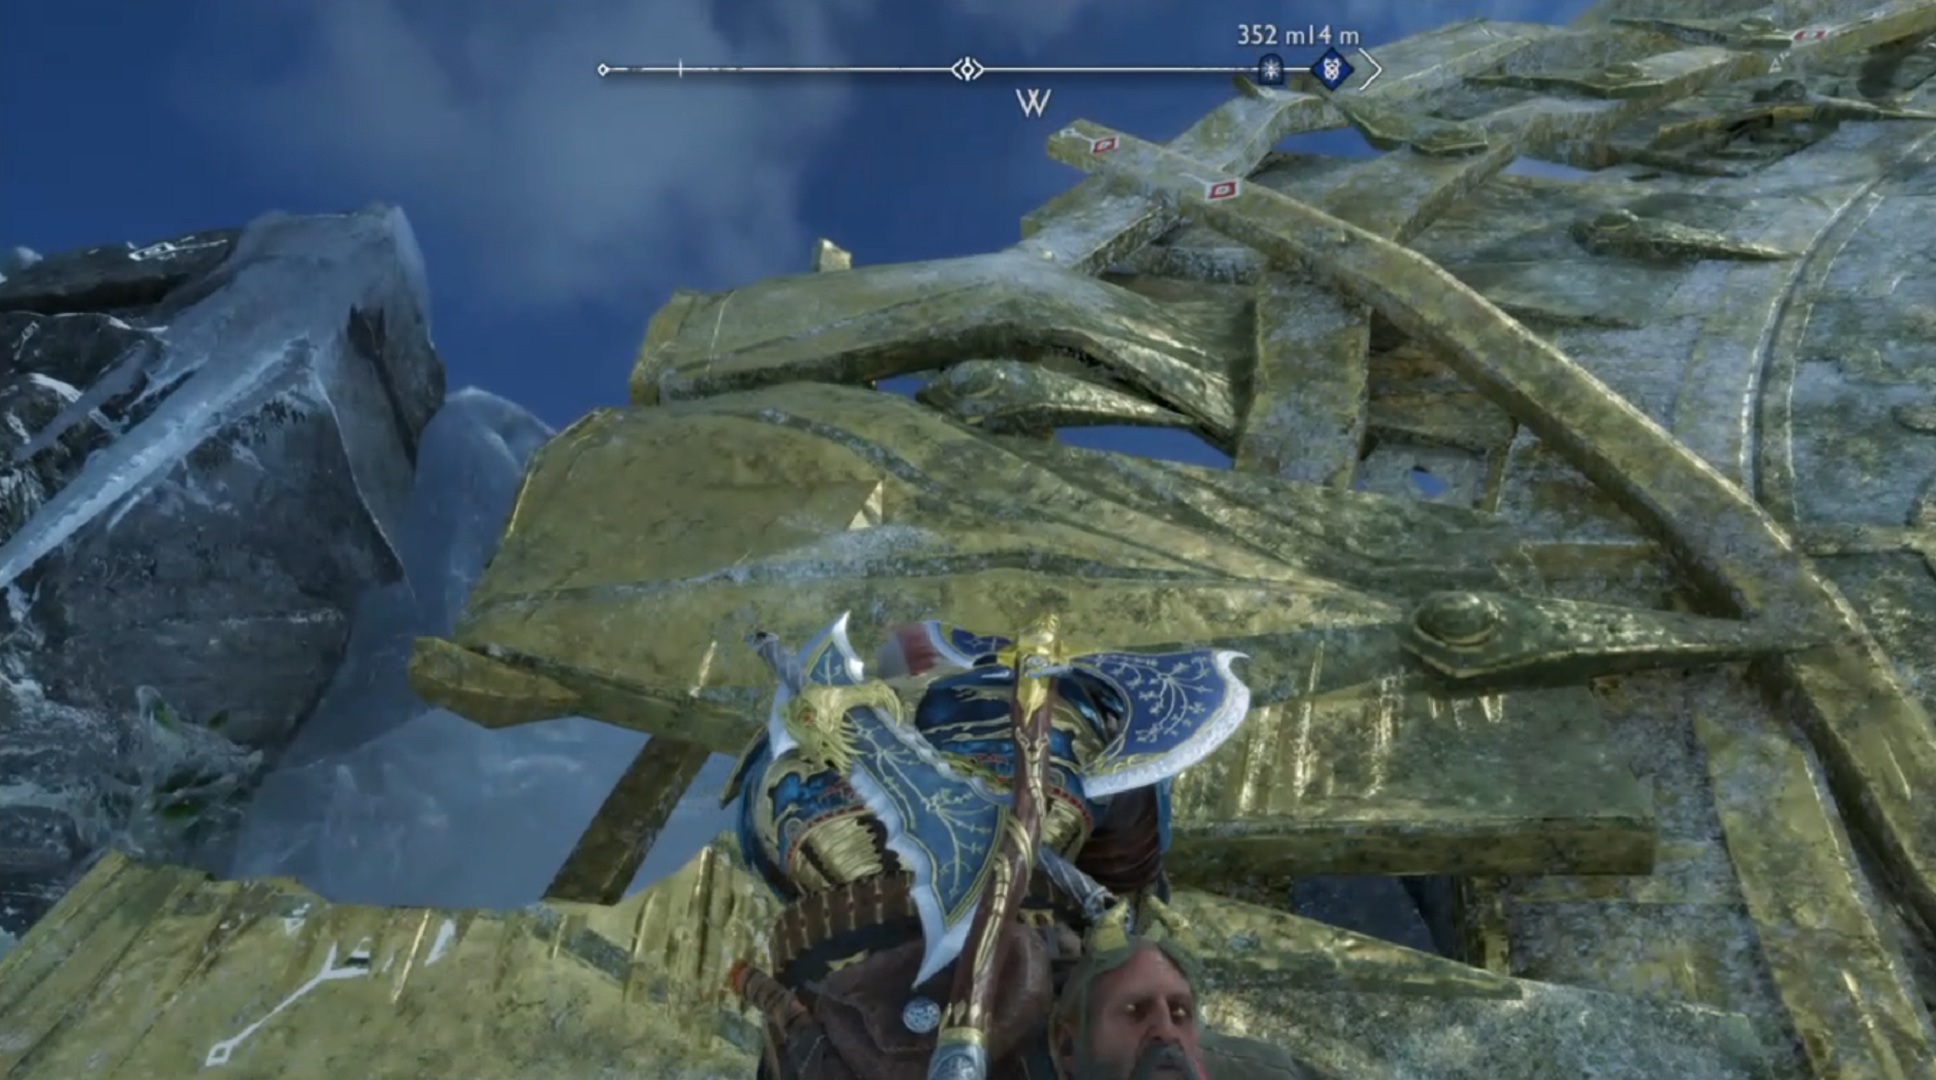
- How? Move close to the shield and find some markings on it. You can climb up using the shield, and reach the right side. Don’t miss out on the unopened Chests around, get them all!
- There should be an ore blocking your way, so use your Companion’s Arrows to break the oil lamp to clear the blockage. A pillar also falls which you can interact with to progress.
- You may want to continue to the area that was blocked by the ore, but be ready to face a few Wisps when you enter! Once you finished them all, you can loot the Red Chest in the area.
Move the pillar then go down
- You should interact with the pillar after defeating the Wisps and looting the Chest. Move the pillar to the left, and then move down in front of the shield.
Move the shield
- Now you have to move the shield to the left. Once moved, climb up to the same side using the shield again. You’ll reach the same platform where you defeated all the Wisps.
Open the gate
- Run over to the pillar and use the Blades of Chaos to move the pillar to the left. A part of it should be hanging on the edge, just like in the photo below.
- When the pillar’s placed, you can go down and move the shield to the right. Then, use the wheel to turn and unlock the gate in front of you. Have the Sigil Arrows and LEviatha Axe’s powers to freeze the wheel to keep the gate unlocked.
Enter the gate
- Once you enter the gate locks once again, and you have to destroy the chain to keep it unlocked. Furthermore, Kratos finds another Legendary Chest inside, so be sure to take the rewards (AKA a Sigil Punishment Accessory) inside it.
Clear Bramble and defeat a Traveller
- Move to your side along with your Companion. Using the Sigil Arrows and Blades of Chaos, light up the bramble to make it disappear and unblock your way. Use the key to open the vault, and when you enter this new area, beware of enemies.
- A few Wisps would be there, and a Traveller enemy would appear. You have to defeat all these enemies to explore the whole area.
Lore Marker and Sigrun’s Curse Favor complete
- Before doing this, climb up the chain and look down. The floor below will be breakable so interact with it and Kratos will open up a hole in the floor. Collect one of The Lost Pages and then climb back up to the Lore Marker.
- Read the last Lore Marker for this Favor, and find out that Sigrun may have cursed on her brother for killing the mad king. Once you exit The Lost Treasury, the Sigrun’s Curse Favor marks completion.
The Lost Treasury’s Nornir Chest
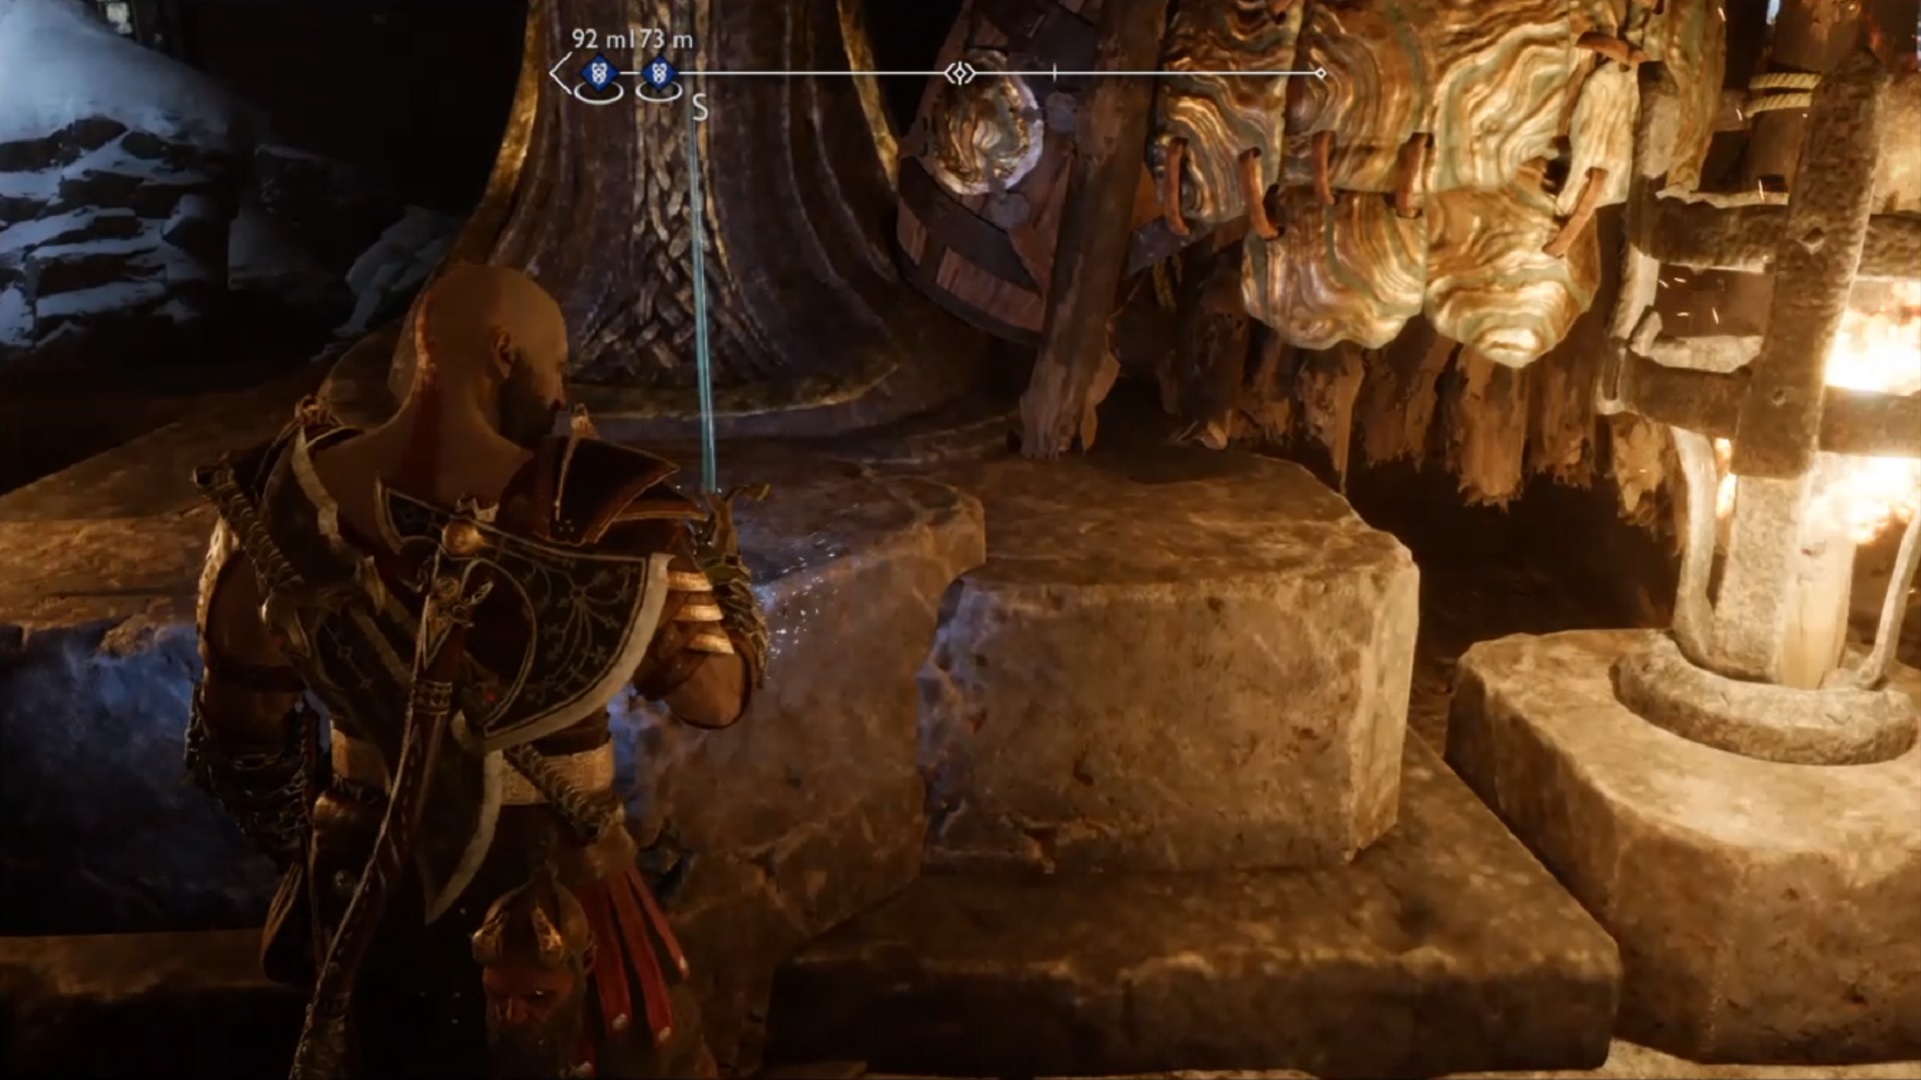
- If you think we’ll end this now, you may have missed that Nornir Chest in The Lost Treasury. Go in front of the shield and roll it to the left side. Peek at the first brazier on the right side so shoot Sigil Arrows toward it. Light it up with your Blades of Chaos then.
- You can find another rune in the area behind the fallen pillar. You should look up to find the brazier then throw the Sigil Arrows at it and use the Blades to light it up.
- The last rune can be found inside The Lost Treasury. Just like what you did with the earlier runes, the Sigil Arrows and Blades of Chaos would do the work. When you successfully light up the third and last brazier, the Nornir Chest’s unlocked, warriors!
There you have it, The Sigrun’s Curse Favor in God of War: Ragnarok! On to the next?
RELATED NEWS: God of War: Ragnarok – Across the Realms guide
You can also share any questions you have about God of War: Ragnarok below. Until then, stay with us here at Spiel Times for more content.
Make sure you share, subscribe to our push notifications, and never miss an update from the world of video games, cinema, and sports. You can also follow us on Twitter @spieltimes for the latest PS5 restock and drop. Stay Safe and Happy Gaming!
Zeane Dogelio
Fond of writing poetry and reading. Zeane keeps herself sane through Kpop, and a bit of purchasing the albums too. She enjoys taking photos, most of the time the moon and sunsets. Zeane casually plays CoDM, rhythm games, or just whatever she finds interesting in the application stores, just a piece of gaming info right there.
View all articlesRelated Articles
View All
Major Game Reveals and Surprise Returns Headline Summer Game Fest 2026
Big reveals, unexpected comebacks, and plenty of new trailers made Summer Game Fest 2026 a busy night for fans. If...

Grand Theft Auto VI release date confirmed for November 2026
Rockstar Games has officially locked in November 19, 2026, as the release date for Grand Theft Auto VI, bringing an...

Gaming Industry Crisis Deepens As AI Adoption Drives Burnout And Codev
The global gaming sector entered a tense year with quiet alarms across markets. Studios shipped hits, yet balance sheets told...