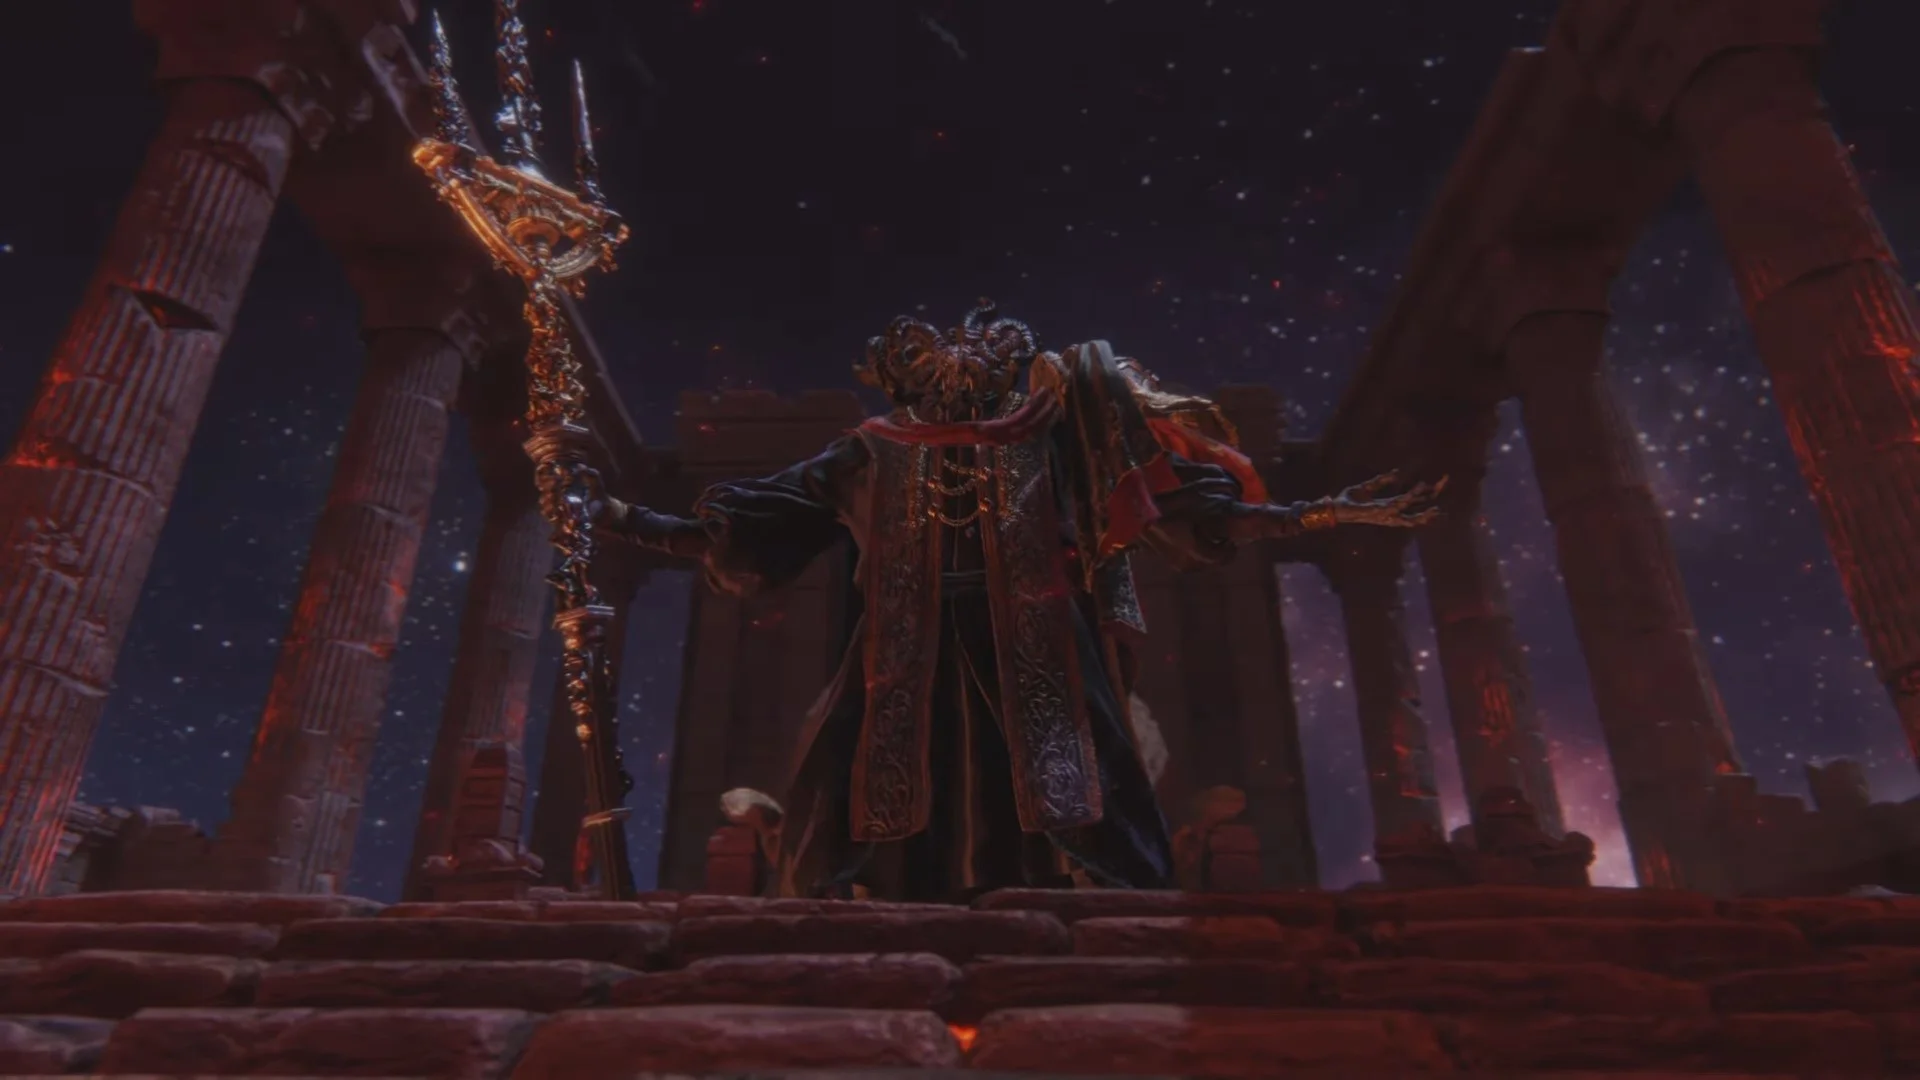
Mohg Location & How to Beat | Elden Ring (Shadow of the Erdtree)
This thorough guide will show you where to find and how to beat Mohg so you can get to the Shadow of the Erdtree in Elden Ring without the need for a highly optimized build.
How to Find Mohg (Location)
You can locate Mohg in two different ways. One is quite simple.
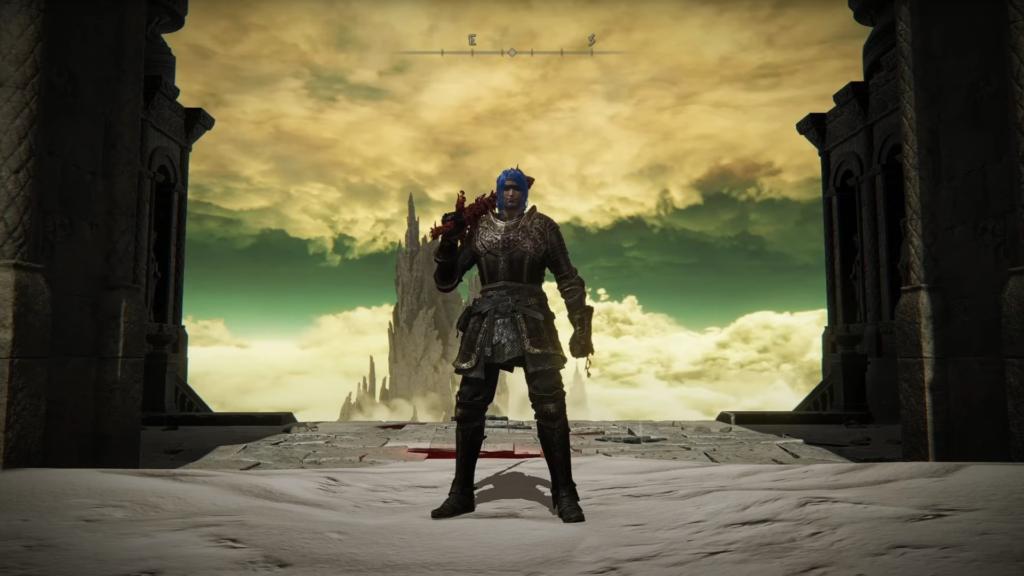
1. Consecrated Snowfield Teleporter
- If the Consecrated Snowfield is already accessible, all you have to do is explore its western edge. There, you’ll find a teleporter that will transport you straight to the Mohgwyn Dynasty.
2. No Teleporter?
- So let’s say you don’t have that. Find White Mask Varre standing out just outside the Stranded Graveyard as soon as the game launches. Finish his quest to progress. Regardless of who it is, you can use the Two Fingers to request an audience when you defeat your first Shardbearer. Head over to the Roundtable Hold, talk to the Two Fingers, and get the Rapture gesture.
- NOTE: Varre would have moved by now if you already have this gesture in your inventory, which indicates that you have completed this section. His new location will be in Liurnia. JUMP HERE for the complete guide.
How to Beat Mohg
Place the Purifying Crystal Tear in your flask if you have it. If your build is complete, solid, and ready to go, you won’t necessarily need the Purifying Crystal Tear.
TLDR: Mohg can mix and match his one combo, but the result is always the same. You can tell when you can safely attack after Mohg launches his combination. Avoid being hit by Blood Flame Talon and keep close proximity. There is a small delay with the charging in Phase Two, so make sure to adjust your dodge as well. Simply approach him, wait, and keep moving toward Mohg at all times. It’s best to avoid putting too much space between you and him since more distance makes him more dangerous.
Phase 1
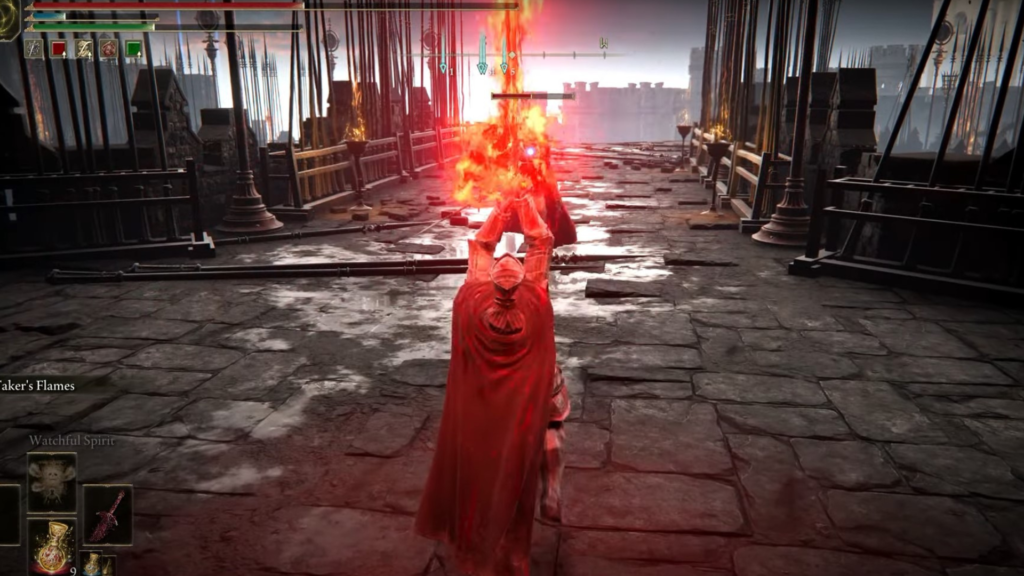
- Phase 1 is all about smooth dodging. When he attacks, we’re going to roll back and forth. Let him do his combo. You can parry Mohg’s skill if you have Carian Retaliation. If he throws blood at you, you can also use Carian Retaliation—that is, if it’s not the Blood Flame Talon.
- You’re too far away from him if he’s throwing blood in your direction. Blood Flame Talon and the blood shower should be the only blood moves you see during the entire battle, indicating you’re at a ‘safer’ distance.
- Try your best to retaliate against his every action after he plants his weapon in the ground. When he unleashes his attack, evade it, outmaneuver him, and strike back. His attacks will miss if you stand close enough to him. Capitalize on this opportunity to continue your counterattack.
Phase 2
- It takes more mechanical skill than an ideal build to defeat Mohg. He only has one physical combination that he can change up to suit his needs. Blood Flame Talon, a charge after that, and blood rain as a follow-up. This boss shouldn’t be too difficult if you can dodge well and time your attacks. Mohg will heal once his HP reaches 50%.
- You can use poison, bleed, frost, or use scarlet rot. You can apply countless status effects to him. Just be careful to recognize that his trident will burst and deal some damage when he plants it in the ground during Phase Two.
- Mohg will cast Bloodboon and take flight when he points to the sky. The best way to avoid taking damage is to walk towards him. It’s ideal to heal during that time as well. If you don’t need time to heal, continue your attack.
- Once Mohg’s HP is at 30%, every attack he makes is the same as the attacks he had in Phase 1. The only real difference is when he charges at you with his Blood Flame Talon, it takes a bit longer than in Phase 1. You just have to delay your dodging a little.
Tips before you start the battle:
- Make sure you maintain close proximity. That’s where his danger level is lowest.
- Have at least 40 Vigor.
- Be careful not to get struck by the Blood Flame, as it causes a lot of damage. How can you avoid being struck? By keeping a close distance.
- It’s recommended to avoid fighting Mohg on steps or stairs. Make every effort to move him off the steps and away from them.
- It’s important to keep in mind that using spirit summons will make it more difficult to anticipate exactly what he will do. You can tell exactly what he’s doing if you don’t use summons. You’ll slowly get the hang of all his moves and combos if he only has you as an opponent, and that will work in your favor.
How to Find Mohg: No Teleported Guide
Murkwater Cave:
- Before we travel to Liurnia, though, we will first visit the Murkwater Cave to get invaded. Not to worry as Yura will help us. Later on, this will come in quite handy.
- Travel to Liurnia and visit the Rose Church. This is where Varre will be. Talking to him will grant you three Bloody Fingers to use for invasion.
- It makes no difference how these invasions turn out. Afterwhich, you’ll get 5 fingers. The invasion will require 3. Back to Liurnia, speak with Yura again.
- Now, if you’ve already reached this stage and visited the Mountaintops of the Giants, you are not required to complete the Yura tasks; however, if you haven’t visited the Mountaintops of the Giants, this quest is needed. After we accomplish that, White Mask Varre will offer us a white cloth, which he wants us to soak in a maiden’s blood.
- Once you’ve completed this, return to Varre. Varre is going to grant us the Bloody Finger. Continue your conversation with him until he hands over the Pureblood Knight’s Medal to us, which we can use to travel directly to the Mohgwyn Dynasty and put in our inventory. You’ll essentially arrive at the front door.
- NOTE: Although you will have to walk through the entire Mohgwyn Dynasty territory if you take the Consecrated Snowfield, it is still quite simple to locate. If we haven’t completed Yura’s mission yet, our next task should be to complete it.
- You should be able to confront Eleonora at the Second Church of Marika, which is located straight north of the Altus Highway if your character has already visited the Mountaintops of the Giants. Simply head north from the Altus Highway Junction. There’s going to be a slight drop. Here, you’ll need to defeat Eleonora. She will give us a Purifying Crystal Tear and that will essentially spare us from incurring the significant damage that we would have otherwise had to endure during Mohg’s phase shift.
Many thanks and credit to Saint Riot for this guide:
JC Paredes
Since March 2021, I've worn two hats at Spiel Times: a writer and a Managing Editor. In my writing role, I've earned recognition from Wikipedia and Nev Schulman (Catfish TV Show host) for my insightful analysis and engaging narrative style. I'm passionate about all things gaming, with a keen eye for detail and a knack for uncovering hidden secrets within games. My gaming journey began at a young age, captivated by titles like Resident Evil and Tomb Raider. Today, I enjoy exploring open-world RPGs and MMORPGs, consumed by their lore and crafting theories about their narratives. I'm also drawn to the suspenseful atmosphere of horror games and the intricate narratives of crime-themed titles, bringing a unique perspective to my writing. Beyond gaming, I have a fascination with anything unexplained and chilling, a passion that often spills over into my exploration of horror games. When I'm not engrossed in a virtual world, you can find me curled up and spending time with my adorable doggy sidekick, Teemo. As Managing Editor, I'm committed to fostering a collaborative and supportive environment for our writing team. I communicate openly with my team members, addressing any content-related issues and providing guidance to help them excel.
View all articlesRelated Articles
View All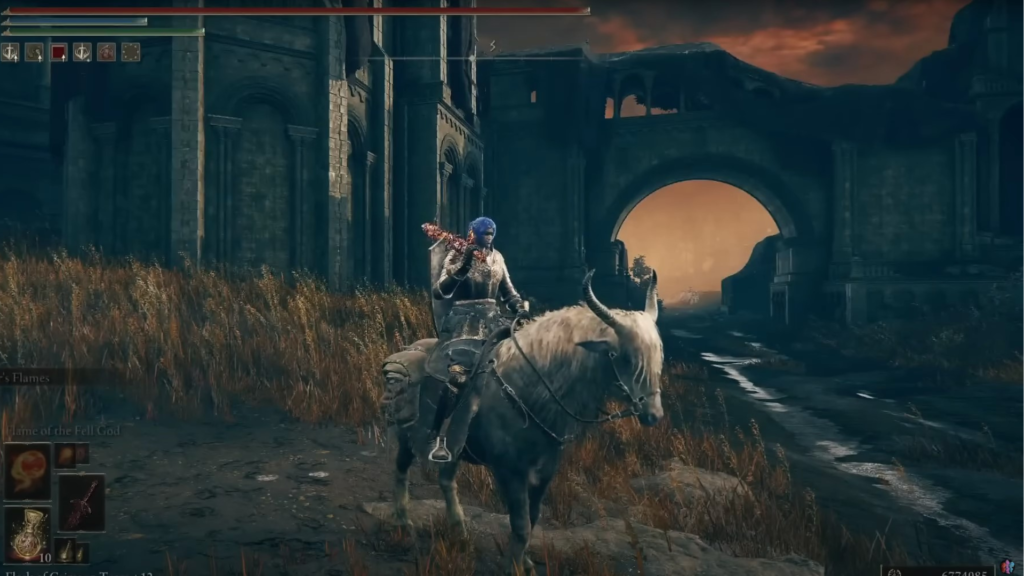
All Crystal Tear locations in Elden Ring Shadow of the Erdtree
Eight new Crystal Tears are present in the Elden Ring expansion Shadow of the Erdtree. You can earn these tears...
How to two hand in Elden Ring Shadow of the Erdtree
Elden Ring Shadow of the Erdtree expansion offers a variety of combat options including the ability to two-hand weapons. This...
How to get Messmerfire Grease in Elden Ring Shadow of the Erdtree
The latest DLC of Elden Ring: Shadow of the Erdtree has introduced a powerful new consumable known as the Messmerfire...